Adventure travel can be pretty grueling, what with the exotic locations and potential for disaster that the typical tourist destinations don’t offer. One might find oneself dangling over a cliff for that near-death-experience selfie or ziplining through a rainforest canopy. All this is significantly complicated by being blind, of course, so a tool like this Raspberry Pi low-vision system would be a welcome addition to the nearly-blind adventurer’s well-worn rucksack.
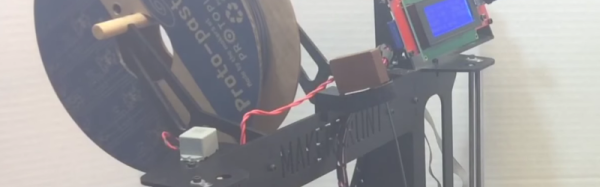
[Dan] has had vision problems since childhood, but one look at his YouTube channel shows that he doesn’t let that slow him down. When [Dan] met [Ben] in Scotland, [Ben] noticed that he was using his smartphone as a vision aid, looking at the display up close and zooming in to get as much detail as possible from his remaining vision. [Ben] thought he could help, so he whipped up a heads-up display from a Raspberry Pi and a Pi Camera. Mounted to a 3D-printed frame holding a 5″ HDMI display and worn from a GoPro head mount, the camera provides enough detail to help [Dan] navigate, as seen in the video below.
The rig is a bit unwieldy right now, but as proof of concept (and proof of friendship), it’s a solid start. We think a slimmer profile design might help, in which case [Ben] might want to look into this Google Glass-like display for a multimeter for inspiration on version 2.0.
Continue reading “The ‘All-Seeing Pi’ Aids Low-Vision Adventurer”

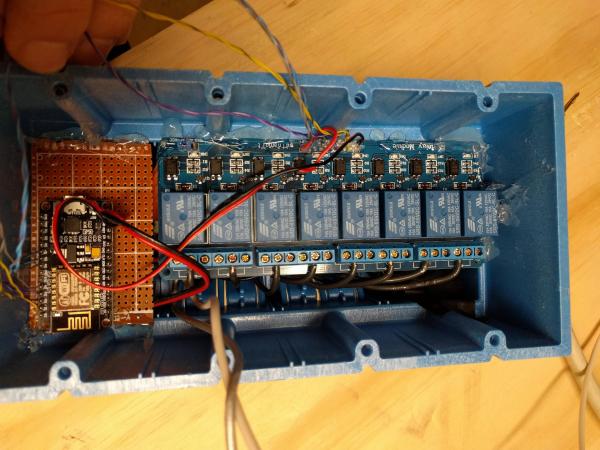
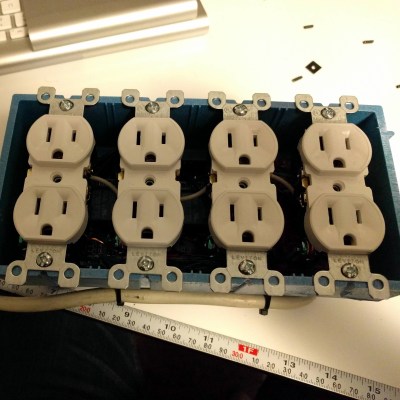 Inside the junction box, an eight-channel relay is connected to an ESP8266 module. The module uses MQTT to communicate with Home Assistant and is powered by a partially dismembered USB AC adapter — wrapped in kapon tape for safe-keeping. The entire bar is wired through a 10A fuse, while also using a fire resistant 4-gang electrical box. Once the outlets were wired in, closing it up finished up the power bar.