Portable Workbench Crams An Entire Workspace Into One Box

Making on the go is sometimes required in today’s busy lives, and if you find yourself traveling — say, off to university like [ZSNRA] — then a convenient solution is required. To that end, a portable electronics workbench was built in the shape of a relatively nondescript plywood box.

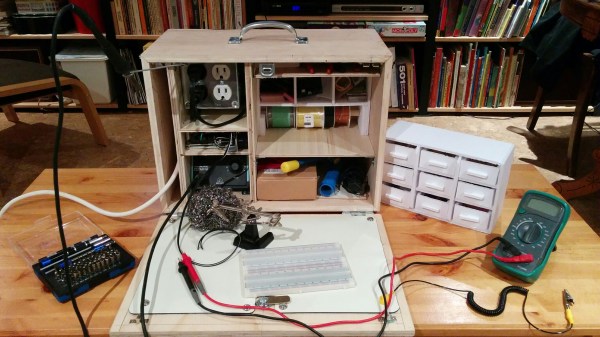
Plywood and foam-core are the main materials used in building this maker’s bug-out box, with two fir runners along the bottom so the case is not resting on the hinges. Inside, [ZSNRA] has packed a staggering amount of hardware which results in an 11kg suitcase.

Power Stack
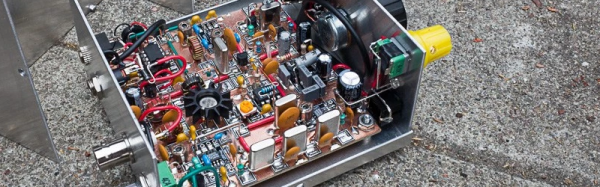
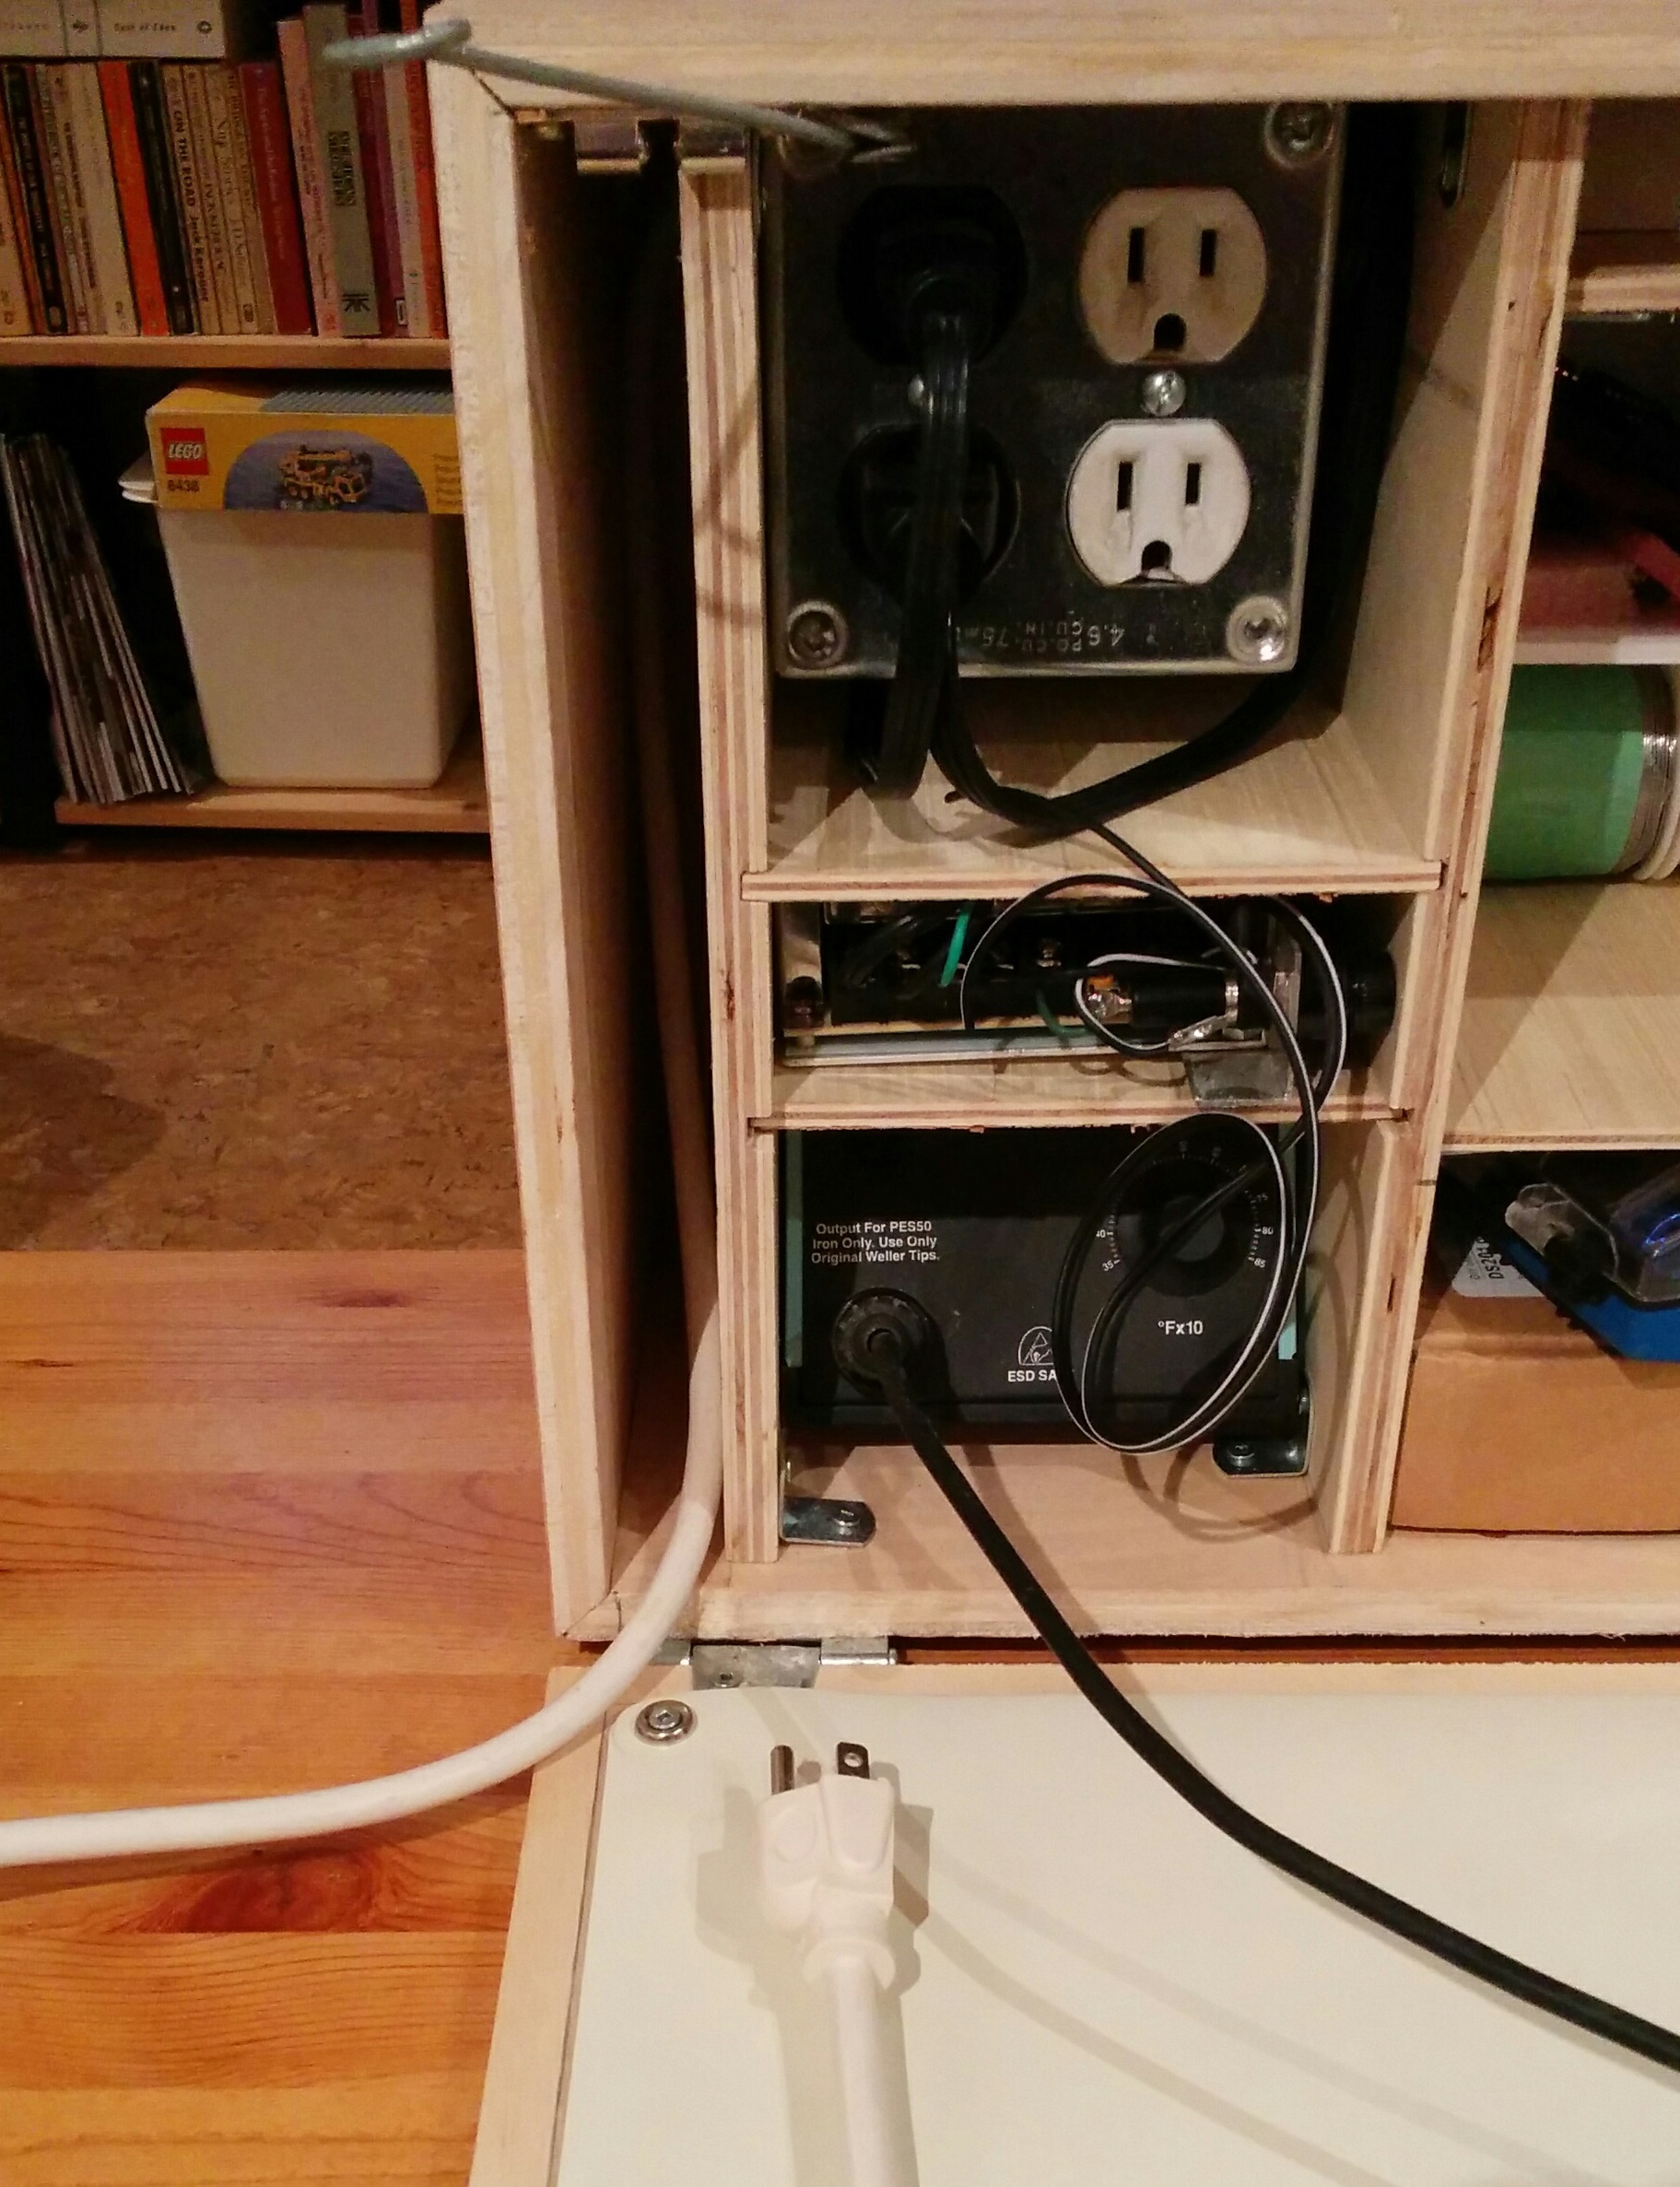
Here goes — deep breath now: wires, solder, resistors, transistors, capacitors, diodes, clips, switches, logic chips, non-logic chips, an Arduino, ATmegas, fuses, pliers, wire strippers and cutters, angle cutters, tweezers, a 66-piece screwdriver set, a desoldering pump, 12 needle files, a hacksaw blade, a multi meter, oscilloscope, power source, four outlets built into the case(!), steel wool, a third hand, a soldering station, two handbooks, and a breadboard.

Whew.


The work surface is an ESD mat on the inside of the case’s front face that is comfortable enough to work with, though we are surprised that it doesn’t also fold out somehow to create an even larger work-space.

For an elegant — if slightly less mobile — workbench solution, check out The Tempel. Now if you’re looking for ideas on how and what to carry we still think [Kenji Larsen] has the ultimate hacking kit.

[Thanks for the tip, Zaphod! via /r/electronics]

Hacklet 125 – DIY Laptops

In the old days of the 1970’s, the only way to get your own computer was to build one from scratch. Thanks to an army of hackers like [Woz], PC’s are no commodity objects that can be bought for a couple of hundred dollars. The magic of building your own still is there though – especially when we’re talking about portable machines. Laptops, notebooks, netbooks take quite a bit of skill to assemble. Stuffing a keyboard, screen, and battery into a small clamshell case takes a bit of planning. Our last look at DIY laptops was exactly 100 Hacklets ago, so it’s time for a refresh. This week we’re checking out some of the best DIY laptops and portable computers on Hackaday.io!

piberryWe start with [Sahas Dinesh Chitlange] and Pi-Berry Laptop. [Sahas] found just the right mix of simple and elegant with this build. A Raspberry Pi 2 is the brains of the operation. The Pi sits in a case built from a mix of MDF and regular wood. The display is a 10.1″ HDMI LCD. The keyboard was pulled from a tablet case. Power was easy — a USB power bank provides enough for 4-5 hours of runtime. [Sahas] covered his laptop in Italian leather for a polished look. He planned out his parts layout well enough that the power-hungry Pi stays cool without a fan.

pivenaNext up is [Tim] with PIvena. [Tim] took his inspriation from [Bunnie Huang’s] Novena open laptop. Rather than roll his own ARM board, [Tim] went with a Raspberry Pi. His original design was for the Raspberry Pi model B. Last time we looked at PIvena, the model B+ was still pretty new. As we hoped, [Tim] modified his design to accept the new Pi layouts. This means it will physically work with the B+, Pi 2, and Pi 3 boards. [Tim] didn’t stop there though. He also upgraded from an 800 x 480 LCD to an 1200 x 800 LCD. He managed to do that while keeping the same bolt pattern on the travel cover. Nice work [Tim]!

elloNext we have [KnivD] with ELLO 2M. The most striking thing about ELLO 2M is the construction. The entire laptop is made from 6 PCBs which sandwich all the other parts. The keyboard is PCB material with keys routed out. The processor is a Microchip PIC32MX470-120. Software is loaded from one of 3 microSD cards. The 7 inch touchscreen LCD and 4500 mAh LiPo battery are nestled in between PCB layers. A true hacker, [KnivD] included a generous pin grid for debugging add-on circuits. The whole setup looks great with white silkscreen. As [Mark Sherman] mentioned in the comments, this machine reminds us of a modern-day TRS-80 Model 100.

pipdaFinally we have [pdrift86] with Mini rpi2 laptop. Palmtop might be a better name for this. [pdrift86] took his inspiration (and his keyboard) from the old HP Jornada Personal Digital Assistant (PDA). The housing is Masonite, cut from a clipboard. A Raspberry Pi 2 hides inside, along with a 4 cell 18650 Li-Ion battery. The screen is a 5″ LCD with a composite input. The display isn’t a touchscreen, so a Playstation Portable analog stick is on-board, and will eventually be connected for mouse control. [pdrift86] even managed to sneak the Pi camera on the back of his machine, so it can take pictures cellphone style.

If you want to see more DIY laptop projects, check out our new DIY Laptops notebooks, and portables list. Notice a project I might have missed? Don’t be shy, just drop me a message on Hackaday.io. That’s it for this week’s Hacklet, As always, see you next week. Same hack time, same hack channel, bringing you the best of Hackaday.io!

Drone Flies 12 Cm On Wireless Power

[Sam M] wrote in with a quick proof-of-concept demo that blows our socks off: transferring enough power wirelessly to make a small quadcopter take flight. Wireless power transfer over any real distance still seems like magic to us. Check out the videos embedded below and you’ll see what we mean.

What’s noteworthy about this demo is that neither the transmitter nor the receiver are particularly difficult to make. The transmitting loop is etched into a PCB, and the receiver is made of copper foil tape. Going to a higher frequency facilitates this; [Sam M] is using 13.56 MHz instead of the kilohertz that most power-transfer projects use. This means that all the parts can be smaller and lighter, which is obviously important on a miniature quadrotor.

Continue reading “Drone Flies 12 Cm On Wireless Power”

Wilderness Radio Build

[AA7EE] is no stranger to building radios. His latest is a from-scratch build of a 20 meter QRP transceiver based on the popular SST design. Although the SST has been available as a kit, [AA7EE] incorporated some design changes from others and some of his own, too. He even added an onboard keyer to simplify operation. You can see videos of the radio below.

The build uses Manhattan-style PCB pads. Although the construction is very attractive, the real value of the post is the detailed explanation of not only how, but why everything is the way it is. This isn’t a simple project, and being able to see it completed step-by-step is very educational. About the only decision not adequately explained was the change of red and yellow knobs to black! You can see both versions in the videos below.

The Manhattan construction is tidy, but the radio also has an attractive case. The size is just big enough to stack a pair of paddles on top.

There may be some more enhancements for the little radio coming. We’ve covered [AA7EE’s] RF exploits before, including a physically attractive radios and details about the same construction method used in this radio.

Continue reading “Wilderness Radio Build”

Hackaday Prize Entry: High End Preamps

While compact disks are seeing an uptick in popularity thanks to a convenient format that offers a lossless high-quality 44.1 KHz sample rate with 16-bit depth, some people are still riding the vinyl bandwagon of 2010. With that comes a need for the best hardware, and that means expensive cartridges and preamps designed by someone who knows what they’re doing.

For this year’s Hackaday Prize, [skrodahl] is building a really, really good preamplifier for moving coil turntable cartridges. It’s already built, it’s already tested, and the results are good: it produces between 36 and 46dB of gain, -110dB of dynamic range, and a signal to noise ratio of 79.46 relative to a 5mV input. That puts this preamplifier into the same territory as preamps sold with serial numbers, crystal lattices, and other audiophile nonsense.

The quality of this preamp comes from the design, and like any good open hardware project, [skrodahl] has made the schematic, PCB, and layout of this preamp completely open. It’s a great preamp, and a great entry for the Hackaday Prize.

High Performance Crystal Radio

When you think of a crystal radio, you probably think of something simple maybe built out of household scraps. Not if you are [Chris Wendling]. He recently posted a video (see below) of his high-performance crystal set. He doesn’t take any shortcuts: he has several hundred feet of antenna wire, and uses a cold-water pipe ground system. With no amplifier, a strong signal input is crucial.

The radio has four subsystems: an antenna tuner, a bandpass filter, a detector, and a powered audio output system. He also has a truly enormous system of speakers on the ceiling–this isn’t the crystal radio you made in the boy scouts.

Continue reading “High Performance Crystal Radio”

Smartphone TV Remote Courtesy Of Homekit And ESP8266

Good grief, this smartphone-to-TV remote really drives home how simple hardware projects have become in the last decade. We’re talking about a voltage regulator, IR LED, and ESP8266 to add TV control on your home network. The hardware part of the hack is a homemade two sided board that mates an ESP with a micro-USB port, a voltage regulator to step down fom 5 to 3.3 v, and an IR LED for transmitting TV codes.

Let’s sit back and recount our good fortunes that make this possible. USB is a standard and now is found on the back of most televisions — power source solved. Cheap WiFi-enabled microcontroller — check. Ubiquitous smartphones and established protocols to communicate with other devices on the network — absolutely. It’s an incredible time to be a hacker.

Television infrared remote codes are fairly well documented and easy to sniff using tools like Arduino — in fact the ESP IR firmware for this is built on [Ken Shirriff’s] Arduino IR library. The rest of the sketch makes it a barebones device on the LAN, waiting for a connection that sends “tvon” or “tvoff”. In this case it’s a Raspberry Pi acting as the Homekit server, but any number of protocols could be used for the same (MQTT anyone?).

Continue reading “Smartphone TV Remote Courtesy Of Homekit And ESP8266”