[TVMiller] has a bone to pick with you if you let your car idle while you chat or text on your phone. He doesn’t like it, and he wants to break you of this wasteful habit – thus the idle-deterrence system he built that he seems to want on every car dashboard.
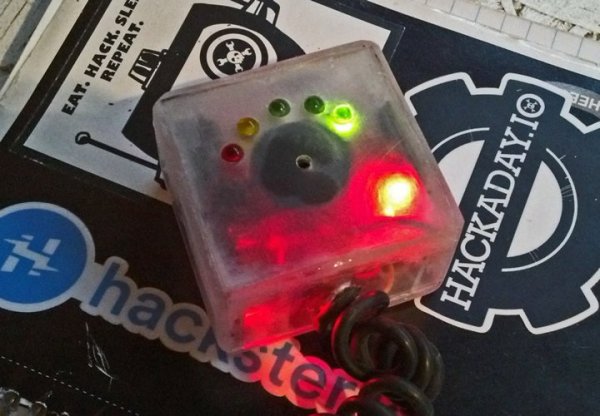
In the video below, the target of his efforts is clear – those who start the car then spend time updating Twitter or Instagram. His alarm is just an Arduino Nano that starts a timer when the car is started. Color-coded LEDs mark the time, and when the light goes red, an annoying beep starts to remind you to get on with the business of driving. The device also includes an accelerometer that resets the timer when the vehicle is in motion; the two-minute timeout should keep even the longest stop light from triggering the alarm.
[TVMiller] plans an amped-up version of the device built around an MKR1000 that will dump idle to moving ratios and other stats to the cloud. That’s a little too Big Brother for our tastes, but we can see his point about how wasteful just a few minutes of idling can be when spread over a huge population of vehicles. This hack might make a nice personal reminder to correct wasteful behavior. It could even be rolled into something that reads the acceleration and throttle position directly from the OBD port, like this Internet of Cars hack we featured a while back.
Continue reading “Car Idle Alarm Helps You Stop Wasting Gas While Tweeting”