Today Hackaday is launching a new site that furthers our goal of being a Virtual Hackerspace. Now you can host your own hacks and builds in a place truly worthy of what we’re all about. We present to you: Hackaday Projects.
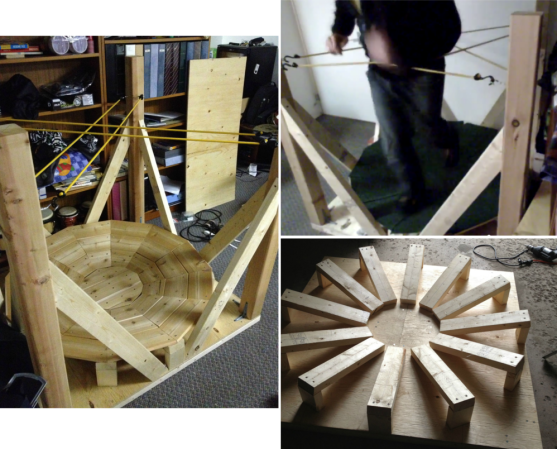
What’s so great about it? It has a dark theme, just like the blog! Actually, the awesome of the new site is a combination of what’s already available and what we have planned. First and foremost, the site has been built from the ground up with open data in mind. This means you own what you create on Hackaday Projects. You can export your work, delete it, and use a public API to extend the usefulness of the data. Secondly, we have a range of different tools which are extremely easy and quick to use, but allow rich styling and presentation when you need it. Want to see what we mean? Go check out the NFC Voting Rig that was at The Gathering.
Where do we go from here? A huge part of that is up to you. We need Hackaday readers to get in there and tell us what works, what doesn’t work, and what needs to be added. Are you up to the task? Request your alpha testing invite now and guide Hackaday Projects to be the hosting site the Hackaday community has always dreamed about!