Driving A Salvaged LCD

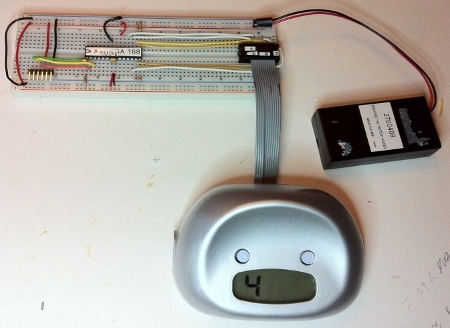
[bill2009] wanted to reuse some common seven segment LCDs, but the question was how to drive them. Armed with a couple application notes from [Microchip] and [Atmel], an oscilloscope and an Arduino, he has made a proof of concept which shows its not super hard to drive those little reflective LCDs that so many devices have.

First finding out that these things are indeed multiplexed, he went on to what is needed to drive them, which is about +-2 volts difference from the backplane, next up was to find a donor, which he found readily at Staples, in the form of a “clocky” style run away alarm clock.

After poking around watching what signals do to the different segments on the LCD he whipped up a little circuit to control the display from the Arduino. The positive and negative voltages the segments require are made possible by the use of a set of pull down resistors, and switching pin modes on the micro controller.

These small type segmented LCDs are everywhere, and being able to use them is a big bonus.
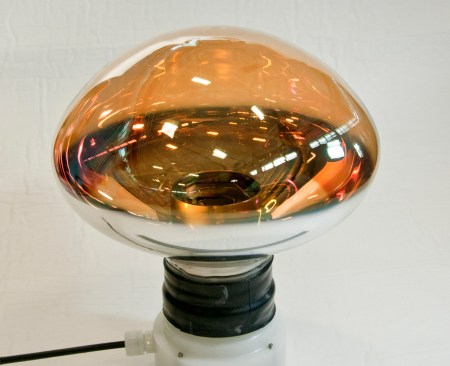
Imploding Vacuum Tubes For Science

The researchers at Brookhaven National Laboratory are looking for a way to harden photomultiplier tubes. In order to make a more durable tube the researchers decided it would be a good idea to first observe how the tubes are failing. So they got their hands on an old torpedo test bay and smashed some bulbs inside of it. Check in after the break for some high fps bulb smashing.

Photomultiplier tubes are used in massive quantities to detect the highly elusive neutrino particle. The problem is when you have 50,000 photomultipliers submerged in pressurized water the the collapse of just a single bulb can cause a shock wave of destruction. This is what happened in japan in 2001 when a maintenance worker unknowingly compromised a single bulb in a 11,000 bulb array. When the tank was repressurized that single compromised bulb caused them to lose 7,000 more.

[via wired]

Continue reading “Imploding Vacuum Tubes For Science” →

Multitool Alarm System

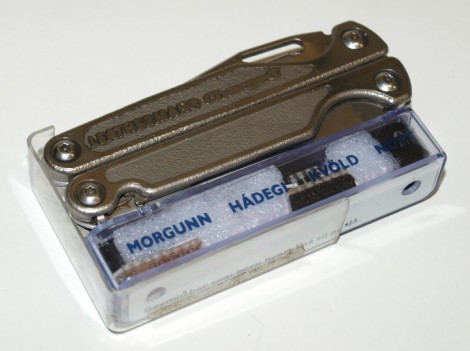
Here’s a way to make sure you don’t leave your Leatherman multitool somewhere. It’s an alarm system that will start a timer when the tool is removed from the holster. After five minutes the module beeps to remind you to put the tool back where it belongs. Annoying? Possibly, but if you’re not done with your work just press the reed leaf switch on the module to reset the timer. A PIC 12F683 handles the timing and generates the waveform for the piezo buzzer. Perhaps this could have been accomplished with a dual 555 chip like the LM556 (one timer for the countdown and another for the piezo waveform) but the PIC has power-down modes available that should make the button batteries last a long time.

Daft Punk Module – Just Add Table

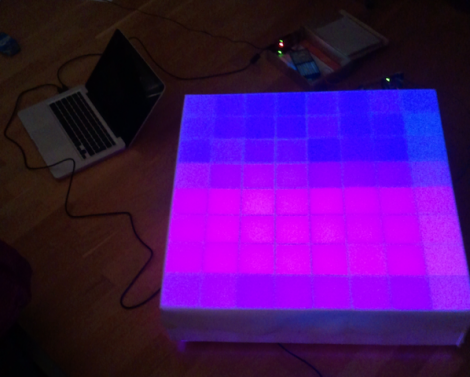
This is just an 8×8 LED matrix, but the size and execution make it look marvelous. [Michu] built this module using foam board dividers to separate the cells, a foam board back to host the 64 RGB LEDs, and a sheet of heavy frost diffusion gel that is a stage lighting product. The display is driven by a Rainbowduino with input from a processing sketch. The effects seen in the video after the break are quite pleasing, and are just begging to be installed in your next coffee table project.

Continue reading “Daft Punk Module – Just Add Table” →

Ossmann Talks About Ubertooth At Schmoocon

[Michael Ossmann’s] talk from Schmoocon about his open source Bluetooth test tool called Ubertooth is now available to watch online. The video really fills in the gaps from the first time we looked at the project, as he covers why he took on the challenge, and what has happened since. He talks about how his work with the IM-ME helped in choosing hardware along the way, and the choices he made while developing the USB dongle. His hardware considerations included parts that didn’t require a nondisclosure agreement (keeping it open source) and that were available in single quantities so that individuals could build and populate their own boards quite easily.

We’ve embedded the talk after the break. The project is coming along great, and his Kickstart funds have almost doubled the original goal.

Continue reading “Ossmann Talks About Ubertooth At Schmoocon” →

Low-cost Video Chat Robot

remote_control_chat_robot

[Johnny Chung Lee], having recently moved from Seattle to Mountain View, wanted a way to keep in touch with his fiancé who would not be relocating for several more months. While most of us would likely consider purchasing a pair of web cams to keep in touch, he decided to do things his own way.  Using an iRobot Create and a netbook, both about $250 apiece, he constructed a remote-controlled video chat robot that he can steer around his former abode from 1,000 miles away. While $500 might seem expensive at first, [Johnny] reminds us that commercial versions likely run into the thousands of dollars.

The whole setup is controlled using custom software to manage the movement of the robot, which can be used in conjunction with freely available videoconferencing applications, such as Skype. He also modified the iRobot’s charging station to charge both the robot and the netbook simultaneously – a process he explains, but precedes with several disclaimers.  Like some of his previous projects we have covered, he has made the C# source used in this project available for download on his site, along with documentation for both the control software and dock modifications.

Check out video of the robot in action after the jump.

Continue reading “Low-cost Video Chat Robot” →

Four-axis Camera Mount Rides On A Wire

Here’s [Badwolf’s] team posing with their college project. It’s a 4-axis gimbal mount for a camera that they designed in CAD, cut parts using a laser, then milled them down to specifications. In the picture above there is a tiny point-and-shoot camera mounted inside the suspended ring but the rig’s strong enough to support cameras of any size.

That mounting ring can rotate like the hands of a clock, but it also pivots on a horizontal axis. The bracket that holds the ring can rotate on a vertical axis, and the entire assembly moves along the wire supporting it. After the break you can see some test footage that shows the rig being operated via a handheld radio controller.

This setup let’s the camera travel as far as the cable can reach. But if you want something that lets you take photographs of very tall objects you’ll need to use a different setup. Continue reading “Four-axis Camera Mount Rides On A Wire” →