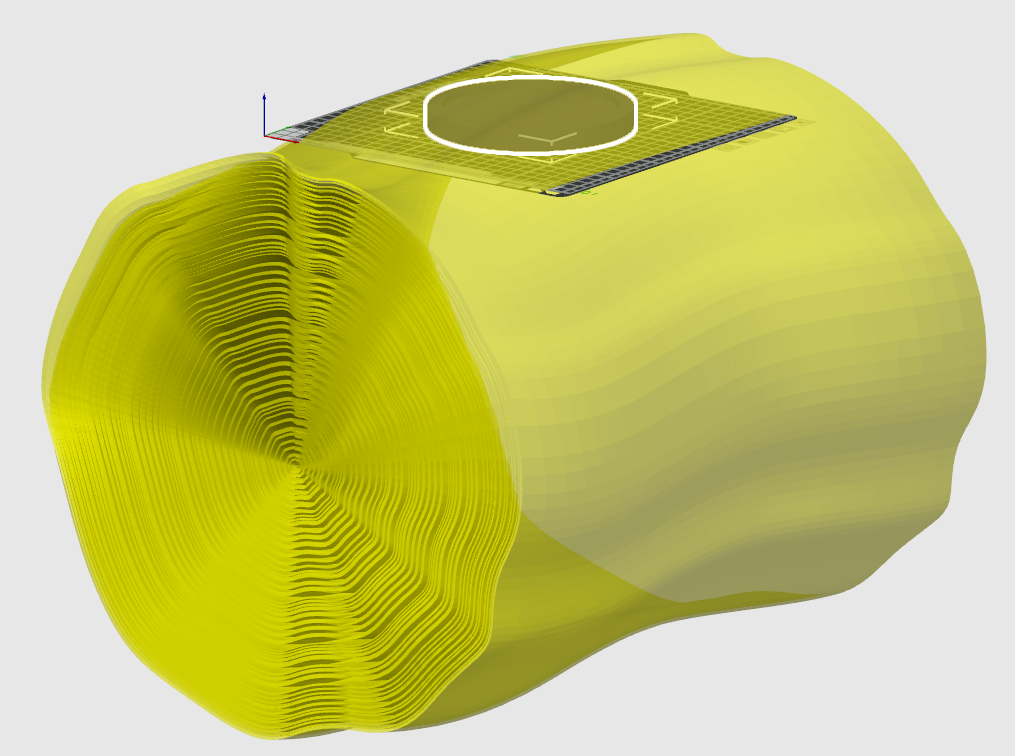
We aren’t sure if [Joshua Bellamy] is serious that he wants a laminar flow to water his plants, but there are many places where having a smooth and predictable flow of water is useful or even essential. With his 3D printed adapter, you can produce laminar flow from any garden hose.
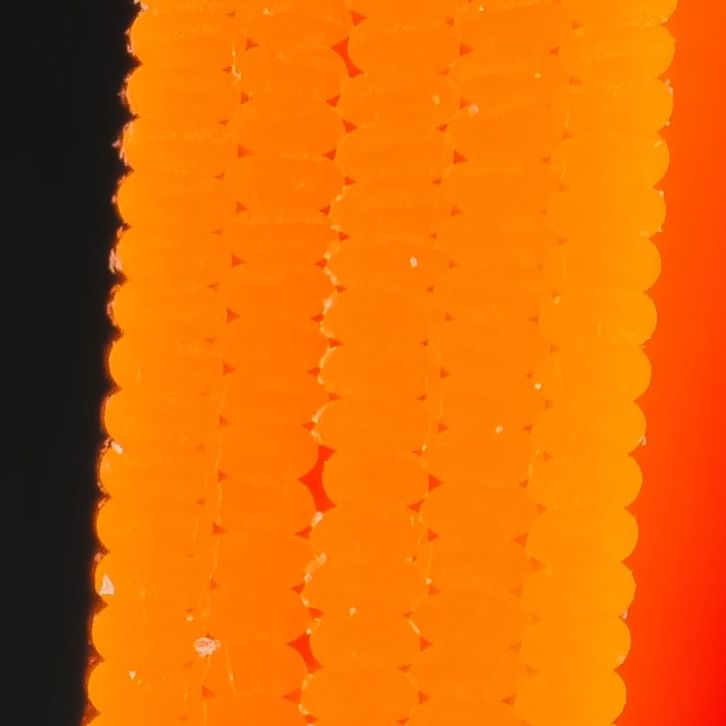
If you haven’t heard the term before, laminar flow is to water what a laser is to light. The water moves in parallel tracks with minimal mixing and turbulence. Ensuring laminar flow is often critical to precise flow metering, for example.
This isn’t [Joshua]’s first attempt. He has made a nozzle like this before, but it required a lot of assembly (“more fiddly bits than a Swedish flat-pack sofa” according to the post). Depending on the version, you’ll need various bits of extra hardware in addition to the 3D printed parts. Some versions have drop-in nuts and even an LED. Fiberglass insulation at the inlet diffuses turbulence, and some manual work on the output provided better results. When everything is working, the output of the hose should look like a glass rod, as you can see in the video below.
Air can also have laminar or non-laminar flow. Laminar air flow in a laser cutter’s air assist can make a big difference. If you don’t fancy 3D printing, you could save some drinking straws from your last few hundred trips to the local fast food emporium.