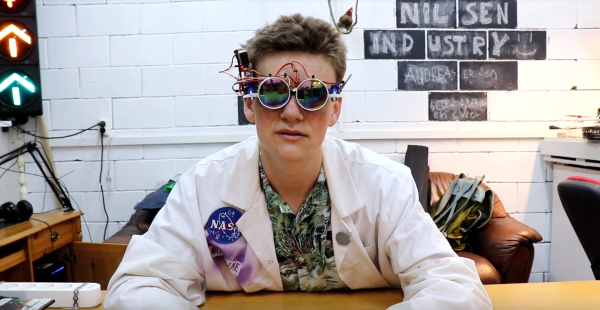
[Andreas] may have created the ultimate lazy hacker accessory: automatic sunglasses, or “Selfblending sunglasses” as he creatively titled his video. If you can’t tell from the name, these are glasses that you never have to take off. If the light is dim, they move away from your eyes. Going back outside to bright light? The glasses move to protect your eyes.
The glasses consist of a couple of micro servos which move tinted lenses toward or away from the user’s eyes. A side-mounted Arduino Uno reads a CdS cell light sensor and drives the servos. Why an Uno rather than a much more wearable Arduino Nano? It’s what [Andreas] had lying around.
Yes, a good portion of the fun of this build is [Andreas’] comedy. But the best part comes when he tests the glasses out — in an actual car on the highway. The glasses work better than expected — moving the lenses into and out of [Andreas] field of view as he drives through tunnels. You can actually see how surprised [Andreas] is that it works so well.
These aren’t the first automatic sunglasses we’ve seen, nor are they the most peril-sensitive. Still, it’s a fun project and the video gave us a few chuckles.
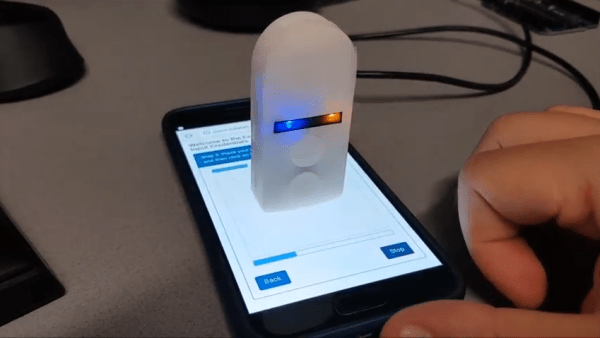
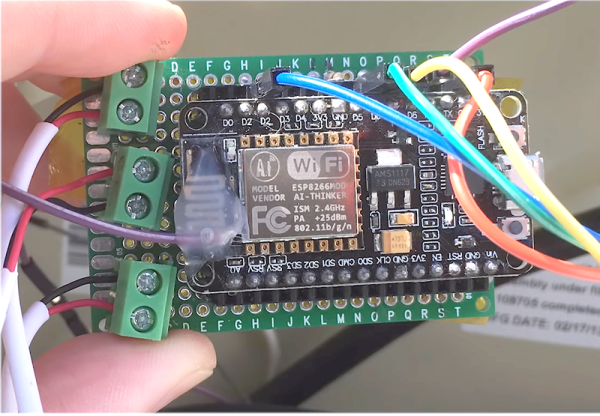
 A flashing LCD screen and a photo-resistor barely make the cut for a one-way LiFi system, but [Eduardo Zola] makes it work. The approach is to build a resitor divider and watch an input pin on the ESP for changes.