Nixie tubes come in many shapes and sizes, but in only one color: the warm orange glow that makes them so desirable. They don’t usually come in large numbers, either: a typical clock has four or six; a frequency counter perhaps eight or nine. But some projects go bigger – a lot bigger in [Dalibor Farný]’s case. He built an art installation featuring more than a hundred jumbo-sized nixie tubes that make an entire wall glow orange.
This project is the brainchild of renowned installation artist [Alfredo Jaar], who was invited to create an exhibition at the Hiroshima Museum of Contemporary Art. Its title, Umashimenkana, means “we shall bring forth new life” and refers to a poem describing the birth of a child amid the suffering and despair following the atomic bombing of Hiroshima. Visitors to the exhibit experience a dark room where they see a wall of orange numbers count down to zero and erupt into a waterfall of falling zeroes.
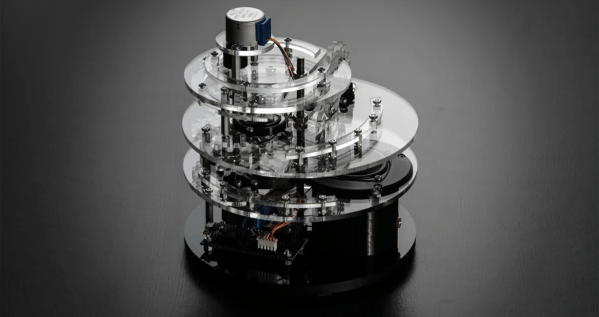
Nixie tube expert [Dalibor] was the go-to person to implement such an installation – after all, he’s one of very few people making his own tubes. But even he had to invest a lot of time and effort into scaling them up to the required 150 mm diameter, with 135 mm tall characters. We covered his efforts towards what was then known as the H-tube project two years ago, and we’re happy to report that all of the problems that plagued his efforts at the time have since been solved.
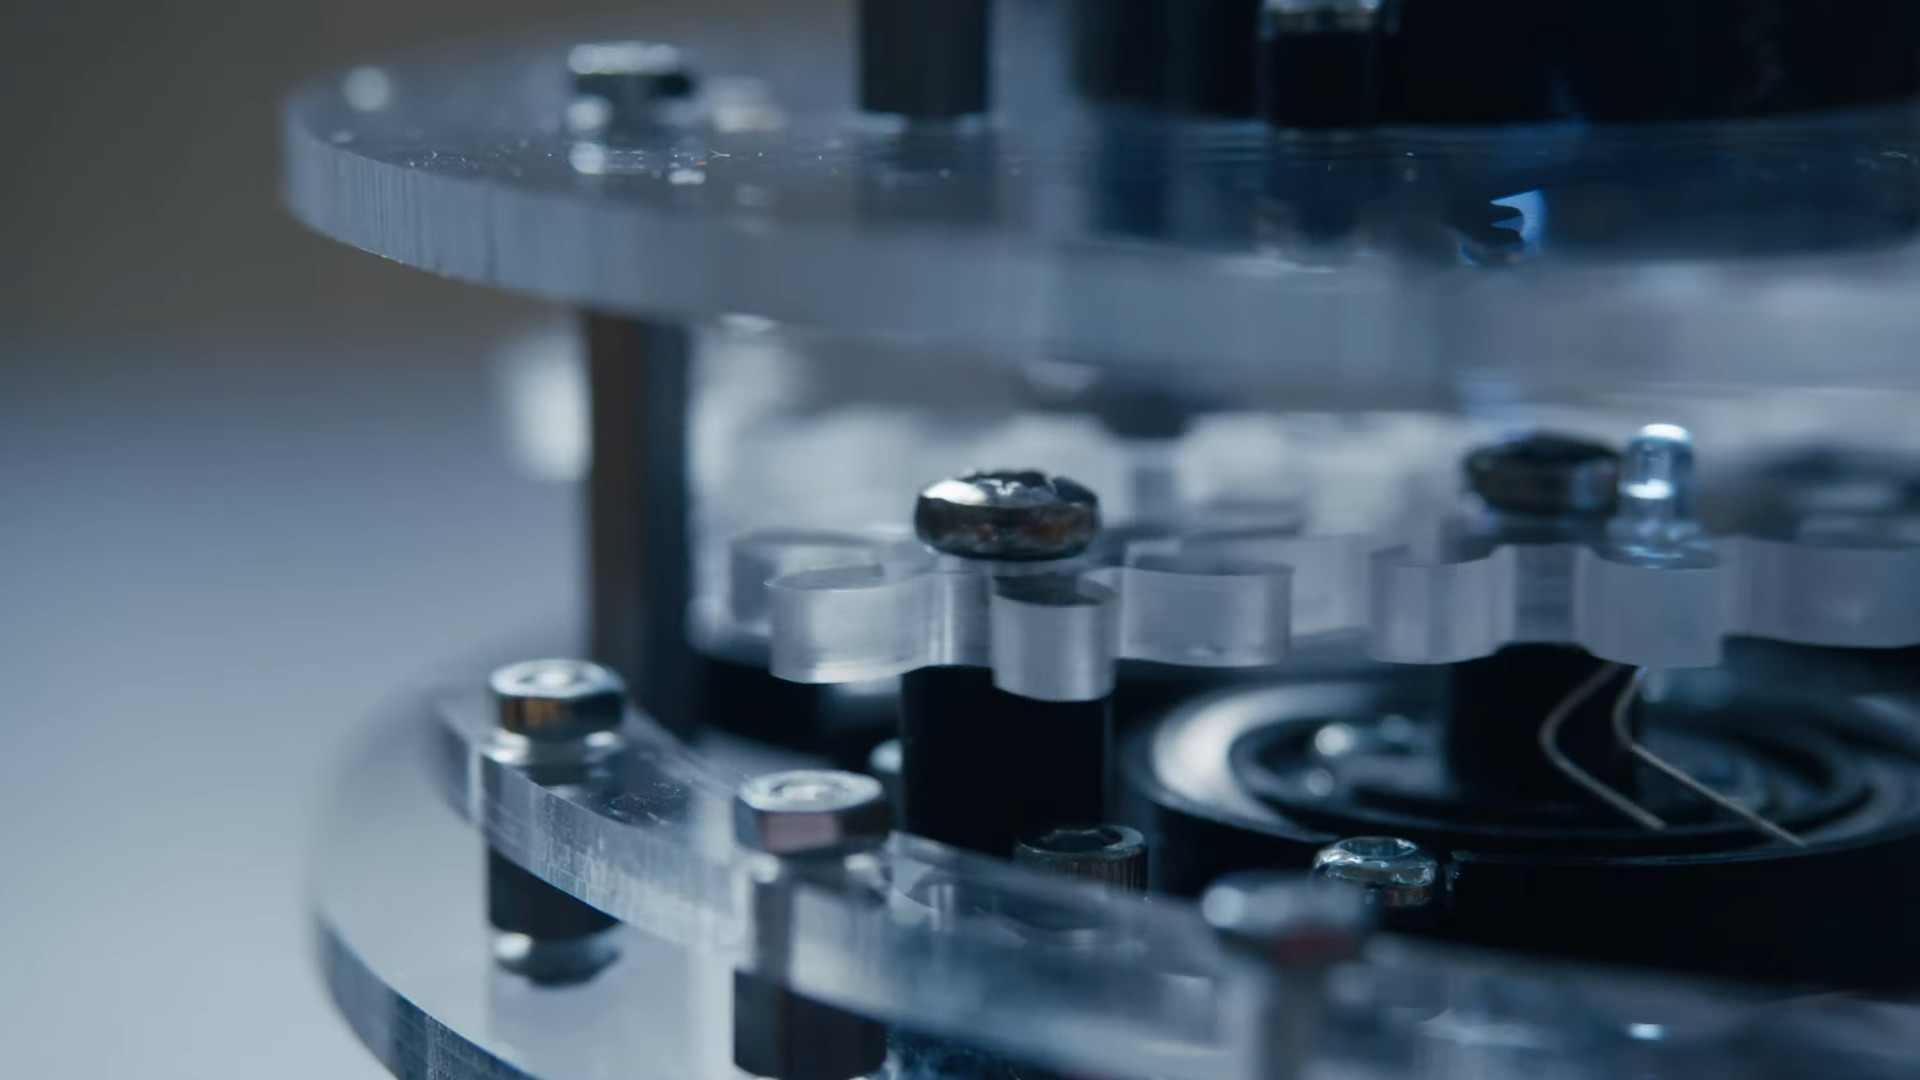
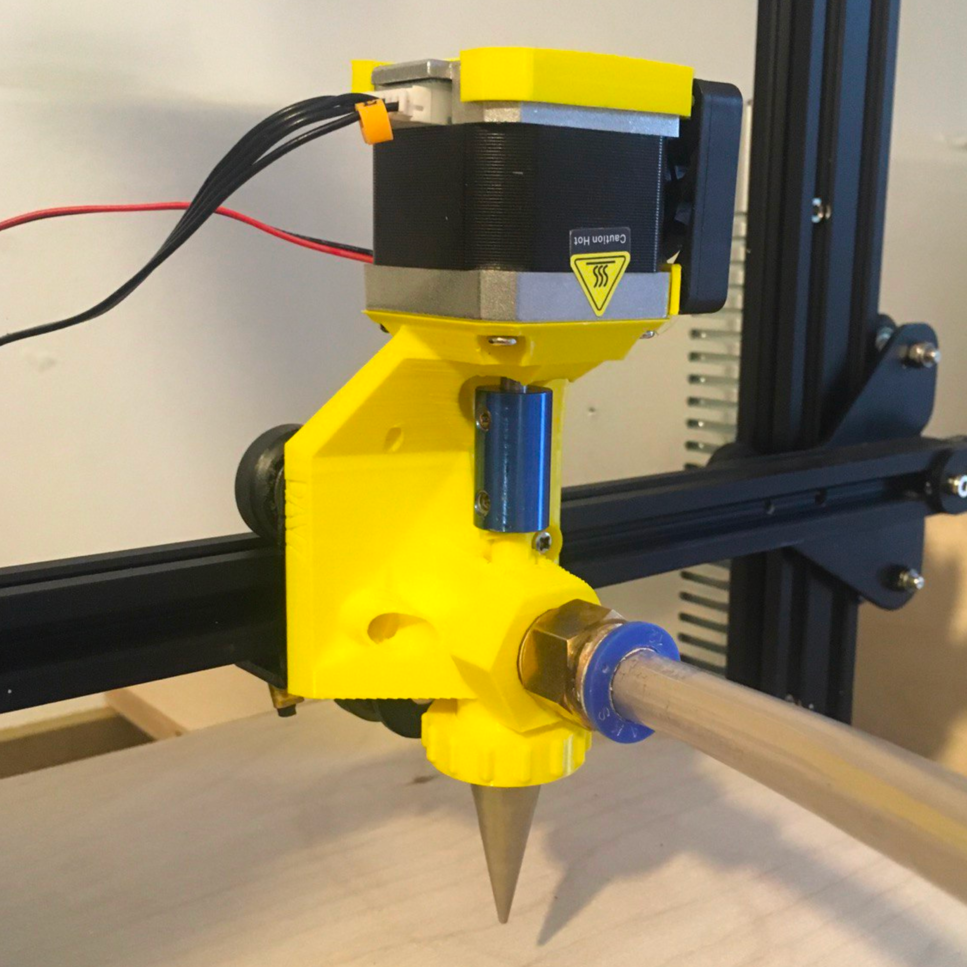
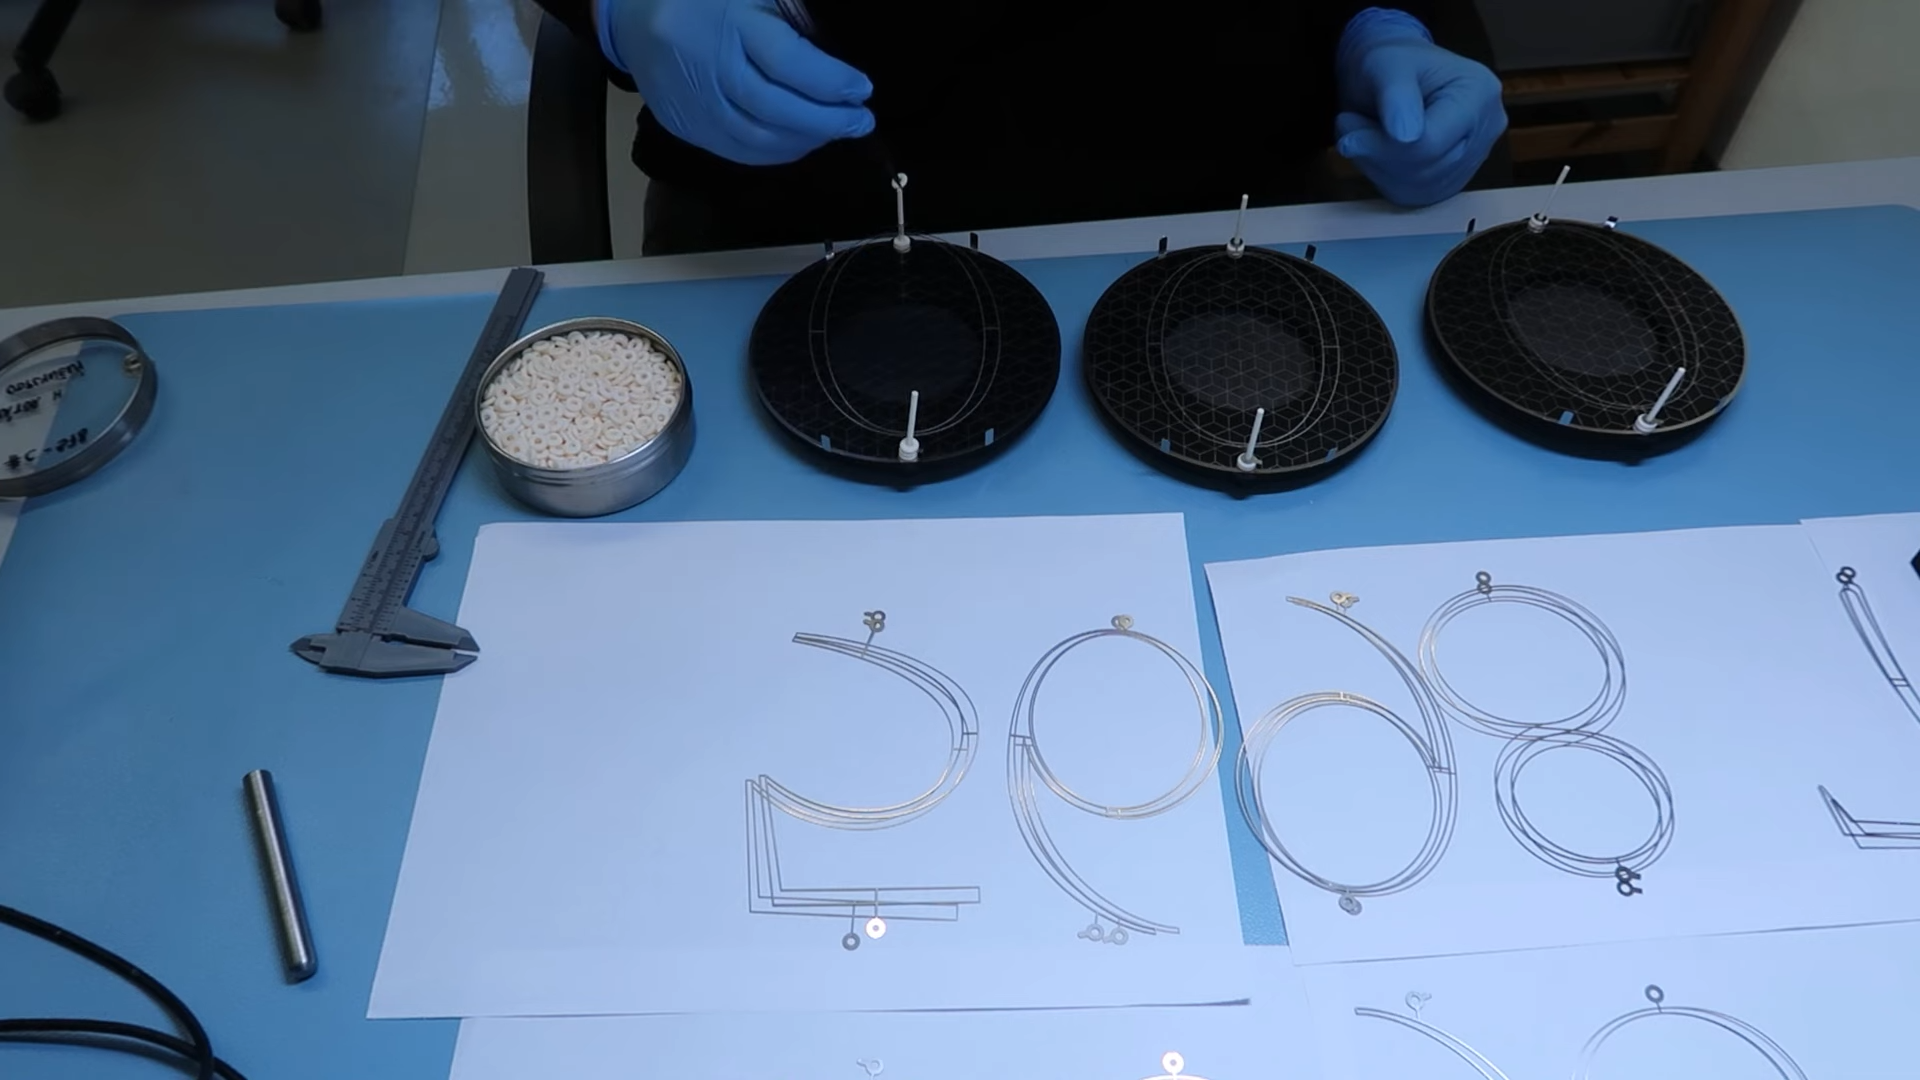 One of the major issues was keeping the front of the tubes intact during manufacture. Often, [Dalibor] and his colleagues would finish sealing up a tube, only for the front to pop out due to stress build-up in the glass. A thorough heating of the entire surface followed by a slow cooling down turned out to be the trick to evening out the stress. All this heat then caused oxidation of the cathodes, necessitating a continuous flow of inert gas into the tube during manufacture. Those cathodes already had to be made stronger than usual to stop them from flexing, and the backplate light enough to keep everything shock resistant. The list goes on.
After ironing out these quirks, as well as countless others, [Dalibor] was finally able to set up a small-scale production line in a new workshop to get the required 121 tubes, plus spares, ready for shipment to Japan. The team then assembled the project on-site, together with museum staff and the artist himself. The end result looks stunning, as you can see in the excellent video embedded below. We imagine it looks even better in real life – if you want to experience that, you have until October 15th.
You might remember [Dalibor] from his excellent video on nixie clock fault analysis – which we hope won’t be necessary for Umashimenkana. He might be able to make your favorite shape into a nixie tube, too. Thanks for the tip, [Jaac]!
Continue reading “[Dalibor Farný]’s Enormous Nixies Light Up Contemporary Art Museum”