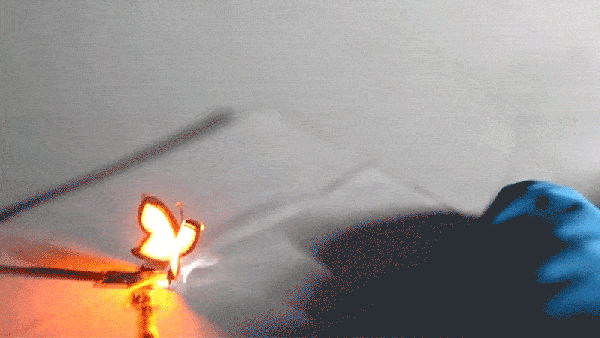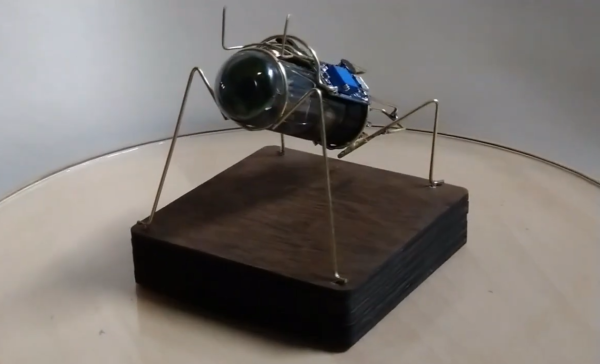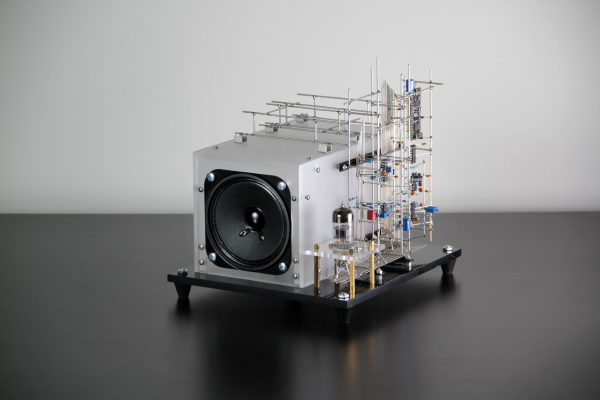
We’ve not had a circuit sculpture piece for a while, so here’s “ioalieia” a lovely hybrid digital-analog sound sculpture by [Eirik Brandal] to dig into.
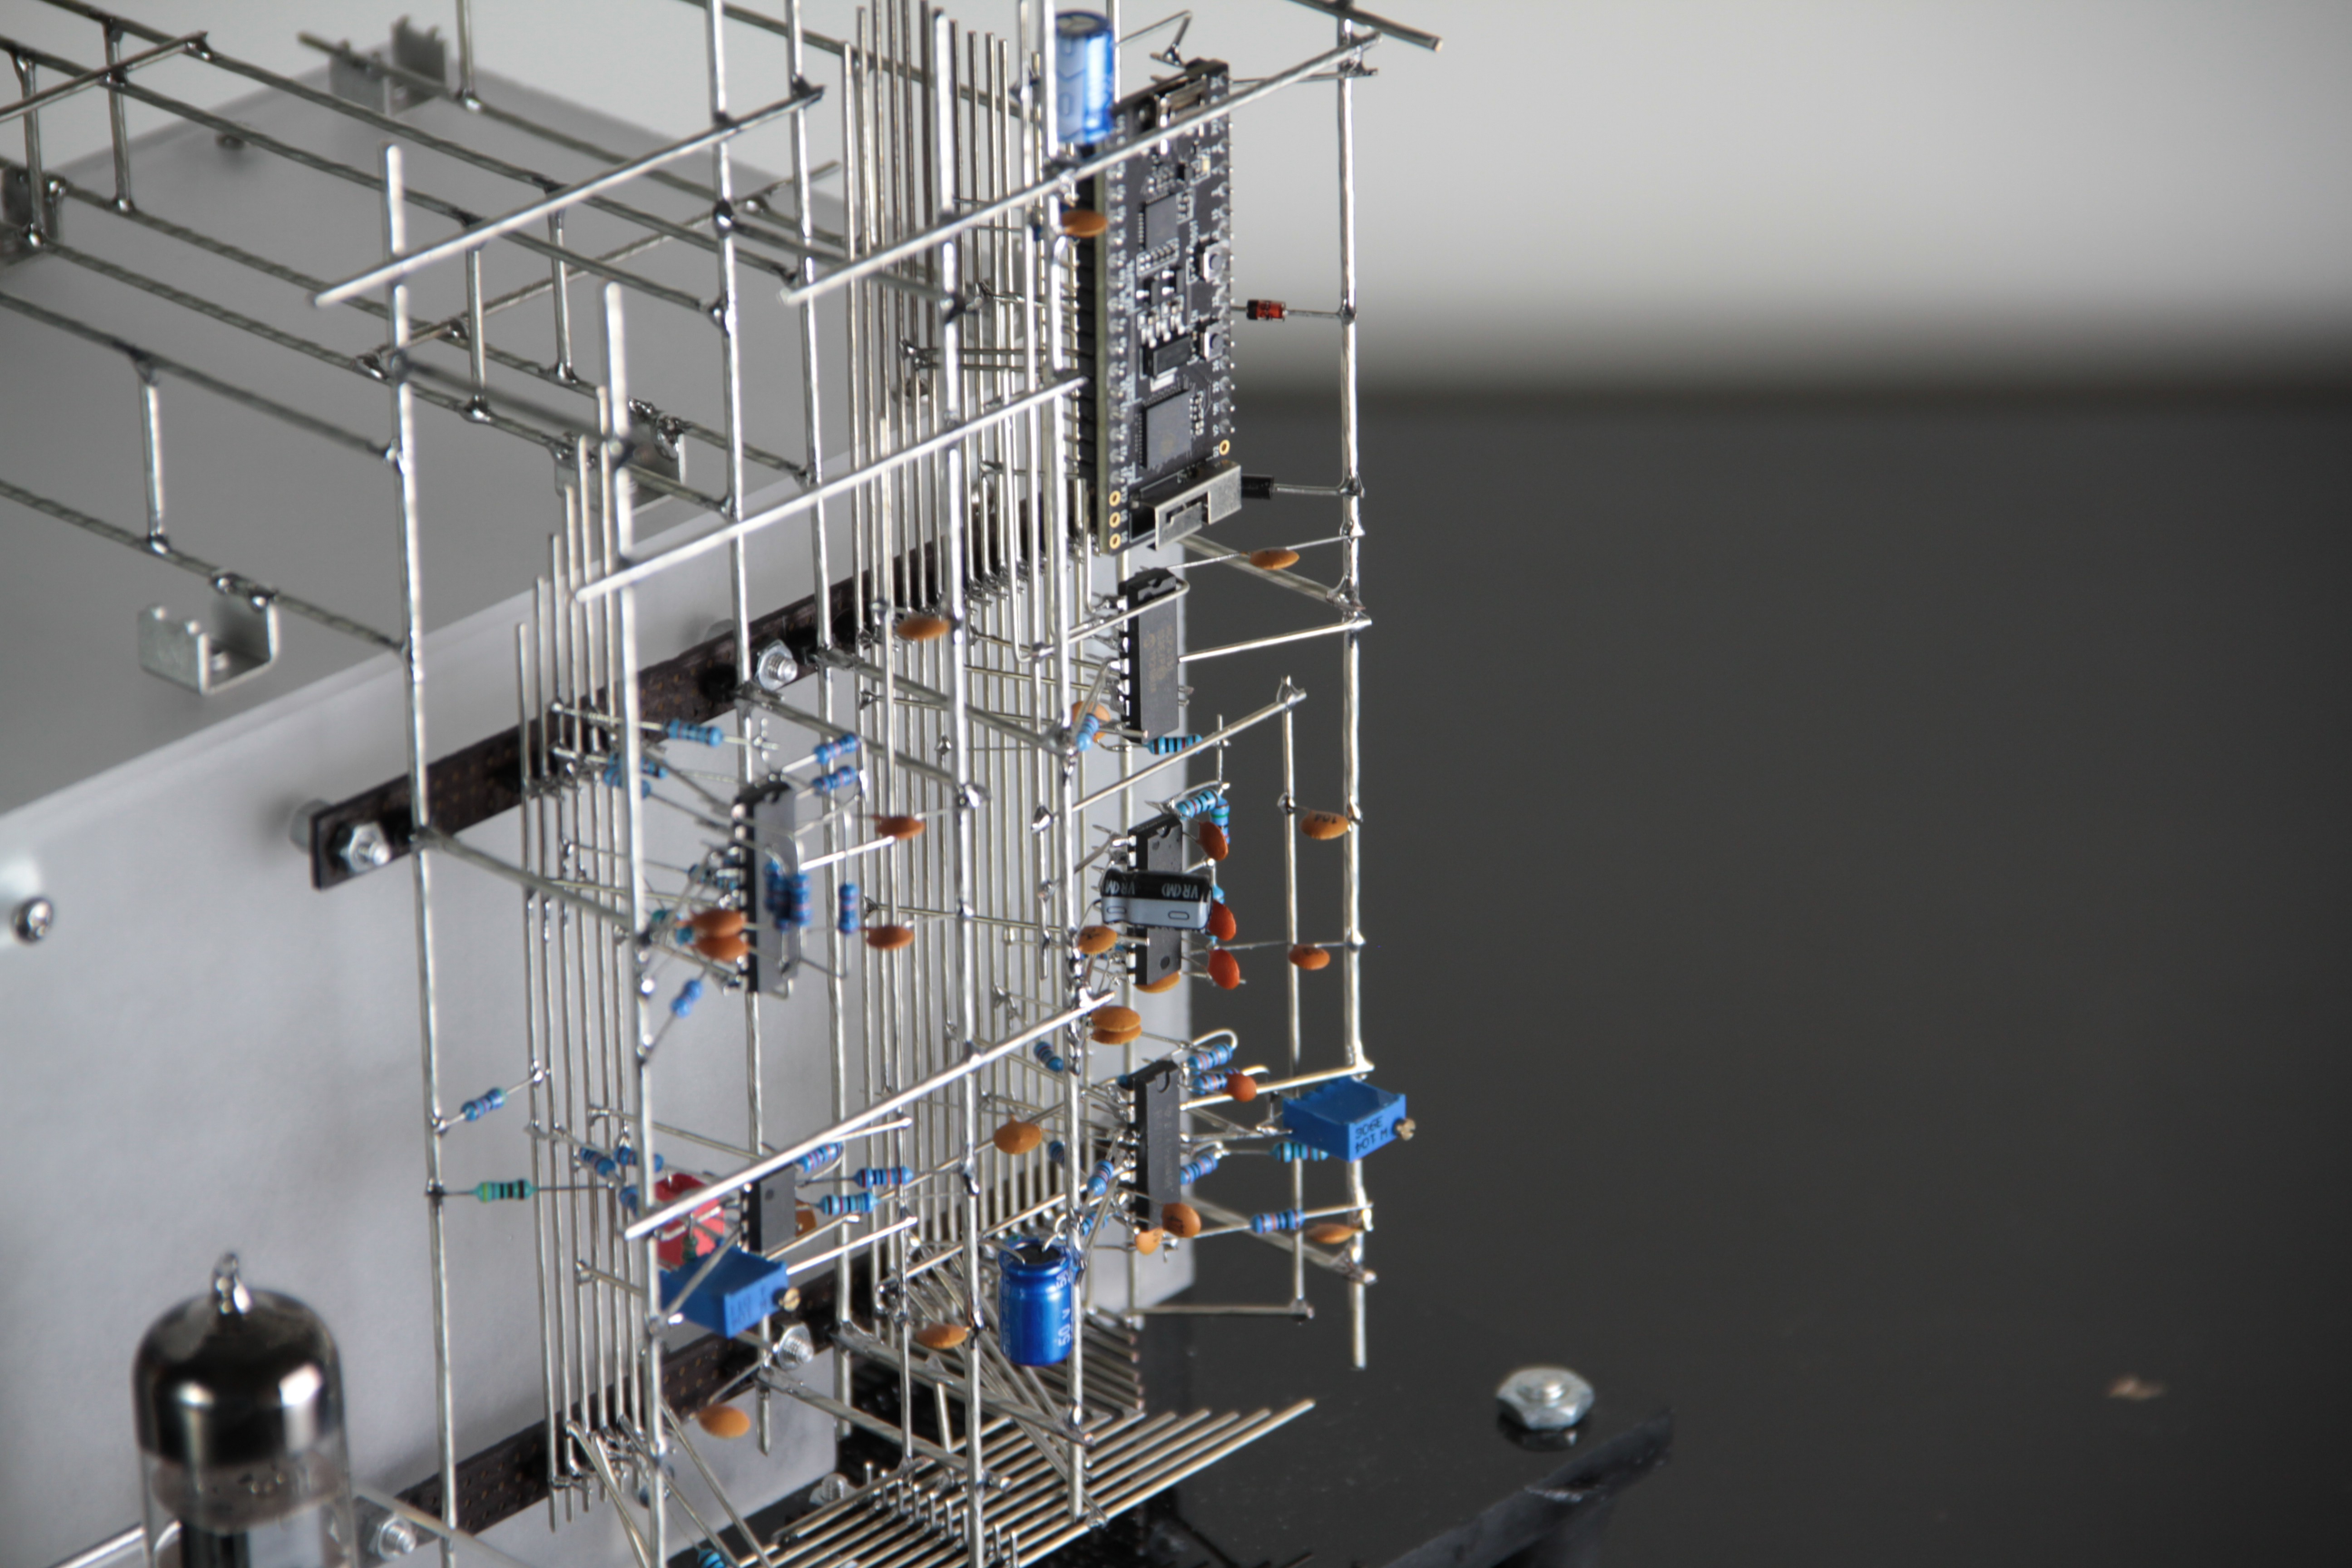
The host of the show is the ESP32 module, which generates audio frequency square waves, which are fed into a MCP4251 digital potentiometer. From there, it is fed into a AS3320 Voltage controlled filter (VCF), from Latvia-based ALFA (which is new to us, despite them being manufacturing electronics for sixty years!) This is an interesting device that has a four independently configurable filter elements with voltage controlled inputs for frequency control and resonance. The output from the VCF is then fed into a 6n2p (Soviet equivalent to the 12ax7) twin-triode vacuum tube, which is specifically aimed at audio applications.
The suitably distorted filtered square waves then pass into a Princeton Tech Corp PT2399 echo processor chip, which being digitally constructed, uses the expected ADC/RAM/DAC signal chain to implement an audio echo effect. As with the VCF, the echo depth can be modulated via the digipot, under the ESP32’s command. For a bit of added bling, the vacuum tube output feeds back into the ESP32, to be consumed by the internal ADC and turned into a light show via some PWM controlled LEDs. Lovely.
The final audio output from the echo chip is then fed into a speaker via a pair of LM380 amplifiers giving a power of about 5 W. It sounds pretty good if you ask us, and software configurable via Wi-Fi, giving this sculpture plenty of tweakabilty.
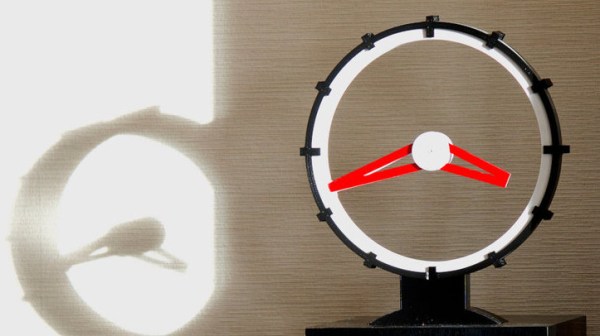
Of course circuit sculpture come in all shapes and sizes, and it wouldn’t do to not mention at least one sculpture clock project, and while we’re on it, here’s last year’s Remoticon circuit sculpture workshop.
Continue reading “The Eerie Sounds Of Ioalieia: An ESP32/Valve/Analog Hybrid Circuit Sculpture”