vektorkollektor-deploy-familyInPark

Vektor Kollektor Inspector

With the world opening up again, [Niklas Roy] and [Kati Hyyppä] have been busy making a public and collaborative project. Meet the Vektor Kollektor, a portable drawing machine experience, complete with a chip-tune soundtrack. It’s great to see public art meet the maker community with zero pretension and a whole lot of fun!

The build started with an HP7475A pen plotter from the 80s, one that was DOA (or was fried during initial testing). [Niklas] and [Kati] kept the mechanism but rebuilt the controls allowing for easy integration with an Arduino Nano and to be powered with a motorcycle battery.

The magic seems to be less in the junk-bin build (which is great) and more in the way this team extended the project. Using a joystick with arcade buttons as an input, they carted Vektor Kollektor to public parks and streets where they invited others to make art. The Kollekted drawings are available on a gallery website in a very cool animated form, freely available for download, on t-shirts, 3D prints, and on coffee mugs because, why not?

Some select drawings are even spray-painted on walls using a large plotter, and we really hope [Niklas Roy] and [Kati Hyyppä] share details on that build soon. Of course this comes hot on the heels of the workshop window cyborg we saw from these two hardware artists.

Continue reading “Vektor Kollektor Inspector”

One Wood Ring To Rule Them All

[Olivier Gomis] did not have access to the fires of Mount Doom to forge a large replica of the One Ring, so he had to settle for patience, maple, and a wood lathe. It does have the added convenience of not needing to fire to expose its true nature, just angry pixies from a wall socket.

[Olivier] made the ring in separate inner and outer sections from 72 blocks of maple. The blocks were glued together in 12-sided rings, and stacked in layers to achieve the desired width. The surfaces were cut smooth and thinned out on a wood lathe, and an internal channel was created for LED strips. The Black Speech was cut through the walls of both the inner and outer surfaces using a manual router. Using the ring itself as a former, he made a wooden base for the router to allow it to slide across the surface without wobbling.

The inside wall was cut into sections and glued into a recess in the external portion. The inscriptions were covered with a maple veneer, which still allows it to be visible when the internal LEDs are switched on. The wiring runs from the base of the stand through an S-shaped stem that was made from layers of veneer clamped in a former. A total of 53 hours of painstaking effort went into this work of art, but the end product would make any hardcore Lord of the Rings fan envious.

For more LOTR-themed hacks, check out the secret door to the Mines of Moria secret door, and a sword that glow blue in the presence of unsecured WiFi.

Continue reading “One Wood Ring To Rule Them All”

video of someone pushing the button to generate new art

AI Generating Paintings Off To A Flying Art

The philosophical question of “What is art?” has an ethereal, transient quality to it. A definition seems to slip away as you get close to an answer. Embracing that quality, [Max Fischer] has created an AI-powered painting that paints a new piece of art at the push of a button. When the button below the screen is pushed, a new image is generated and the old one is forever lost, which in a way, makes the frame a piece of art itself.

The really makes this project stand is the sheer quality of documentation on the GitHub repo. The instructions are incredibly detailed. Everything from setting up the Jetson to building the control box out of half-inch MDF (12mm for the sane part of the world) is laid out with copious pictures. Despite the ease of generating images ahead of time, [Max] took the hard route Hackaday route and did all inference locally and in real-time. To handle the processing requirements, an Nvidia Jetson Xavier NX single-board computer was used. He trained StyleGAN with high-resolution abstract art that gets generated whenever the button below the screen is pushed. To prevent screen burn-in, a PIR was added to turn the screen off when no one is around.

Here at Hackaday, we’ve seen several projects putting old laptop screens or monitors into a nice wooden case and mounting them to the wall. Since 32″ laptops are rather hard to find, [Max] opted to take a different approach and instead got a 32″ Samsung Frame for relatively cheap.

For all their detail, [Max] did leave one thing out of the readme: the AI that generates the art. [Max] hints that he wants others to create their picture frames, but with their own art generation. So what are you waiting for? Go make some art.

Math, Optics, And CNC Combine To Hide Secret Images In Acrylic

Magic mirrors, with an LCD panel hidden behind a partially reflectively mirror, are popular for a reason — they’re a good-looking way to display useful information. A “Magic Window,” however, is an entirely different thing — and from the look of it, a far cooler one.

If you’ve never seen a Magic Window before, don’t worry — it’s partially because you’re not supposed to see it. A Magic Window appears to be a clear piece of glass or plastic, one with a bit of a wave in it that causes some distortion when looking through it. But as [Matt Ferraro] explains, the distortion encodes a hidden image, visible only when light passes through the window. It looks a bit like a lithophane, but it’s projected rather than reflected, and it relies on an optical phenomenon known as caustics. If you’ve ever seen the bright and dark patches cast on the bottom of a swimming pool when sunlight hits the surface, you’ve seen caustics.

As for how to hide an image in a clear window, let’s just say it takes some doing. And some math; Snell’s Law, Fermat’s Theorem, Poisson’s Equation — all these and more are mentioned by [Matt] by way of explanation. The short story is that an image is morphed in software, normalized, and converted into a heightmap that’s used to generate a toolpath for a CNC router. The design is carved into a sheet of acrylic by the router and polished back to clarity with a succession of sandpaper grits. The wavy window is then ready to cast its hidden shadow.

Honestly, the results are amazing, and we marvel at the skills needed to pull this off. Or more correctly, that [Matt] was able to make the process simple enough for anyone to try.

Continue reading “Math, Optics, And CNC Combine To Hide Secret Images In Acrylic”

Nixie Robot Head with LED eyes and retro-futuristic design

Artful Nixie Bot Sculpture Sees, Thinks, And Talks

When [Tavis] and his father were inspired to lend their talents to building a robot sculpture, they split the duties. [Tavis]’ father built a robot head, and [Tavis] utilized designs old and new to breathe life into their creation.

Many a hardware hacker has been inspired by robotic art over the years. Whether it’s the vivid descriptions by the likes of Asimov and Clarke, the magnificent visuals from the formative 1927 film Metropolis, or the frantic arm-waving Robot from Lost In Space, the robots of Science Fiction have impelled many to bring their own creations to life.

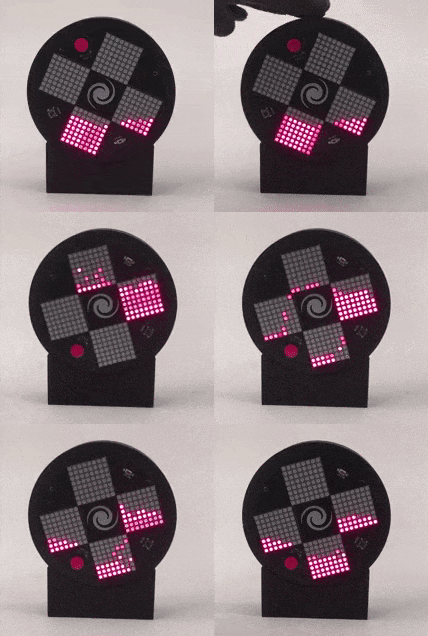
For [Travis]’s creation, Two rare Russian Nixie Tubes in the forehead convey what’s on the robot’s mind, while dual 8×8 LED matrices from Adafruit give the imagination a window to the binary soul. A sound board also from Adafruit gives voice to the automaton, speaking wistful words in a language known only to himself.

A DC to DC converter raises the LiPo supplied 3.7v to the necessary 170v for the Nixies, and a hidden USB-C port charges the battery once its two-hour life span has expired. Two custom Nixie driver boards are each host to an Arduino Pro Micro, and [Tavis] has made the PCB design available for those wishing to build their own Nixie projects.

As you can see in the video below the break, the results are nothing short of mesmerizing!

Of course, we’re no strangers to robots here at Hackaday. Perhaps we can interest you in a drink created by the industrial-grade Robotic Bartender while you consider the best way to Stop the Robot Uprising. And remember, if you spot any awesome hacks, let us know via the Tip Line!

Continue reading “Artful Nixie Bot Sculpture Sees, Thinks, And Talks”

Spiffy Summer Project Sources Solar Sounds From Scraps

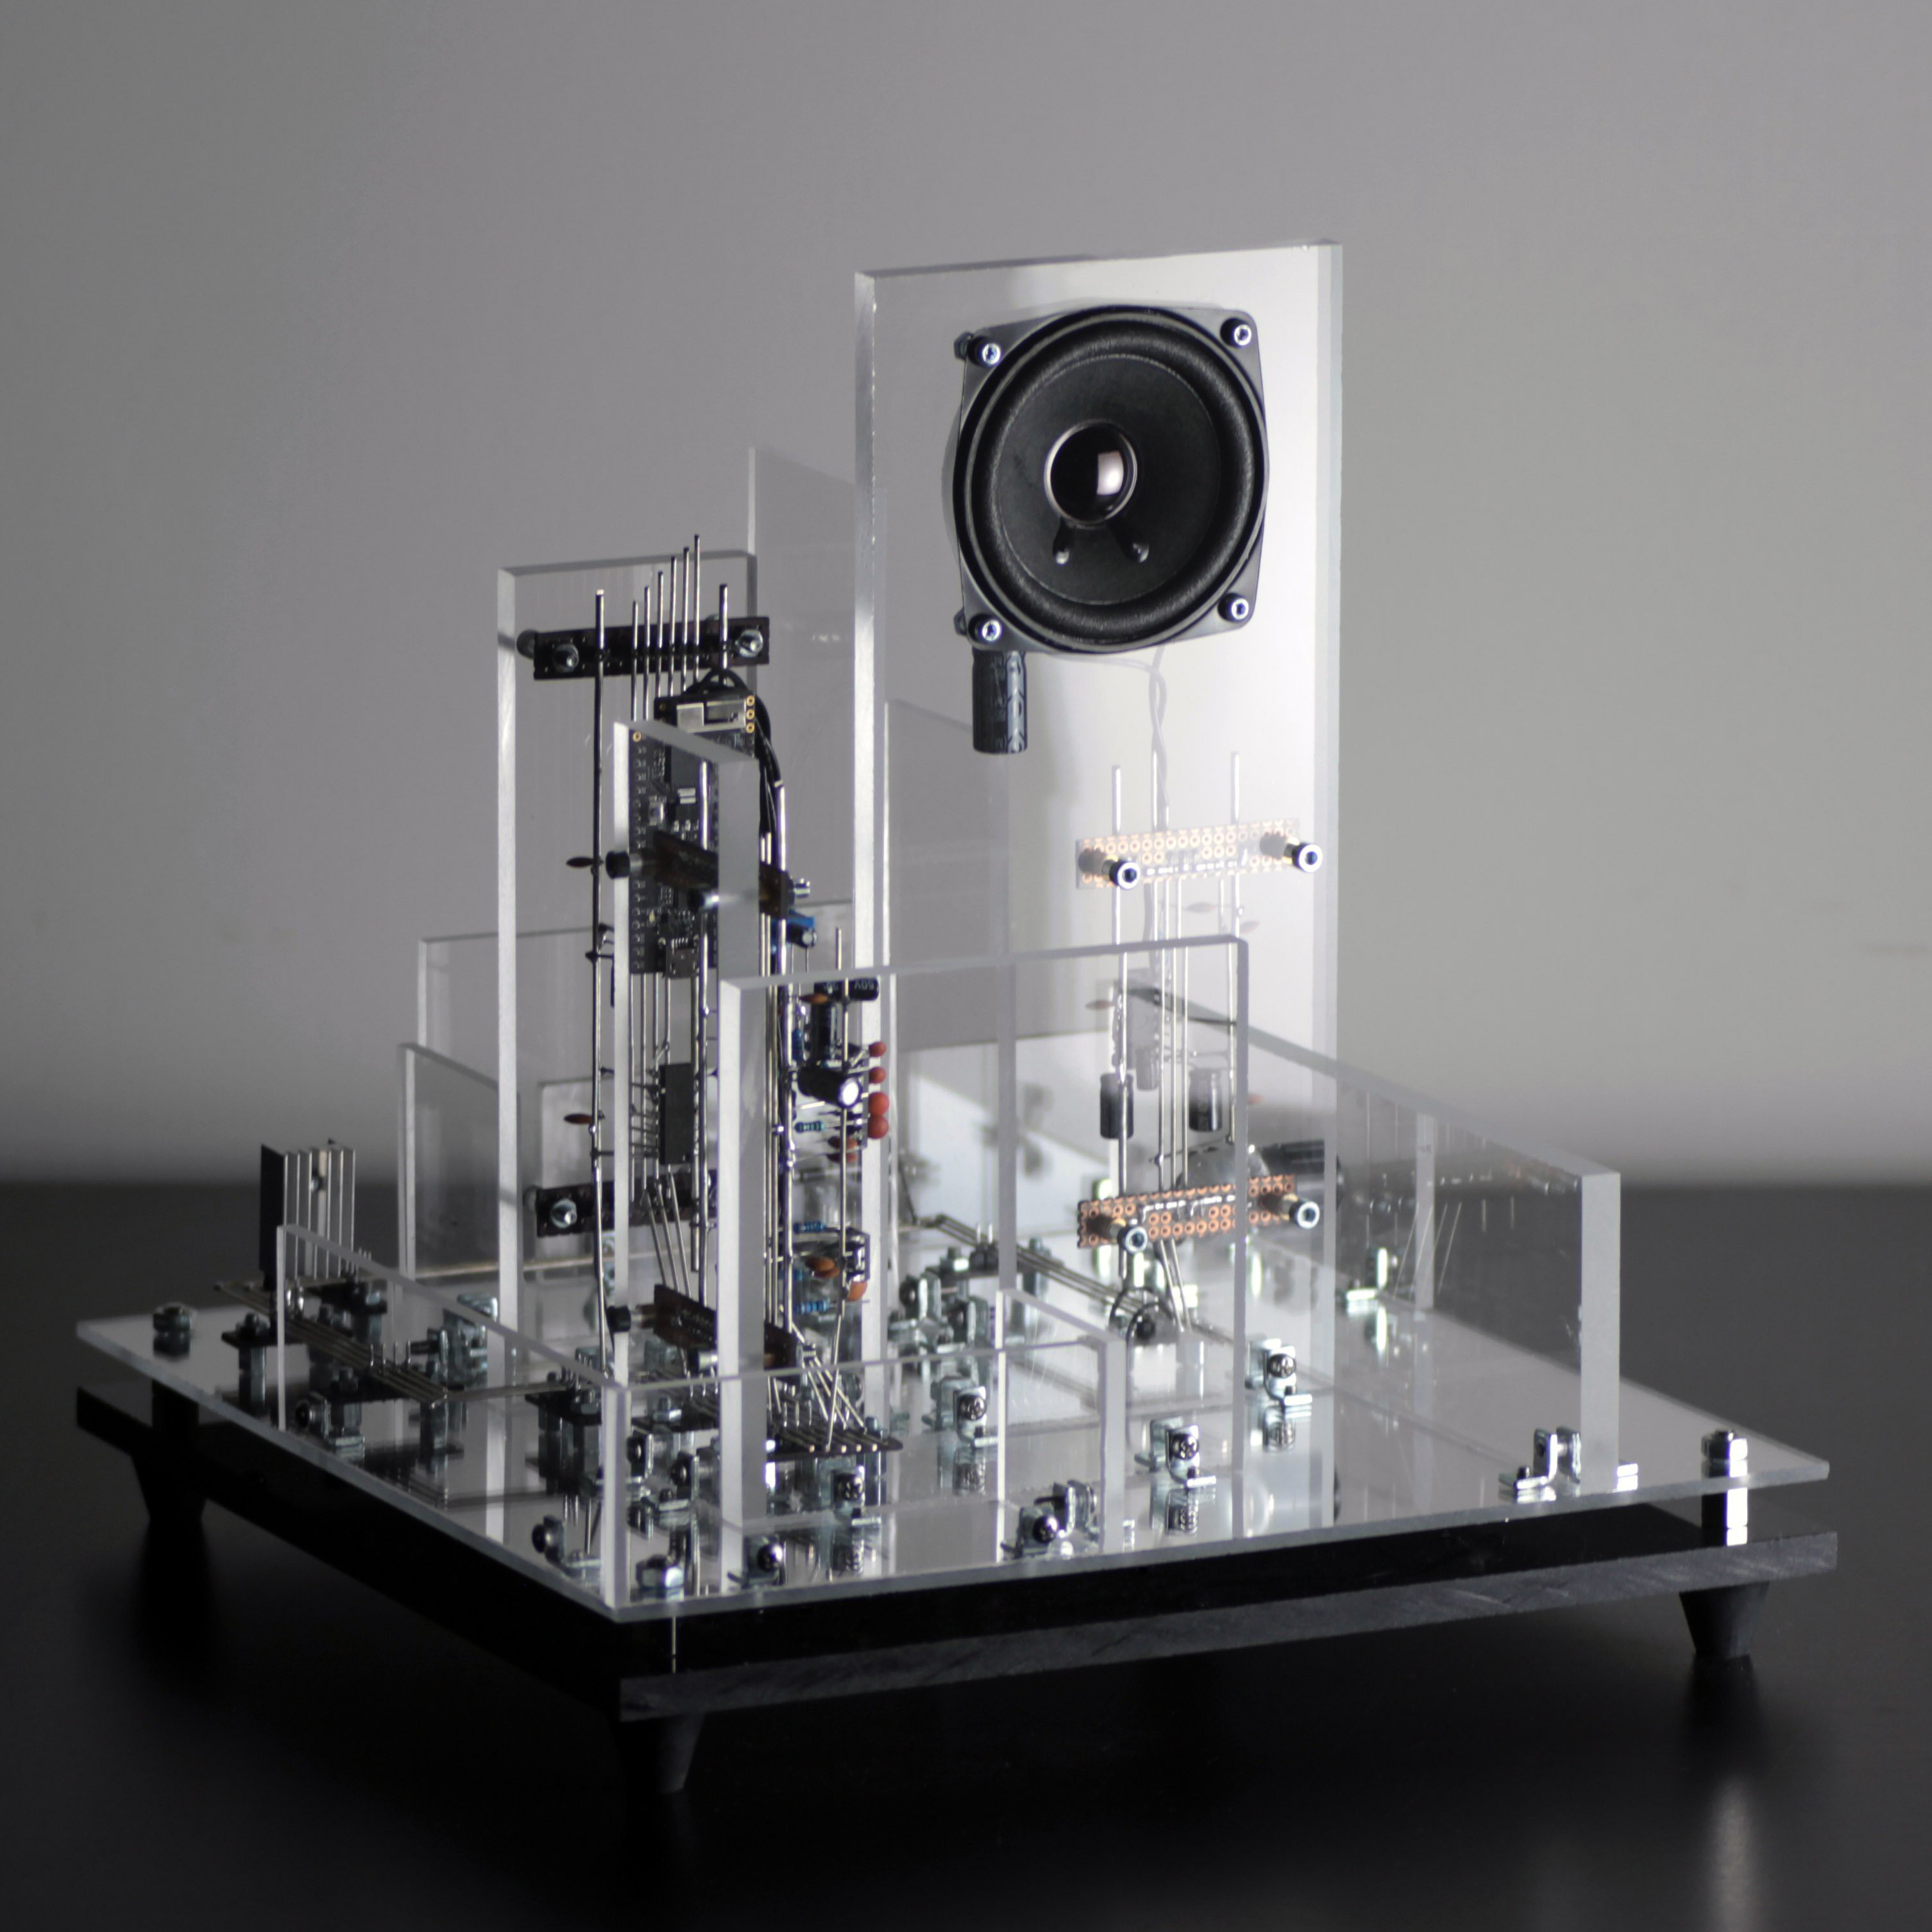
[Gijs Gieskes] has a long history of producing electronic art and sound contraptions, and his Zonneliedjes (sunsongs) project is certainly an entertaining perpetuation of his sonic creations. With the stated goal of making music from sunlight, the sunsongs most prominent feature is solar panels.

Although It’s not clear how the photons transform into the rhythmic crashes and random beep-boop sounds, the results are quite satisfying. We have a strong suspicion that the same principals that turn random junk into BEAM robots are at work, maybe with some circuit bending sprinkled on for good measure. One detail we were able to glean from a picture of the device he calls “mobile” was a 40106 oscillator, which [Gijs] has used in previous projects.

The construction style that [Gijs] uses reminds us of the “Manhattan” construction style the amateur radio homebrewing community favors. Squares of copper PCB are glued directly to the back of the solar cells and the circuits are built atop them. Looking carefully at the pictures we can also see what look like cutoff leads, suggesting a healthy amount of experimentation to get the desired results, which we can all relate to.

Be sure to check out the video after the break, and also [Gijs] website. He’s been hacking away at projects such as these for a very long time, and we’ve even featured his projects going back more than 15 years. Thanks for the continued hacks, [Gijs]. We look forward to seeing what you come up with next!

If the terms “BEAM robotics” and “circuit bending” are unfamiliar to your ears (or if a refresh is due), be sure to check out our recent re-introduction to BEAM robotics and our classic “Intro to Circuit Bending” to get acquainted. Continue reading “Spiffy Summer Project Sources Solar Sounds From Scraps”

Teardown: 3D Printed Space Shuttle Lamp

Since the very beginning, the prevailing wisdom regarding consumer desktop 3D printers was that they were excellent tools for producing prototypes or one-off creations, but anything more than that was simply asking too much. After all, they were too slow, expensive, and finicky to be useful in a production setting. Once you needed more than a few copies of a plastic part, you were better off biting the bullet and moving over to injection molding.

But of course, things have changed a lot since then. Who could have imagined that one day you’d be able to buy five 3D printers for the cost of the crappiest Harbor Freight mini lathe? Modern 3D printers aren’t just cheaper either, they’re also more reliable and produce higher quality parts. Plus with software like OctoPrint, managing them is a breeze. Today, setting up a small print farm and affordably producing parts in mass quantities is well within the means of the average hobbyist.

Space shuttle lamp
Flickering LEDs provide a sense of motion

So perhaps I shouldn’t have been so surprised when I started seeing listings for these 3D printed rocket lamps popping up on eBay. Available from various sellers at a wide array of price points depending on how long you’re willing to wait for shipping, the lamps come in several shapes and sizes, and usually feature either the Space Shuttle or mighty Saturn V perched atop a “exhaust plume” of white PLA plastic. With a few orange LEDs blinking away on the inside, the lamp promises to produce an impressive flame effect that will delight space enthusiasts both young and old.

As a space enthusiast that fits somewhere in between those extremes, I decided it was worth risking $30 USD to see what one of these things looked like in real life. After waiting a month, a crushed up box arrived at my door which I was positive would contain a tiny mangled version of the majestic lamp I was promised — like the sad excuse for a hamburger that McBurgerLand actually gives you compared to what they advertise on TV.

But in person, it really does look fantastic. Using internally lit 3D printed structures to simulate smoke and flame is something we’ve seen done in the DIY scene, but pulling it off in a comparatively cheap production piece is impressive enough that I thought it deserved a closer look.

Now it’s always been my opinion that the best way to see how something was built is to take it apart, so I’ll admit that the following deviates a bit from the rest of the teardowns in this series. There’s no great mystery around flickering a couple LEDs among Hackaday readers, so we already know the electronics will be simplistic in the extreme. This time around the interesting part isn’t what’s on the inside, but how the object itself was produced in the first place.

Continue reading “Teardown: 3D Printed Space Shuttle Lamp”