It looks like [Michal Zalewski] is raising the next generation the right way. First, his eldest son asks for help building a one-bit computer from discrete transistors. Not to be left behind, his little brother then asked for help with an even more retro project, which resulted in this partially relay-based calculator. Maybe there is some hope for the future.
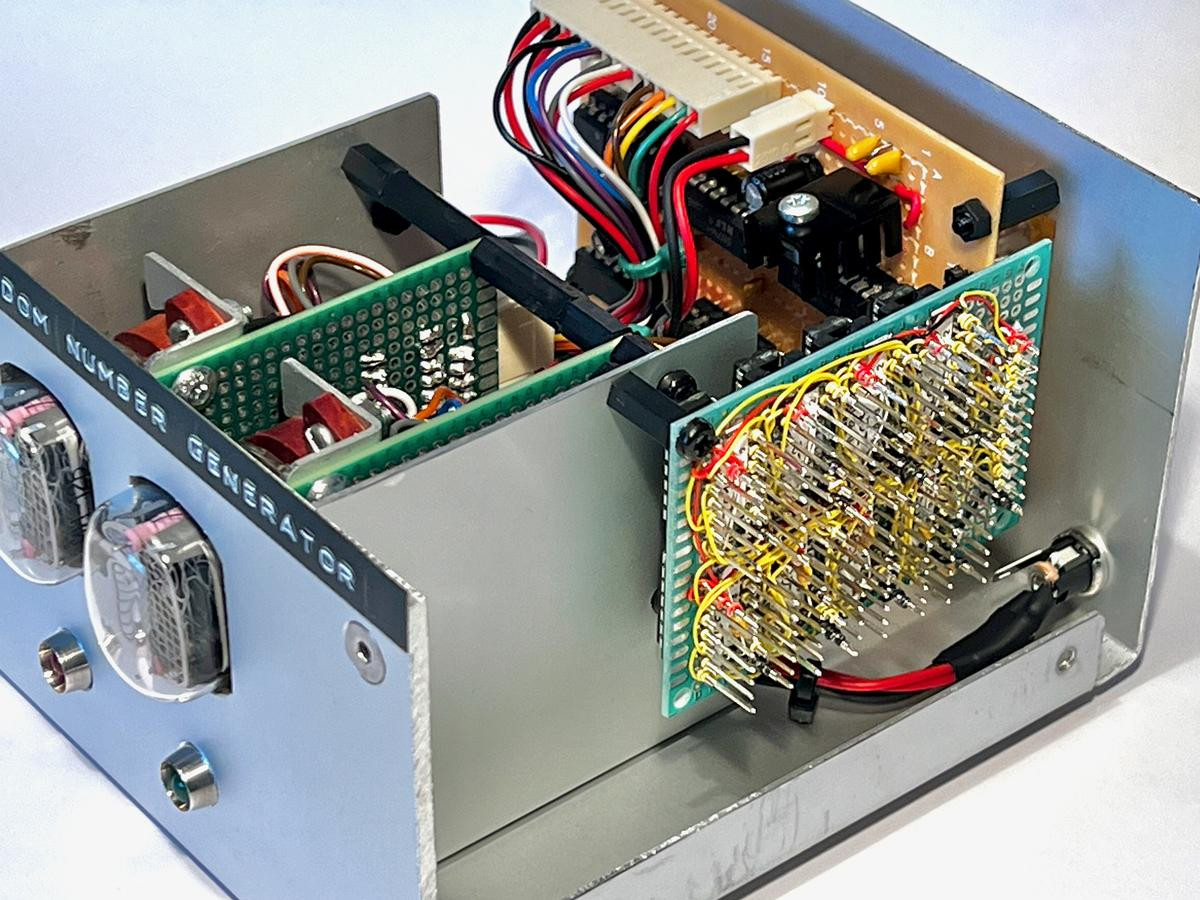
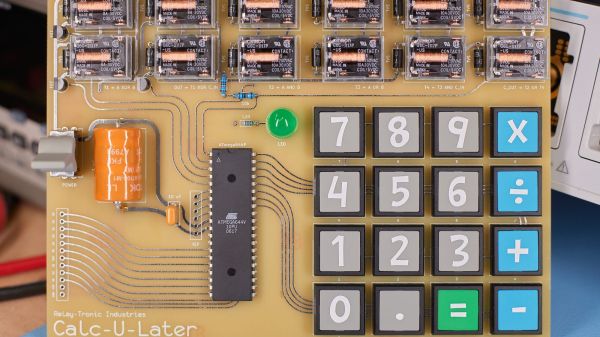
Now, purists will no doubt notice the ATmega64 microcontroller sitting in the middle of the main PCB on this project and cry “Foul!” But perfect is the enemy of done, and as [Michal] explains, at $6 a pop for the Omron relays he and his son chose, there’s only so far you can go with relay logic before you’re taking out a second mortgage. So the relays are limited to the ALU of the calculator, along with the drivers for the six seven-segment LED displays. The microcontroller is just there for housekeeping functions like scanning the keyboard and decoding digits. All the actual calculations are in the relay logic, not silicon. And we’d be remiss not to praise his son’s stylistic choices for this design — that it uses relays with clear covers, and that it has single-sided PCBs with curvy, hand-drawn traces traces that look hand-drawn on old-school yellow substrate. [Michal]’s heart must swell with pride to have fathered someone with such exquisite taste.
For his part, [Mikal] did some really good documentation for this build, including excellent descriptions of Boolean math with half- and full-adders and how relays are used to create the basic logic gates that comprise them. The calculator itself is still a work in progress, with microcontroller code still in development, but it’s working enough that you can enjoy the display driver’s clickiness in the video below. If that doesn’t do it for you, we’ve got other relay calculators to scratch that click itch. Continue reading “Partial Relay-Based Calculator Puts The Click Where It Counts”