Whether you’re shooting video or photos, having a camera remote can really improve your productivity. No longer do you have to run back to the camera to press its tiny buttons! [Frank Zhao] is a Sony user, so decided to whip up a custom remote using the ESP32 for his Alpha camera, adding special features along the way.
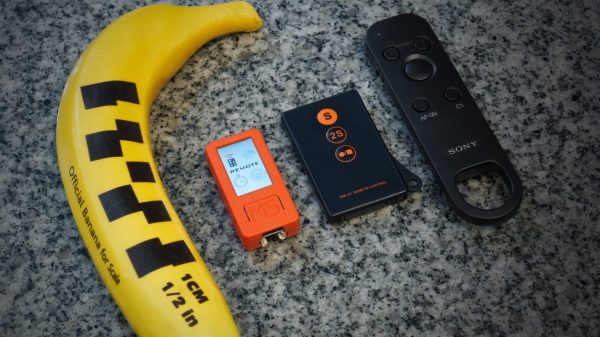
 The build communicates with the camera over WiFi, but can fall back to Infrared if there’s an issue with the radio link. It’s built around the M5StickC, which is a pre-built device featuring an ESP32 and a small display in a handheld form factor. It let him build the remote in half the size of the official Sony device. With limited buttons on board, though, he relies on the IMU to control many advanced features with motion gestures.
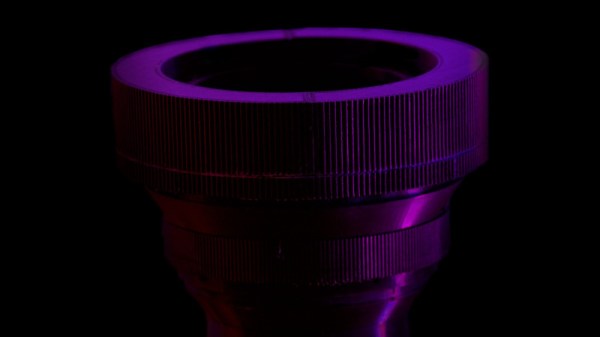
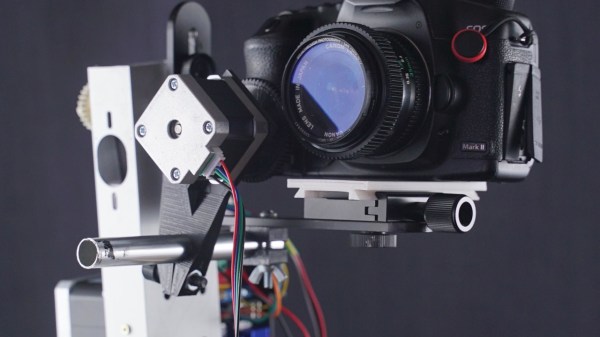
The remote enables a bunch of functionality that Sony didn’t bake into its cameras from the factory. There’s a sound-activated shutter release, dual shutter mode, and several timer-based tools including astrophotography modes. There’s also a big knob you can add for focus pulls, and a mode to reset the auto-focus when you’re frustrated that it isn’t working properly. Some of the features work better than others, as sometimes, the camera doesn’t respond to commands quickly enough. Regardless, it’s pretty neat that [Frank] has unlocked so much extra functionality with his custom $20 remote.
We’ve seen other homebrewed tools open up new creative possibilities for cameras before, too. If you’ve got your own nifty camera hacks, let us know on the tipsline!