Taking a high-resolution photo of the moon is a surprisingly difficult task. Not only is a long enough lens required, but the camera typically needs to be mounted on a tracking system of some kind, as the moon moves too fast for the long exposure times needed. That’s why plenty were skeptical of Samsung’s claims that their latest smart phone cameras could actually photograph this celestial body with any degree of detail. It turns out that this skepticism might be warranted.
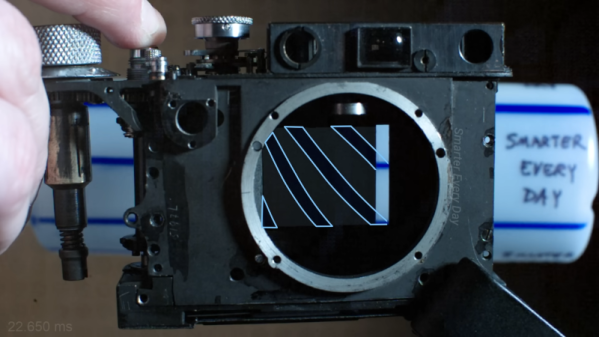
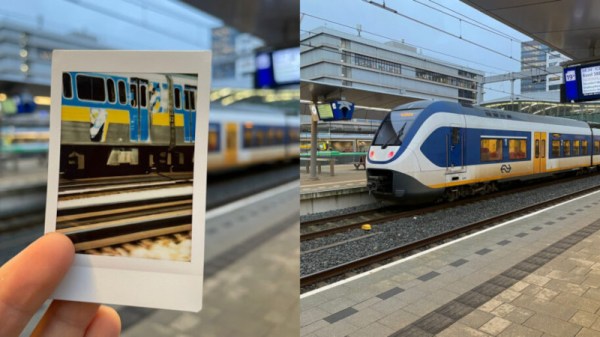
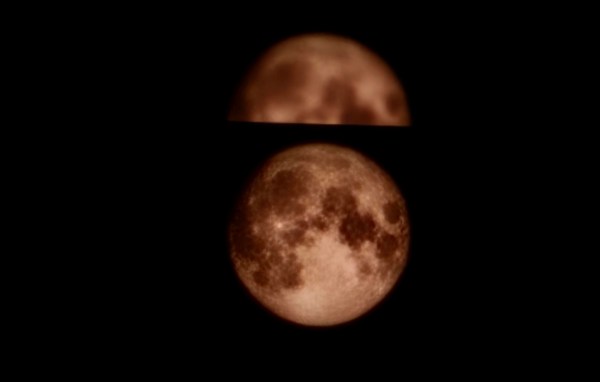
Samsung’s marketing department is claiming that this phone is using artificial intelligence to improve photos, which should quickly raise a red flag for anyone technically minded. [ibreakphotos] wanted to put this to the test rather than speculate, so a high-resolution image of the moon was modified in such a way that most of the fine detail of the image was lost. Displaying this image on a monitor, standing across the room, and using the smartphone in question reveals details in the image that can’t possibly be there.
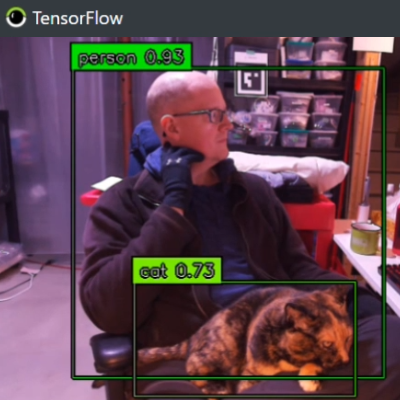
The image that accompanies this post shows the two images side-by-side for those skeptical of these claims, but from what we can tell it looks like this is essentially an AI system copy-pasting the moon into images it thinks are of the moon itself. The AI also seems to need something more moon-like than a ping pong ball to trigger the detail overlay too, as other tests appear to debunk a more simplified overlay theory. It seems like using this system, though, is doing about the same thing that this AI camera does to take pictures of various common objects.