Complicated And Useless Cancel Each Other Out

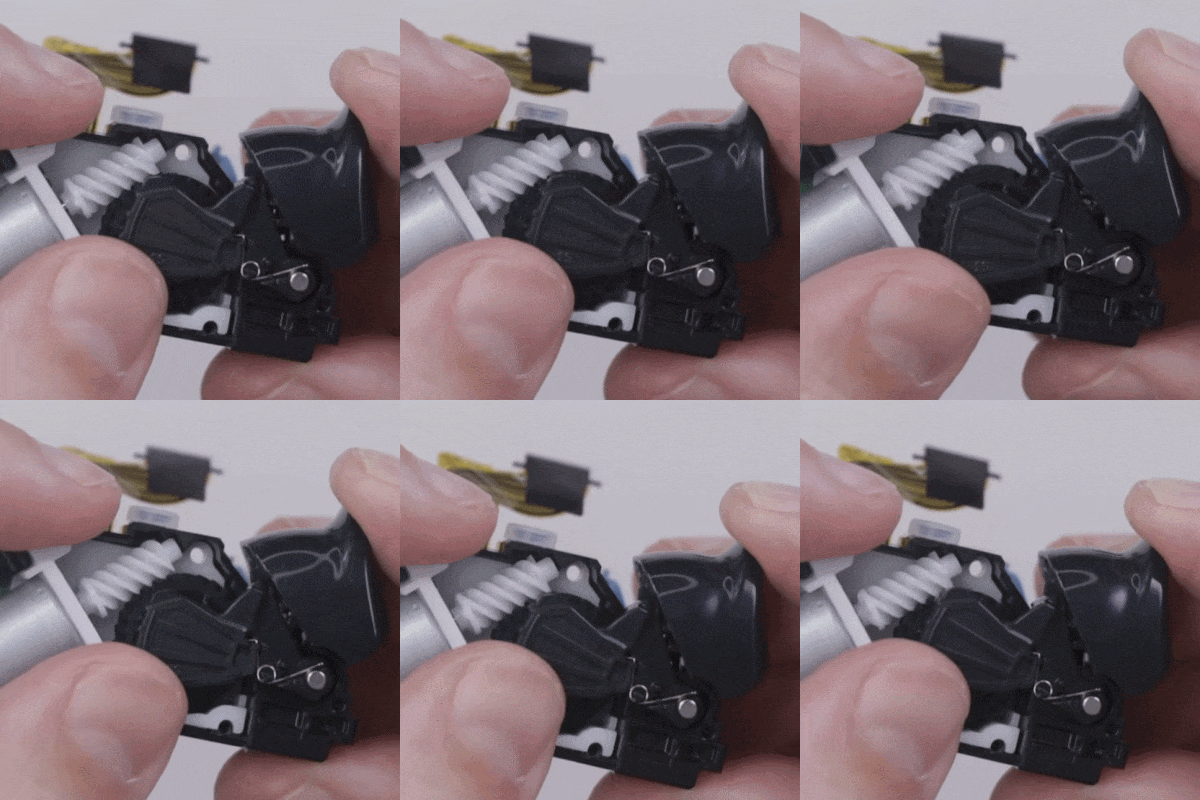
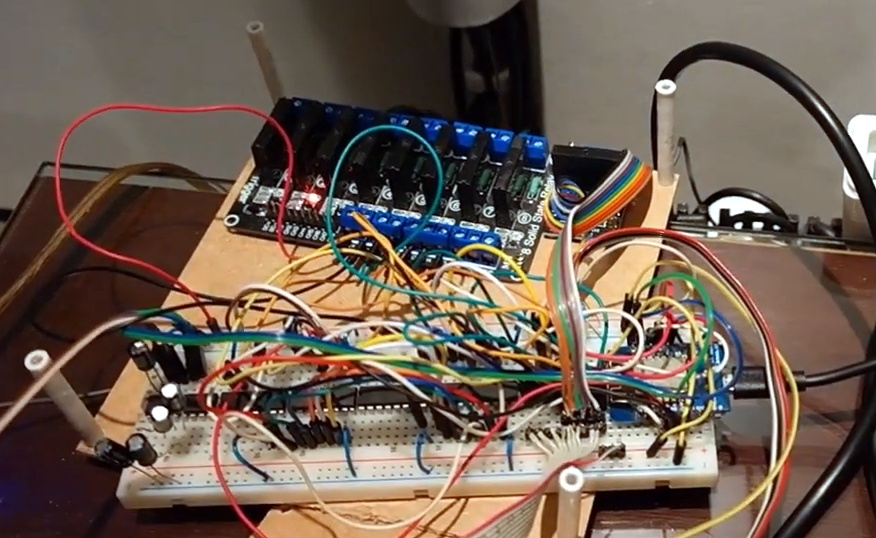
We all know what it means to procrastinate, but what about actively spending time building a useless machine? You have undoubtedly seen the ornamental boxes with a tempting little toggle switch on the top. When you inevitably flip the switch, an actuator pops out from one half of the enclosure with the sole purpose of undoing its own power switch. [Paz Hameiri] took it a step further by adding some [Rube Goldberg] flavor, and with the help of a microcontroller, his levers take their sweet time powering themselves down. (Video after the break.)

We didn’t find any code or diagrams for the project, but if you know the useless machine’s internals, it shouldn’t be any trouble to recreate one for your desk. The most significant design factor is that the switches. Their contacts must be wired in parallel so that the controller has power as long as one is active. How would you spice up the useless machine?

Even though these are called useless machines, they serve the purpose of decoration, conversation-starting, or a way to show off your woodworking and programming skills.

Continue reading “Complicated And Useless Cancel Each Other Out”

Micro:bit Makes Cardboard Pinball More Legit

What have you been doing to ward off the winter blues? [TechnoChic] decided to lean in to winter and make a really fun-looking game out of it by combining the awesome PinBox 3000 cardboard pinball sandbox with a couple of Micro:bits to handle and display the player’s score. Check it out the build and gameplay in the video after the break.

The story of Planet Winter is a bittersweet tale: basically, a bunch of penguins got tired of climate change and left Earth en masse for a penguin paradise where it’s a winter wonderland all year round. There’s a party igloo with disco lights and everything.

[TechnoChic] used a Micro:bit plugged into a Brown Dog Gadgets board to keep track of scoring, control the servo that kicks the ball back out of the igloo, and run the blinkenlights. It sends score updates over Bluetooth to a second Micro:bit and a Pimoroni Scrollbit display that sit opposite the pinball launcher. She went through a few switch iterations before settling on conductive maker tape and isolating the ball so it only contacts the tape tracks.

There are two ways to score on Planet Winter — the blizzard at the end of the ball launcher path nets you ten points, and getting the ball in the party igloo is good for thirty. Be careful on the icy lake in the middle of the playfield, because if the ball falls through the ice, it’s gone for good, along with your points. It’s okay, though, because both the party igloo and the ice hole trigger an avalanche which releases another ball.

Seriously, these PinBox 3000 kits are probably the most fun you can have with cardboard, even fresh out of the box. They are super fun even if you only build the kit and make a bunch of temporary targets to test gameplay, but never settle on a theme (ask us how we know). Not convinced? Hackaday Editor-in-Chief [Mike Szczys] explored them in depth at Maker Faire in 2018.

Continue reading “Micro:bit Makes Cardboard Pinball More Legit”

Robotic Pool Cue Can Be Your Friend Or Your Foe

In his everlasting quest to replace physical skill with technology, [Shane] of [Stuff Made Here] has taken aim at the game of eight-ball pool. Using a combination of computer vision and mechatronics, he created a robotic pool system that can allow a physical game of pool over the internet, or just beat human players. See the video after the break.

Making a good pool shot requires three discrete steps. First, you need to identify the best shot, then figure out how exactly to strike the balls to achieve the desired results, and finally physically execute the shot accurately. [Shane’s] goal was to automate all these steps. For the physical part, he built a pool cue with a robotic tip which only requires the user to place in approximately the right position, while a pneumatic piston mounted on a Stewart platform does the rest. A Stewart platform is a triangular plate mounted with six reciprocating rods, which gives it the required freedom of motion. The rods’ bases are attached to a set of cranks actuated by tension cables pulled by servos mounted at the rear-end of the cue. An adjustable air system allows the power of the shot to be adjusted as required.

A camera mounted is mounted over the table and connected to computer vision software to gather the required position information. Fiducials on the corners of the table and the cue tip allow the position of the pockets, balls, and cue to be accurately determined, and theoretically should allow the robot to take the perfect shot. Getting this to work in reality quickly turned into a very frustrating experience. After many hours of debugging, [Shane] tracked the error to a tiny forgotten test function that was introducing 5-10 mm of position error, and 2 of the six servos in the cue not performing up to spec. To determine the vertical positioning of the cue, an IMU and fixed height foot were added. [Shane] also added an overhead projector to overlay all required information directly on the table. Continue reading “Robotic Pool Cue Can Be Your Friend Or Your Foe”

Python Settles Bet About Best Strategy In Children’s Board Game

Simulating a tabletop game can be done for several reasons: to play the game digitally, to create computer opponent(s), or to prove someone wrong. In [Everett]’s case, he used Python to prove which adult was right about basic strategy in a children’s game.

[Everett]’s 5-year-old loves a simple game called Hoot Owl Hoot! in which players cooperatively work to move owls along a track to the safety of a nest. Player pieces move on spaces according to the matching colors drawn from a deck of cards. If a space is already occupied, a piece may jump ahead to the next available spot. The game has a bit more to it than that, but those are the important parts. After a few games, the adults in the room found themselves disagreeing about which strategy was optimal in this simple game.

It seemed to [Everett] that it was best to move pieces in the rear, keeping player pieces grouped together and maximizing the chance of free moves gained by jumping over occupied spaces. [Everett]’s wife countered that a “longest move” strategy was best, and one should always select whichever piece would benefit the most (i.e. move the furthest distance) from any given move. Which approach wins games in the fewest moves? This small Python script simulates the game enough to iteratively determine that the two strategies are quite close in results, but the “longest move” strategy does ultimately come out on top.

As far as simulations go, it’s no Tamagotchi Singularity and [Everett] admits that the simulation isn’t a completely accurate one. But since its only purpose is to compare whether “no stragglers” or “longest move” wins in fewer moves, shortcuts like using random color generation in place of drawing the colors from a deck shouldn’t make a big difference. Or would it? Regardless, we can agree that board games can be fitting metaphors for the human condition.

Laser Galvos And An ESP32 Recreate Old-School Asteroids

Playing Asteroids now isn’t quite what it used to be when it came out 40 years ago. At the time, the vector-scan display was part of the charm; making do with an emulator running on a traditional raster display just doesn’t quite do it for purists. But if you manage to build your own laser-projector version of the game like [Chris G] did, you’re getting close to capturing some of the original magic of the game.

There’s a lot to unpack about this project, and the video below does a good job explaining it. Where the original game used a beam of electrons flashing inside a CRT to trace out each object in the game, [Chris] substituted an off-the-shelf two-axis galvanometer from eBay and a 5-mW laser LED. This can project a gamefield on a wall up to two meters on a side, far bigger than any version of the machine ever built. The galvos are driven by op-amp drivers and an SPI DAC on a custom PCB. And in comparison to the discrete logic chips and 6502 running the original game, [Chris] opted for an ESP32.

As interesting as the hardware for this is, the real story is in the software. [Chris] does an excellent job running through his design, making the bulk of the video feel like a master class in game programming. His software is from scratch — no emulations here. As such it doesn’t perfectly reproduce the original games — no flying saucers and no spaceship explosion animations (yet) — but when coupled with the laser vector display, it certainly captures the feel of the original.

Being devoted Asteroids fans from back in the day, this one really pushes our buttons. We’ve seen laser-based recreations of the game before, but this one makes us think we can finally afford to recapture the glory of our misspent youth.

Continue reading “Laser Galvos And An ESP32 Recreate Old-School Asteroids”

Restored Dreamcast Is A SEGA Fan’s Dream Come True

[Bren Sutton] has been a long time fan of SEGA’s Dreamcast, eagerly snapping one up right around its October 1999 European release. But after years of neglect and a somewhat questionable paint job a decade or so back, he decided it was time to spruce his old friend up. He could have just cleaned the machine and been done with it, but he took the opportunity to revamp the console’s internals with both practical and cosmetic trickery.

The first step was getting the system looking a bit fresher. Removing the silver metallic paint he applied in his youth with a rattle can wasn’t going so well, so he ended up buying a broken donor console on eBay so he’d have a new shell to work with. The donor was yellowed with age, but a coating of peroxide cream and a few hours under a cheap UV light got it whitened up nicely. Now that he had a fresh new case, [Bren] turned his attention to the internal components.

Those who might be plugged into the active Dreamcast homebrew scene may already know that several upgrade modules exist for SEGA’s last home game console. One of the most popular replaces the optical drive with an SD card filled with your favorite game ISOs. You can also get a modern high efficiency power supply, as well as a board that replaces the original soldered-on clock battery with a slot that fits a CR2032. [Bren] threw them all in, ensuring several more years of gaming bliss.

But he wasn’t done yet. He also wanted to add some visual flair to his new and improved console. After some consideration, he gingerly cut the logo out of the Dreamcast’s lid, and installed an Adafruit CLUE board underneath it. With a few carefully crafted GIFs installed onto the CircuitPython-powered board, the console now has a gorgeous fully animated logo that you can see in the video after the break.

[Bren] could have really taken his console to the next level by doubling its available RAM to an eye-watering 32 MB, but considering the limited software support for that particularly bodacious modification, we’ll let it slide. Continue reading “Restored Dreamcast Is A SEGA Fan’s Dream Come True”

This Joy-Con Grip Steers Its Way To Sweaty Victory

Here at Hackaday we’re always exited to see hacks that recycle our favorite childhood consoles into something new and interesting. In that context, it’s not so uncommon to see mods which combine new and unusual control methods with old devices in ways that their manufacturers never intended. What [Mike Choi] has built with the Labo Fit Adventure Kit is the rare hack that combines radically new control schemes with a modern console: without actually modifying any hardware.

Face button pusher in blue

In short, the Labo Fit Adventure Kit lets the player play Mario Kart on the Nintendo Switch by riding a stationary exercise bike, steering with a wheel, and squeezing that wheel to use items. The Fit Kit combines the theme of Labo, Nintendo’s excellent cardboard building kit for the Nintendo Switch with the existing Ring-Con accessory for the unrelated Nintendo game Ring Fit Adventure plus a collection of custom hardware to tie it all together. That hardware senses cadence on the stationary bike, watches for the user to squeeze the handheld wheel controller, and translates those inputs to button presses on the controller to play the game.

Shoulder button pusher in green

The most fascinating element of this project is the TAPBO module which adapts the Joy-Con controller to remote input. The module includes electronics, actuators, and a clever mechanical design to allow it to be mounted to the Ring-Con in place of an unmodified Joy-Con. Electrically the components will be familiar to regular Hackaday readers; there is a breakout board for a Teensy which also holds an XBee module to receive inputs remotely and drive a pair of servos. The entire module is described in detail starting at 4:42 in the video.

Mechanically the TAPBO relies on a pair of cam-actuated arms which translate rotational servo motion into linear action to press shoulder or face buttons. The module directly measures flex of the Ring-Con with an added flexible resistor and receives cadence information from another module embedded in the stationary bike via Zigbee. When these inputs exceed set thresholds they drive the servos to press the appropriate controller buttons to accelerate or use an item.

We’ve focused pretty heavily on the technical aspects of this project, but this significantly undersells the level of polish and easy to understand documentation [Mike] has produced. It includes a TAPBO Amiibo in customized packaging, and more. Check out the full video to get the complete scope of this project.

Continue reading “This Joy-Con Grip Steers Its Way To Sweaty Victory”