NVIDIA kicked off their line of GPU-accelerated single board computers back in 2014 with the Jetson TK1, a $200 USD development system for those looking to get involved with the burgeoning world of so-called “edge computing”. It was designed to put high performance computing in a small and energy efficient enough package that it could be integrated directly into products, rather than connecting to a data center half-way across the world.
The TK1 was an impressive piece of hardware, but not something the hacker and maker community was necessarily interested in. For one thing, it was fairly expensive. But perhaps more importantly, it was clearly geared more towards industry types than consumers. We did see the occasional project using the TK1 and the subsequent TX1 and TX2 boards, but they were few and far between.
Then came the Jetson Nano. Its 128 core Maxwell CPU still packed plenty of power and was fully compatible with NVIDIA’s CUDA architecture, but its smaller size and $99 price tag made it far more attractive for hobbyists. According to the company’s own figures, the number of active Jetson developers has more than tripled since the Nano’s introduction in March of 2019. With the platform accessible to a larger and more diverse group of users, new and innovative applications for machine learning started pouring in.
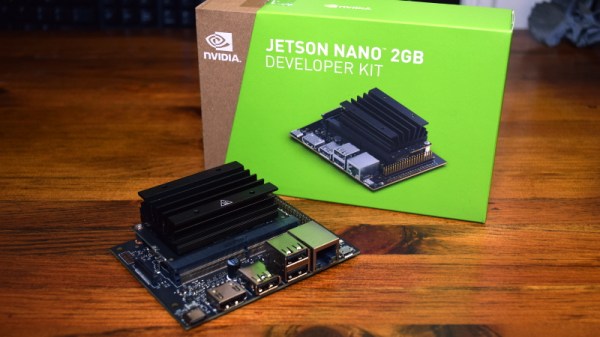
Cutting the price of the entry level Jetson hardware in half was clearly a step in the right direction, but NVIDIA wanted to bring even more developers into the fray. So why not see if lightning can strike twice? Today they’ve officially announced that the new Jetson Nano 2GB will go on sale later this month for just $59. Let’s take a close look at this new iteration of the Nano to see what’s changed (and what hasn’t) from last year’s model.
Continue reading “NVIDIA Announces $59 Jetson Nano 2GB, A Single Board Computer With Makers In Mind”