If you’re like us, you’re always in need of a little more space to store things. [Javier Guerrero] realized his sofa wasn’t living up to its full storage potential and designed this sofa armrest storage.
[Guerrero]’s sofa arms were hiding 80 liters of space, so he really wanted to do something with it. After disassembling them, he found his original plan of just cutting them up wouldn’t work due to the minimal structure inside. Not to be discouraged, he drew up some plans and built replicas from 15 mm plywood.
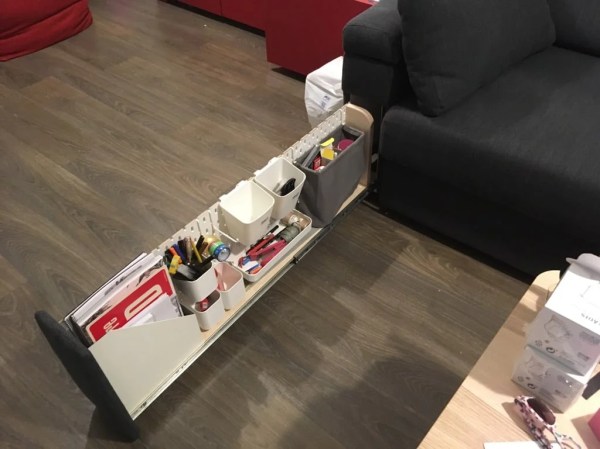
For one armrest, he made a single giant box that opens from the top where he can store a couple of folding chairs. On the other side, he made a shorter top-opening bin for charging phones and storing the remote. Underneath that is a large pull out drawer with a pegboard for organizational bliss.
The arms were upholstered using the fabric from the original arms plus a little extra from another slip cover. Separate arm modules and easily obtainable matching fabric aren’t a given for every couch, but we expect that almost any sofa with arms could benefit from this hack given a little ingenuity.
If you’re looking for more storage hacks, checkout this Modular Storage from Old Filament Spools, the Last Component Storage System You’d Ever Need, or the ever popular Gridfinity.