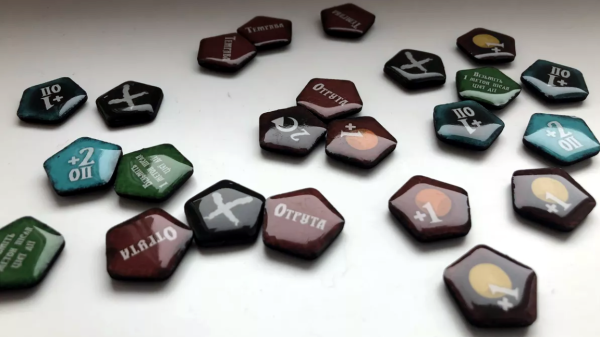
Tabletop games and cardboard tokens go hand-in-hand for a good reason: they are economical and effective. However, their tactile attributes leave a little to be desired. There’s something really great about high-quality pieces possessing a shiny, pleasing smoothness and click-clack handling that cardboard simply can’t deliver, but that all changes with [Dzhav]’s simple method for converting cardboard tokens into deluxe versions of themselves with a little work and a resin coating.
The result is a token with a crystal-clear, smooth, and slightly-convex coating of hardened resin on it. They feel (and sound) like plastic, rather than cardboard. The resin used is a two-part clear jewelry resin, used for casting things like pendants. It benefits from a long working time and unlike UV-cured resin (like the SLA 3D printer resin) it won’t be affected by light.
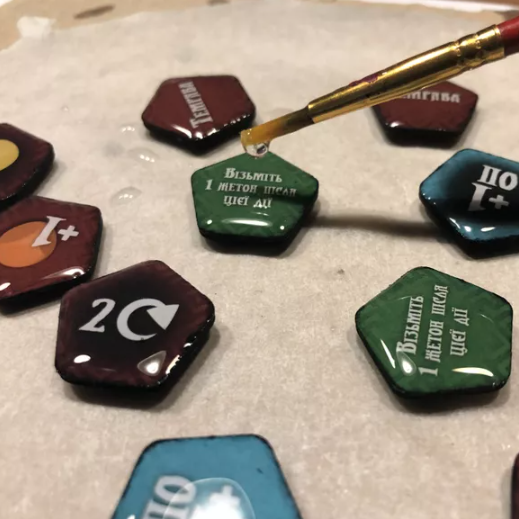
Like with most things, good results come from careful preparation and technique. [Dzhav] suggests preparing the tokens by sanding the edges completely smooth with fine sandpaper, then using a black marker to color them. Then, tokens are coated one side at a time with a paintbrush and correctly-mixed resin: while holding a token down with a toothpick, resin is brushed right to (but not over) the edges. Then, additional resin can be dropped in the center of the token, and gravity and surface tension will work together to ensure an even coating that doesn’t drip.
After the resin has had plenty of time to cure, the tokens are flipped over and the process repeated. The end result are tokens with both sides coated in a nice, smooth, ever-so-slightly-convex shield of resin.
They look fantastic, and sound even better. Turn up your volume and play the two-second video embedded below to listen for yourself. And when you’re ready for another gamer that didn’t settle for what was in the box, check out this redesigned Catan version.
Continue reading “Cardboard Game Tokens Become Shiny Click-Clacks With DIY Treatment”
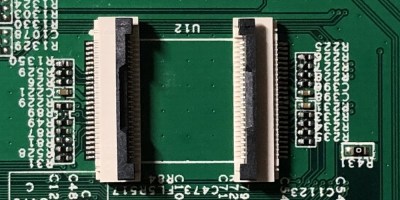 The flash chip is in TSOP48 package and uses a parallel interface, and an iMX6.LL devboard was used to read, modify and flash back the image — hotswapping the chip, much like we used to do with old parallel-interface BIOS chips. We especially liked the use of FFC cables and connectors for connecting the flash chip to the devboard in a way that allows hotswapping – now that we can see it, the TSOP 0.5 mm pitch and 0.5 mm FFC hardware are a match made in heaven. This hack, of course, will fit many TSOP48-equipped devices, and it’s nice to have a toolkit for it in case you don’t have a programmer handy.