At this point, 3D printers are nearly everywhere. Schools, hackerspaces, home workshops, you name it. Most of these machines are of the extruded-filament variety, better known as FDM or Fused Deposition Modelling. Over the last few years, cheap LCD printers have brought resin printing to many shops as well. LCD printers, like their DLP and SLA counterparts, use ultraviolet light to cure liquid resin. These machines are often praised for the super-high detail they can achieve, but are realllly slow. And messy — liquid resin gets everywhere and sticks to everything.
We’re not exactly sure what [Jón Schone] of Proper Printing was thinking when he set out to convert a classic printer to use resin instead of filament, but it had to be something along the lines of “Can you make FDM printing just as messy as LCD printing?”
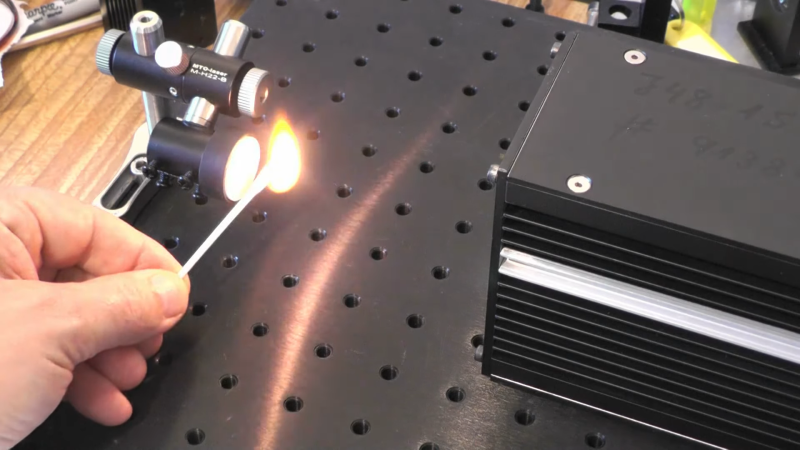
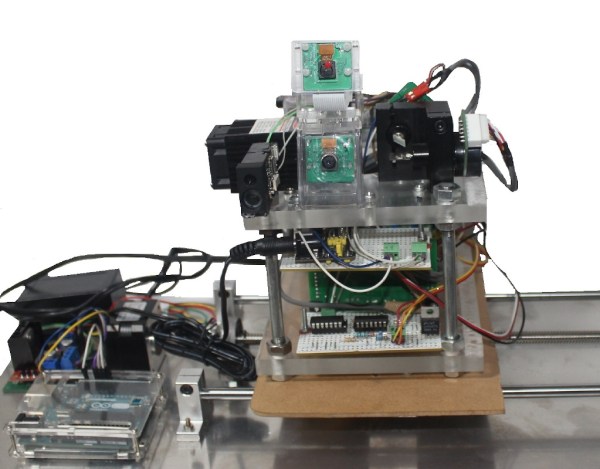
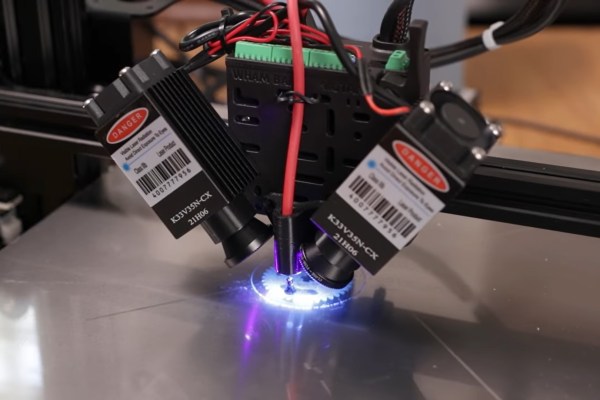
It turns out you can. His extremely well-documented research is shown in the video below, and logs his design process, from initial idea to almost-kinda-working prototype. As you may expect, extruding a high-viscosity liquid at a controlled rate and laser-curing it is not an easy task, but [Jón] made a fantastic attempt. From designing and building his own peristaltic pump, to sending a UV laser through fiber-optic cables, he explored a ton of different approaches to making the printer work. While he may not have been 100% successful, the video is a great reminder that not all projects have to go the way we hope they will.
Even so, he’s optimistic, and said that he has a few ideas to refine the design, and welcomes any input from the community. This isn’t even the only new and interesting approach to resin printing we’ve seen in the last few weeks, so we share [Jón]’s optimism that the FDM Resin Printer will work (someday, at least).
Continue reading “Extruded Resin FDM Printing (With Lasers!)”