The latest creation from Bengali roboticist [nabilphysics] might sound familiar. His laser-augmented glove gives users the ability to detect objects horizontally in front of them, much like a cane or pole is used by the visually impaired to navigate through a physical space.
As a stand in for the physical cane, he uses the VL53L0X time-of-flight (TOF) sensor which detects the time taken for a laser source to bounce back to the sensor. Theses are much more accurate than IR distance sensors and have a much finer focus than ultrasonic sensors for excellent directionality.
While the sensors can succumb to interferences from background light or other time-of-flight sensors, the main advantages are speed of calculation (it relies on a single shot to compute the distances within a scene) and an efficient distance algorithm that simplifies the measurement of distance data. In contrast to stereo vision, which requires complex correlation algorithms, the process for extracting information for a time-of-flight sensor is entirely direct, requiring a small amount of processing power.
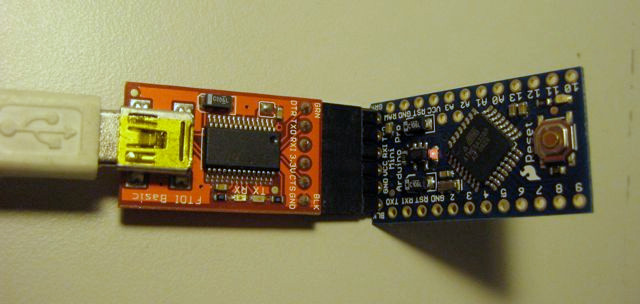 The glove delivers haptic feedback to the user to determine if an object is in their way. The feedback is controlled through an Arduino Pro Mini, powered remotely by a LiPo battery. The code is uploaded to the Arduino from an FTDI adapter, and works by taking continuous readings from the time-of-flight sensor and determining if the object in front is within 450 millimeters of the glove, at which point it triggers the vibration motor to alert the user of the object’s presence.
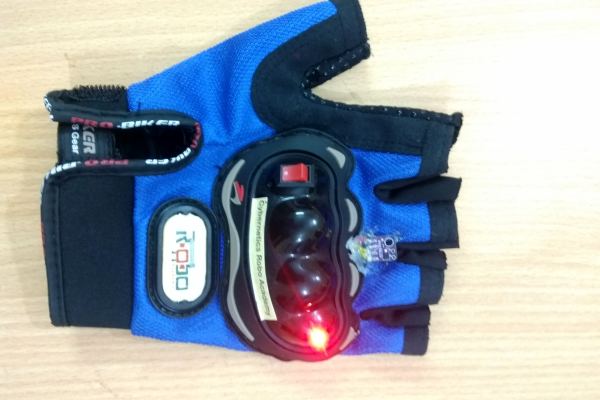
Since the glove used for the project is a bicycle glove, the form factor is straightforward — the Arduino, motor, battery, and switch are all located inside a plastic box on the top of the glove, while the time-of-flight sensor sticks out to make continuous measurements when the glove is switched on.
In general, the setup is fairly simple, but the idea of using a time-of-flight sensor rather than an IR or sonar sensor is interesting. In the broader usage of sensors, LIDARs are already the de facto sensor used for autonomous vehicles and robotic components that rely on distance sensing. This three-dimensional data wouldn’t be much use here and this sensor works without mechanical moving parts since it doesn’t rely on the point-by-point scan from a laser beam that LIDAR systems use.