You might think that visualizing music with lasers would be a complicated and difficult affair. In fact, it’s remarkably simple if you want it to be, and [byte_thrasher] shows us just how easy it can be.
At heart, what you’re trying to do is make a laser trace out waveforms of the music you’re listening to, right? So you just need a way to move the laser’s beam along with the sound waves from whatever you’re listening to. You might be thinking about putting a laser on the head of a servo-operated platform fed movement instructions from a digital music file, but you’d be way over-complicating things. You already have something that moves with the music you play — a speaker!
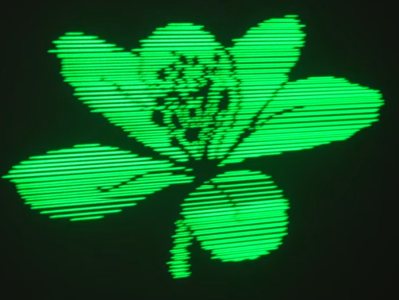
[byte_thrasher’s] concept is simple. Get a Bluetooth speaker, and stick it in a bowl. Cover the bowl with a flexible membrane, like plastic wrap. Stick a small piece of mirror on the plastic. When you play music with the speaker, the mirror will vibrate and move in turn. All you then have to do is aim a safe laser in a safe direction such that it bounces off the mirror and projects on to a surface. Then, the laser will dance with your tunes, and it’ll probably look pretty cool!
We’ve seen some beautiful laser visual effects before, too. Just be careful and keep your power levels safe and your beams pointing where they should be.
Continue reading “Laser Sound Visualizations Are Not Hard To Make”