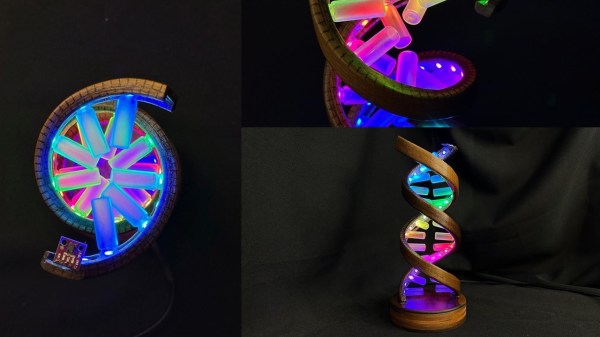
There is something about wooden crafts that when combined with electronics, have a mesmerizing effect on the visual senses. The Gesture Controlled DNA Wooden Desk Lamp by [Timber Rough] is a bit of both with a nice desk piece that’s well documented for anyone who wants to build their own.
Construction starts with a laser cutter being employed to add kerfs, such that the final strips can be bent along a frame tube to form the outer backbone of the DNA helix structure. Add to the mix some tung oil, carnauba wax, and some glue — along with skill and patience — and you get the distinct shape of sugar-phosphate backbone.
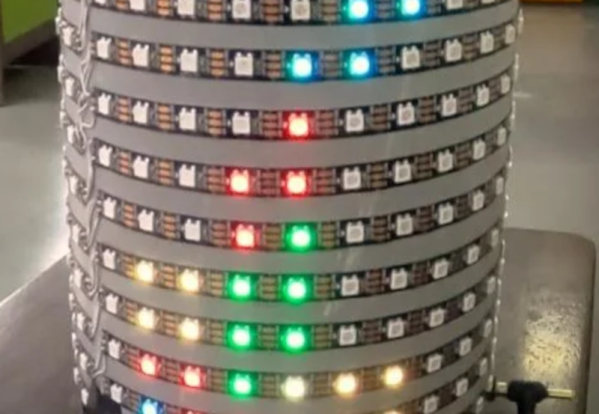
The electronics include an ESP8266 with the PAJ7620 gesture sensor that controls two WS2812B RGB LED Strips. The sensor in question is very capable, and comes with the ability to recognize nine human hand gestures along with proximity which makes it apt for this application. The sensor is mounted atop the structure with the LEDs twisting down the frame to the base where the ESP8266 is tucked away. Tiny glass bottles are painted with acrylic spray varnish and then glued to the LEDs to form the base pairs of the double helix. We thought that the varnish spray was a clever idea to make light diffusers that are quick and cheap for most DIYers.
We previously covered how this particular gesture sensor can be used to control much more than a lamp if you seek more ideas in that realm.
Continue reading “DIY Electronics Plus Woodworking Equal Custom Lamp”