Where We’re Calculating, We Don’t Need No Seven Segments!

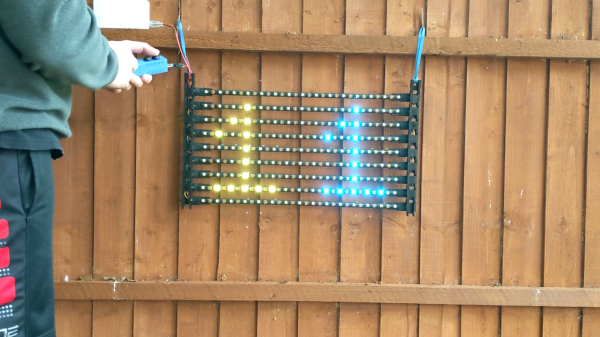
There have been many attempts at electronic numerical display technology over the decades since the first incandescent bulb or neon tube flickered into life at the command of a primordial computer, but the lowest common denominator has remained the humble seven segments. Here it might end, but for [Ken Yap] who has taken inspiration from a 1960s Sharp calculator to re-create a numerical display with only six segments.

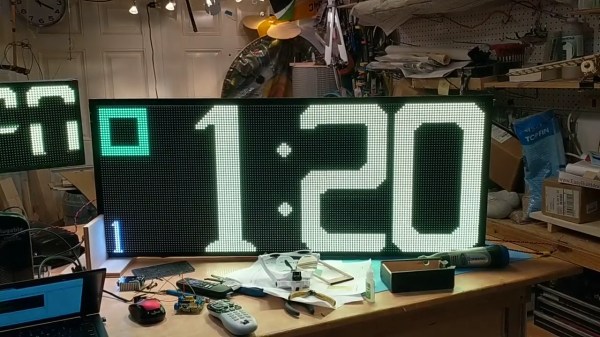
This seemingly impossible feat is achieved by having six curved segments arranged as a figure-eight, which can render all the digits after a fashion, but which soon reveals why the extra segment made an appearance. The numbers that are made up of curves look good enough, but the straight lines in the 1, 4, and 7, are compromised by the diagonal, and the zero is curiously small at half the height.  You can read the digits, but it takes getting used to.

What made sense to reduce the complexity of 1960s electronics is only a fascinating curiosity in 2020, but we maybe won’t see these displays appearing too often. You can take a look at it in the video below the break, and if you’re curious about the Sharp calculator which inspired it then you can take a look at its page in the Vintage Calculator Museum.

Continue reading “Where We’re Calculating, We Don’t Need No Seven Segments!”

Designing And Building A Custom Optical Fuel Sensor

At some time or another, we’ve all had an idea we thought was so clever that we jumped on the Internet to see if somebody else had already come up with it. Most of the time, they have. But on the off chance that you can’t find any signs of it online, you’re left with basically two possible conclusions. Either you’re about to enter uncharted territory, or your idea is so bad that everyone has collectively dismissed it already.

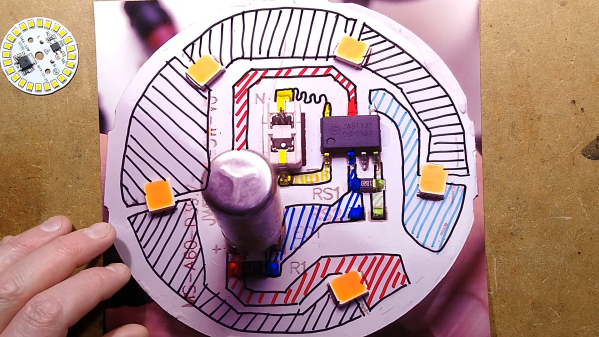
Which is precisely where [James Stanley] recently found himself. He had an idea for an non-contact optical sensor which would detect when his racing mower was about to run out of gas by analyzing light passed through a clear section of fuel hose. He couldn’t find any previous DIY examples of such a device, nor did there appear to be a commercial version. But did that mean it wouldn’t work, or that nobody had ever tried before?

Continue reading “Designing And Building A Custom Optical Fuel Sensor”

An Open Source IR Gateway Based On The ESP8266

The market is absolutely inundated with smart gadgets, with everything from coffee makers to TVs advertising that they support the latest and greatest in home automation platforms. Don’t worry about how many of those platforms and services will still up up and running in the next few years, the thing will probably stop working before then anyway. No sense worrying about the details in a disposable world.

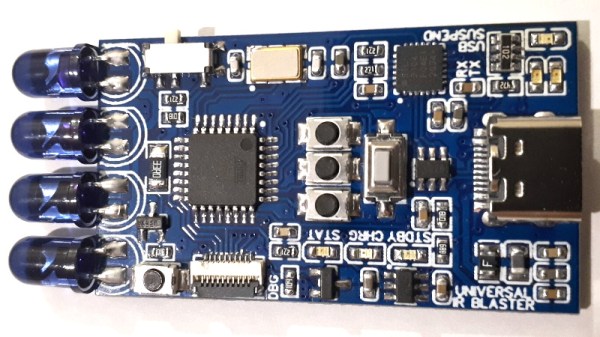
Of course, not all of us are so quick to dump working hardware in the name of the latest consumer trend. Which is why [Viktor] has developed an open source infrared gateway that can connect your “dumb” devices to the latest flash in the pan backend service with nothing more than a software update. Though even modern smart TVs still include IR remotes, so there’s nothing stopping you from using it with newer gear if you don’t trust like the built-in implementation.

The hardware here is really quite simple, essentially boiling down to a few IR LEDs and an IR receiver hanging off the GPIO ports of an ESP8266. While the receiver isn’t strictly necessary, it does allow [Viktor] to rapidly implement new IR codes. He just points the existing remote at the board, hits a button, and the decoded command gets sent out over MQTT where he can easily snap it up.

[Viktor] has done the hard work of creating the PCB design and testing out different IR LEDs to find the ones with the best performance. But if you wanted to just throw something together in a weekend, you should be able to get his firmware running with little more than a bare ESP and a random IR LED salvaged from an old remote. But don’t be surprised if you get hooked on the concept and end up rolling your own home automation system.

Lo-Fi Art On A 32×32 Matrix

Display technology has improved by leaps and bounds over the last few years, thanks in no small part to the smartphone revolution. High-resolution LCD panels are dirt cheap and easy to interface with. There’s absolutely no logical reason to try and show images on a 32×32 array of RGB LEDs. But that didn’t stop [Felix Spöttel] from doing it anyway.

The project, which he calls thirtytwopixels, was designed to work in conjunction with MPD (Music Player Daemon) to show the album art for whatever is currently playing. The ultra-low resolution display added a certain element of abstractness to the artwork, which [Felix] said made it an interesting conversation starter. Guests would try and guess what the album art was depicting given the sparse rendition shown on the matrix.

[Felix] gives an excellent explanation of how to get the server and client-side software up and running should you want to recreate his setup, but his Python scripts also have a function where you can push an arbitrary image to the display if you don’t want to connect everything up to the MPD backend.

On the hardware side, thirtytwopixels uses the Raspberry Pi Zero W, a Adafruit RGB Matrix Bonnet, and a 32×32 LED matrix that uses the HUB75 interface. Even a relatively small LED matrix like this can get pretty thirsty, so [Felix] is using a 5 volt power supply that can deliver 4 amps to keep the electronics happy.

If you wanted to keep the low resolution aesthetic but make the display larger, we’ve seen WS2812B LED strips and 3D printed frames used to make a custom jumbo matrix which could surely be adapted for this concept.

An LED Cube To Display CPU Vitals

LED cubes are all the rage right now. High-end hardware capable of driving large arrays keeps getting cheaper in price, and 3D printers and pre-built boards can make assembly a snap. After attending a major hacker con and seeing the builds on display, [Sebastian] wanted a piece of the action, so set out to build his own.

While many elect to build an LED cube you can hold in your hand, [Sebastian] preferred a stationary tabletop design. This would reduce costs, allowing him to only use 3 LED boards, as the base and remaining two sides would face away from him and not be visible when placed on his desk. The 64×64 arrays are driven by an Adafruit LED matrix bonnet on top of a Raspberry Pi 2. The Pi was a tactical choice, as [Sebastian] had one lying around, and it packed enough processing power to run an OpenGL shader that creates an image for the cube that varies with the CPU load and temperature on his main desktop. As a nice final touch, the Raspberry Pi is set up to have a read-only filesystem. This allows the project to be turned off suddenly without risk of corrupting the SD card.

It’s a tidy build, and one which gives [Sebastian] useful information at a glance. We’ve featured a few stylish cubes before, and even a LED D20 that really breaks the bank. Video after the break.

Continue reading “An LED Cube To Display CPU Vitals”

Voice Controlled RGB LEDs Go Big

When we see RGB LEDs used in a project, they’re often used more for aesthetic purposes than as a practical source of light. It’s an easy way to throw some color around, but certainly not the sort of thing you’d try to light up anything larger than a desk with. Apparently nobody explained the rules to [Brian Harms] before he built Light[s]well.

Believe it or not, this supersized light installation doesn’t use any exotic hardware you aren’t already familiar with. Fundamentally, what we’re looking at is a WiFi enabled Arduino MKR1000 driving strips of NeoPixel LEDs. It’s just on a far larger scale than we’re used to, with a massive 4 x 8 aluminum extrusion frame suspended over the living room.

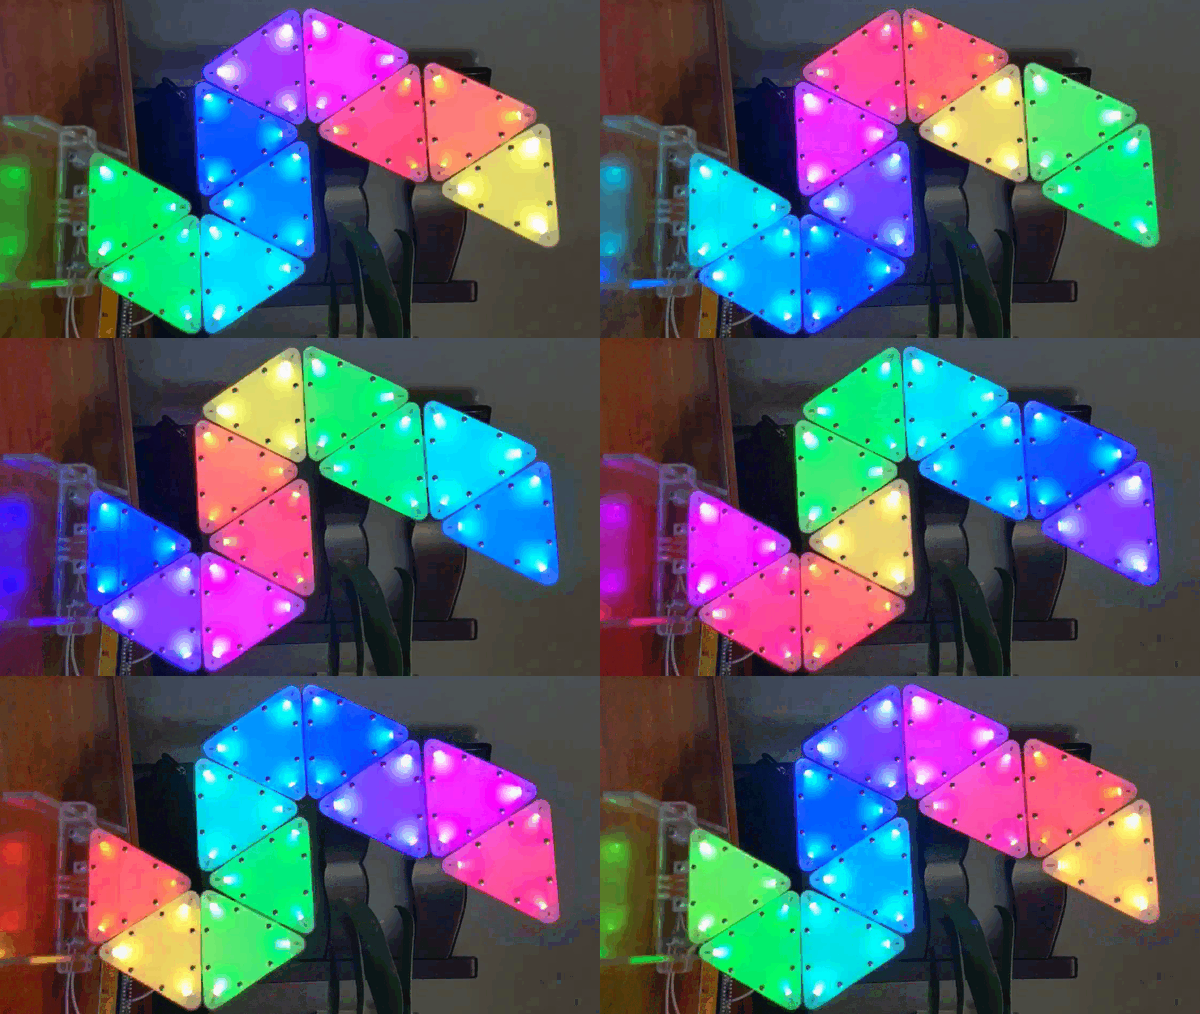
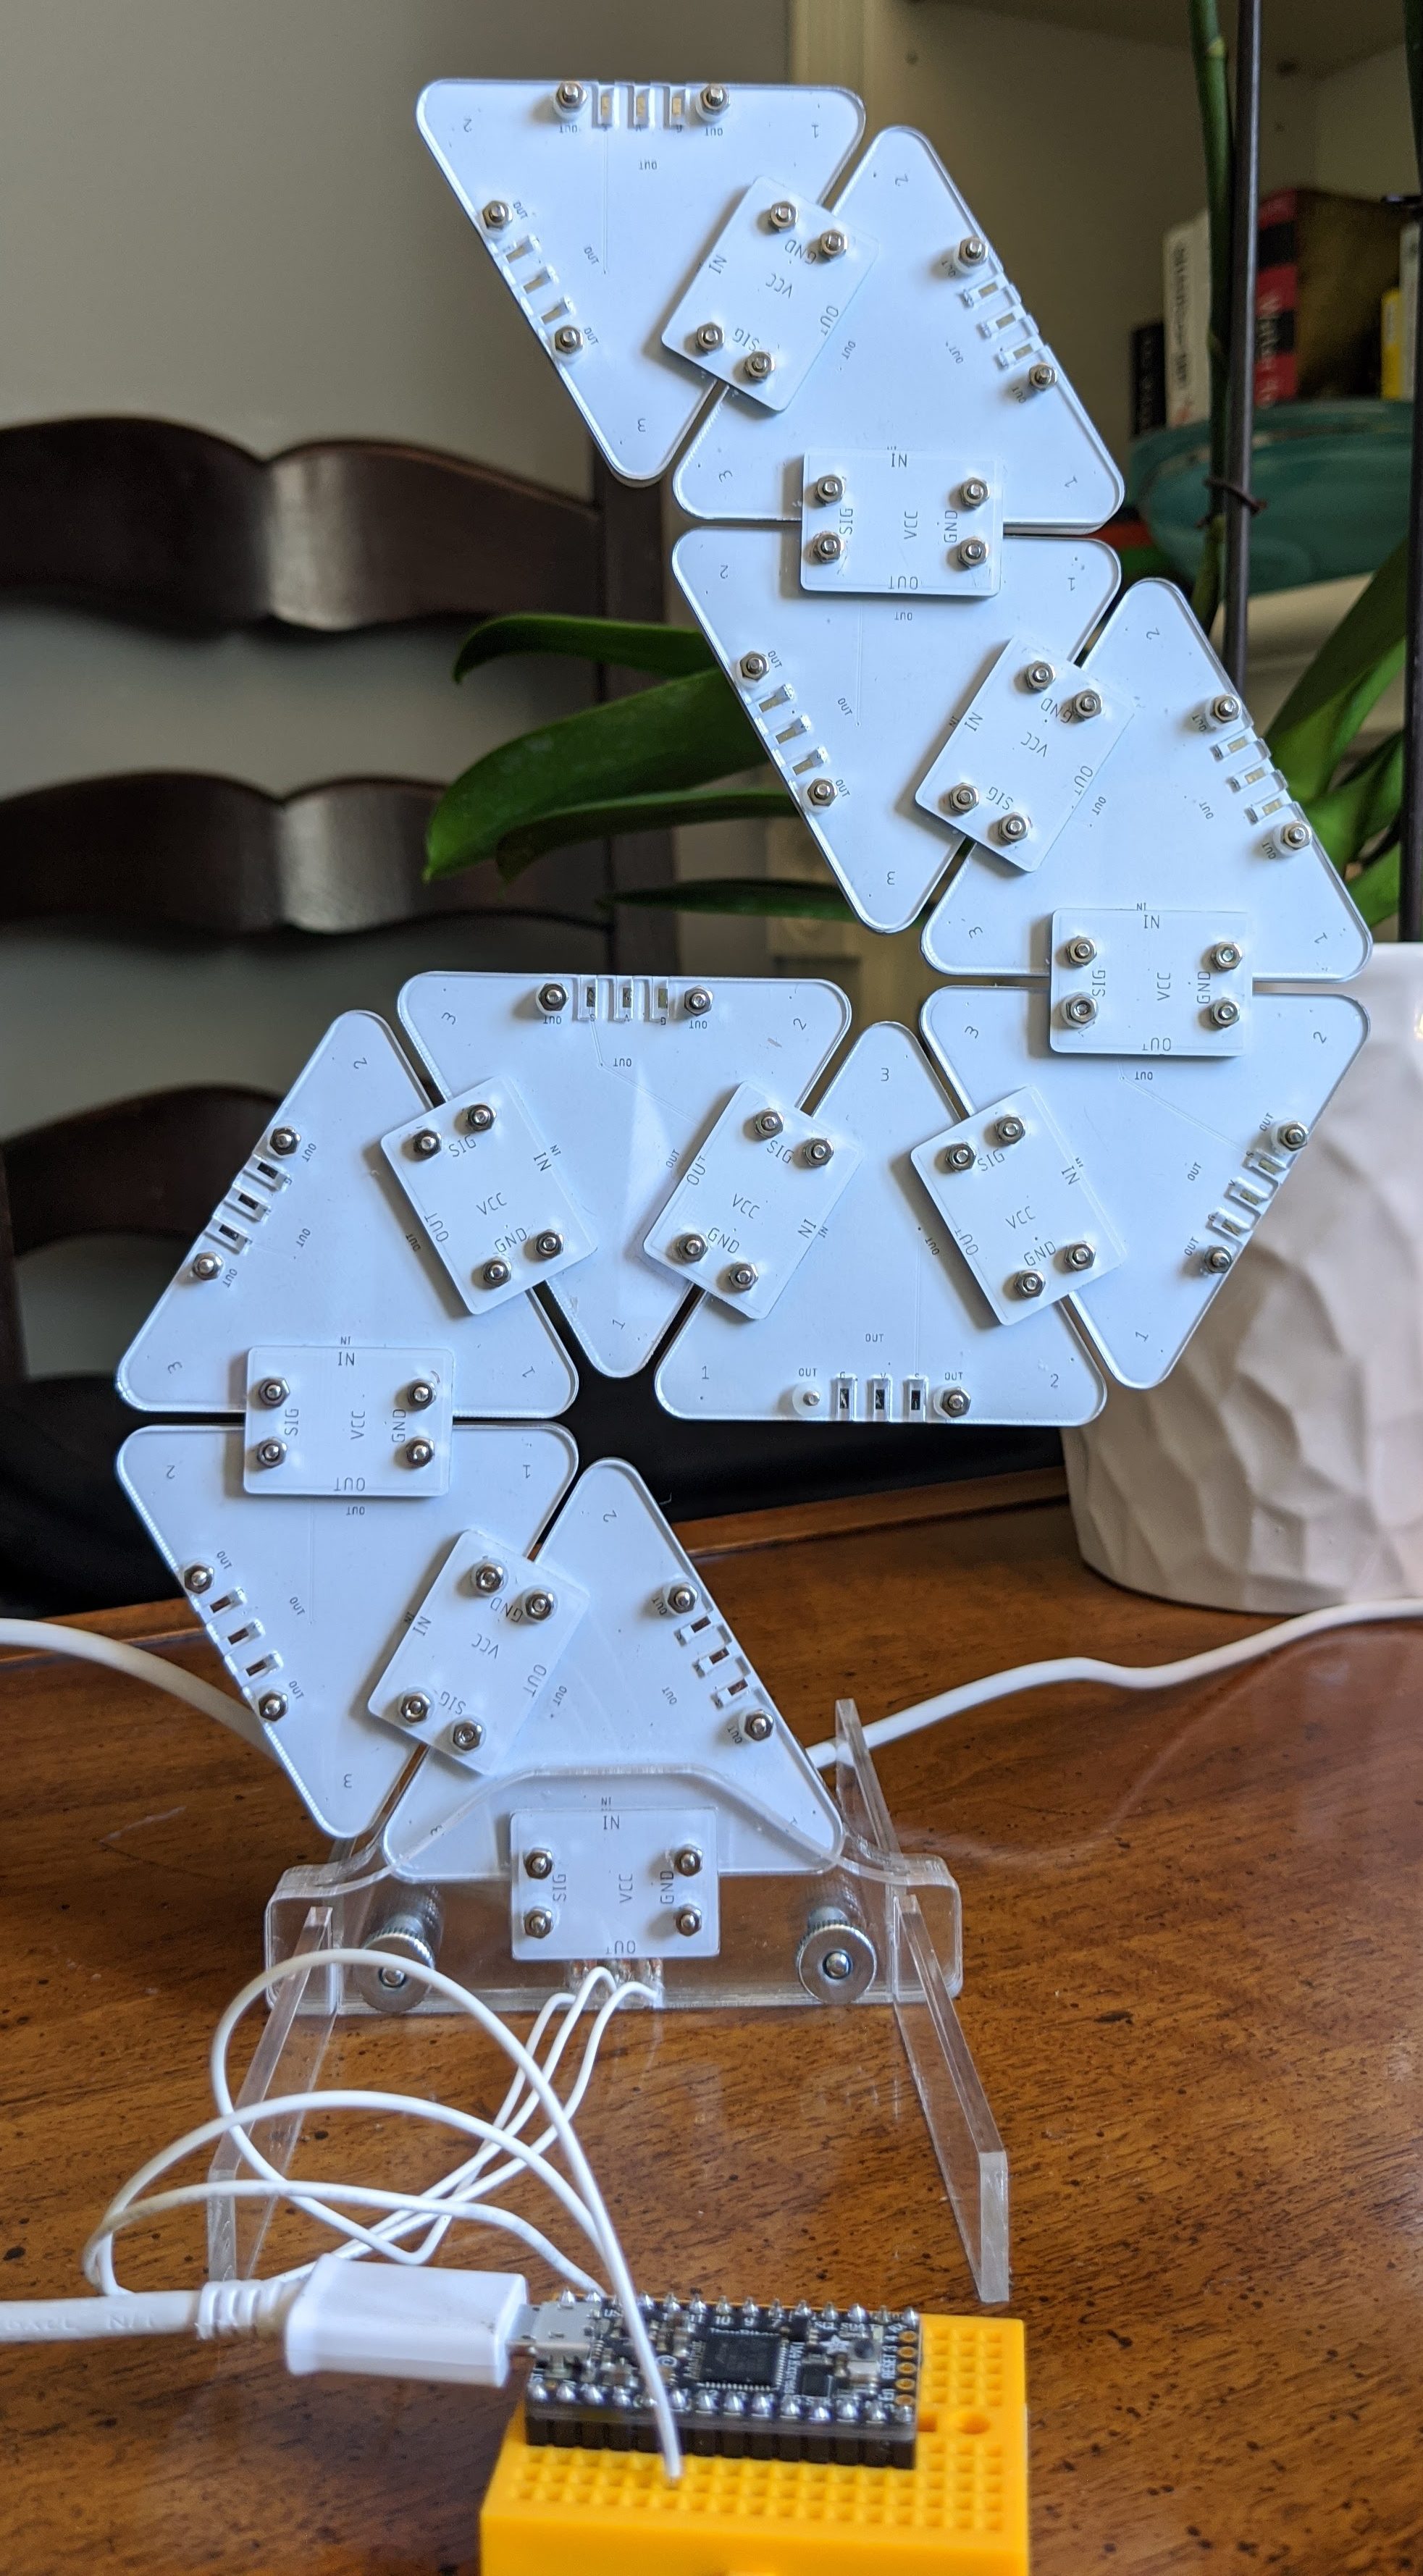
Onto that frame, [Brian] has mounted an undulating diffuser made of 74 pieces of laser-cut cardstock. Invoking ideas of waves or clouds, the light looks like its of natural or even biological origin while at the same time having a distinctively otherworldly quality to it.

The effect is even more pronounced when the RGB LEDs kick in, thanks to the smooth transitions between colors. In the video after the break, you can see Light[s]well work its way from bright white to an animated rainbow. As an added touch, he added Alexa voice control through Arduino’s IoT Cloud service.

While LED home lighting is increasingly becoming the norm, projects like Light[s]well remind us that we aren’t really embracing the possibilities offered by the technology. The industry has tried so hard to make LEDs fit into the traditional role of incandescent bulbs, but perhaps its time to rethink things.

Continue reading “Voice Controlled RGB LEDs Go Big”

Shadow Lamp Moves Delibrately Slowly

Inspired by the famous lava lamp, [Mojoptix] wanted to build a creation of his own with a similarly organic, changing lighting effect. However, rather than flowing heated wax, he created a lamp with pseudo-random effects his own way. 

The lamp itself is built around a shadow-puppet concept, using a pair of rotating apetures that [Mojoptix] 3D printed. The apetures turn, one in front of the other, and are lit from behind by an IKEA LED light. As the apetures rotate, they present a slowly varying path for the light from the LED, which is projected onto a paper screen placed in in front of the assembly. To generate the long-period rotation, the rotating assembly is turned by the minute hand of a common clock movement. It’s a great way to get a slow-rotating motor and gearbox setup on the cheap, as long as your torque requirements are absolutely miniscule.

It’s a neat way to produce a slowly-varying lighting effect; we’ve featured other discussions on the topic before, too. Video after the break.

Continue reading “Shadow Lamp Moves Delibrately Slowly”