For their final project in [Bruce Land]’s class on designing with PIC32 microcontrollers, [Sujith], [Julia] and [Andrew] wanted to do something fun. And what could be more fun than bending to the electromechanical siren song of the pinball machine?
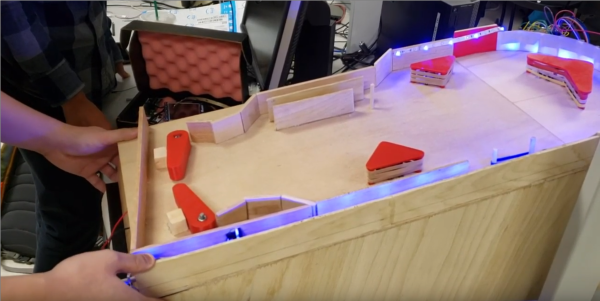
This machine looks great, and as you can see in the demo video after the break, it plays and sounds great, too. We particularly like the boomerang obstacle and the game state-driven LED strip. The more points you score, the brighter they go. We also like that this machine combines traditional scoring methods with a few really clever ones, like the boomerang target near the top and the scoring triggers made from copper tape.
The team started by designing the heart of any pinball machine, the flippers. Though we have seen car door lock actuators used in homebrew machines, the team went with traditional solenoids to drive them. Unfortunately the solenoids caused a lot of interference, but the team got around it with filter capacitors and aluminium foil Faraday cages around the wires.
If all this pinball talk has your circuits lit up, why not try making your own machine? Continue reading “Team Scores Big Points With Pinball Final Project”