Full Featured Security Lock Demonstration

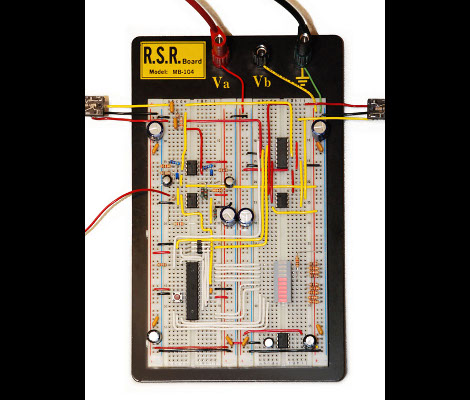
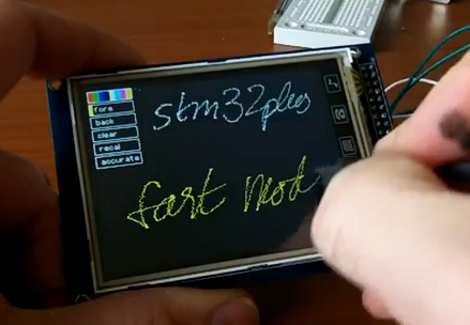
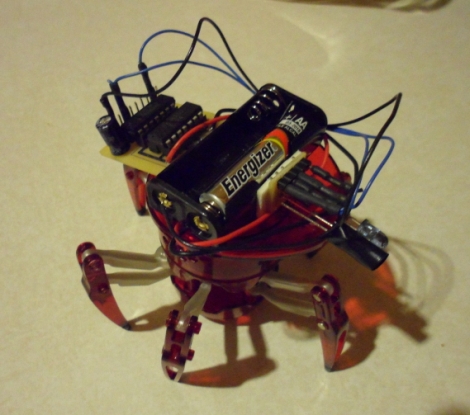
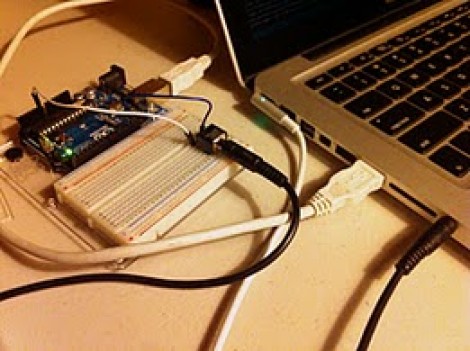
[Arshad Pathan] let us know about his latest project, a modular code lock that can be adapted to many different situations.

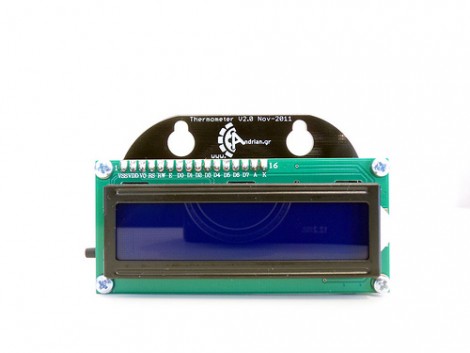
The user interface is made up of a character LCD screen and a 3×4 keypad. For this example [Arshad] is using a stepper motor as the locking mechanism. When the board is first powered up it runs the stepper in one direction until receiving input from a limiting switch. In this way, the microcontroller calibrates itself to ensure the lock is in a known position. From there it waits for user input. An unlocked door can be locked at any time by pressing the * key. Unlocking requires entry of the correct password. And a password can be changed by entering 9999 (followed by the old password when prompted).

In the video after the break [Arshad] does a great job of demonstrating the various modes which he has programmed. This stands on its own, but we always love to have more details so we’ve asked if [Arshad] is willing to share a schematic and the source code. We’ll update this post if we hear back from him.

Update: [Arshad] sent in a couple of schematics which can be found after the break.

Continue reading “Full Featured Security Lock Demonstration”

Reading Inputs From Shift Registers Using Just One Single Pin

Here’s an interesting article about reading data from shift registers using less than three pins. 74HC165 shift registers are a popular choice for adding inputs to a microcontroller. They have a parallel input register which can be read using the latch, then shifted into a microcontroller via the data and clock pins. For those counting, that’s the three pins normally associated with driving these devices.

This hack first does away with the latch pin. The addition of a carefully trimmed RC circuit (capacitor is charged by the clock pin, then the resistor lets that cap slowly discharge) means that the device will not latch until after the clock stops toggling. This technique drops the control down to just two pins (data and clock). You can still use hardware SPI to read the data using this method. It’s the same as using SPI to drive 595 shift registers except the microcontroller reads data instead of writing it.

But wait, there’s more! The diagram above actually shows a way of reading this shift register with just one pin. Notice that the clock and data pins are now connected to just one of the microcontroller pins. The data pin has an added resistor, which keeps the current low enough that it will not compete with the clock signal coming from the microcontroller. In between clock pulses, the microcontroller switches from output to input to read the data pin on each cycle. Give it a try, it’s a fun experiment!

C Bit Field Structures For Microcontroller Multitasking

So you’re getting better at programming microcontrollers and now you want to do several things at once? You know better than that, microcontrollers are only capable of processing one thing at a time. But if you’re clever with your coding you can achieve something that behaves as if several things are going on at once. The most common way to do this is to set a flag using an interrupt, then use the main loop to check for that flag. [S1axter] posted a tutorial on this topic where he uses bit field structures to help simplify time sensitive events.

We think [S1axter] did a fantastic job of explaining this moderately difficult topic clearly and quickly. In the video after the break he begins by explaining what a bit field is and how it is defined. Basically you’re using a C structure to track a flag using just one bit of storage. This way the flag is either set or not. We suggest you pay careful attention to how he declares the structures as volatile, so you don’t have unexpected behavior when you try it yourself.

Continue reading “C Bit Field Structures For Microcontroller Multitasking”

Pushing FPGA Config Files Via Serial Using ‘cat’

[Andrew] is trying to buckle down and hammer out his PhD project but was surprised by the sorry state of the configuration options for his FPGA/ARM dev board. Using JTAG was painfully slow, so he studied the datasheet to see if there was another way. It turns out the Xilinx FPGA he’s using does have a slave serial mode so he came up with a way to push configuration from the ARM to the FPGA serially.

Four of the connects he needed were already mapped to PortC pins on the AT91SAM9260 ARM System on a Chip. He ended up using the EN_GSM pin on the FPGA, since there is no GSM module on this board; connecting it to the microcontroller with a piece of wire. Now he can SSH into the ARM processor, grabbing information on the FPGA from /dev/fpga0. When it comes time to program, it’s as easy as using the cat command on the binary file and redirecting the output to the same hook.

FIGnition FLINT Is A Stripboard Build Of The Simple Computer

If you want people to really be impressed by your projects it’s often better not to have a fully finished look. In this case, we think hooking the stripboard version of FIGnition up to your TV will raise a lot more eyebrows than the PCB version will.

[Julian] put together a guide to building the computer on strip board. He’s using his own Java application for laying out circuits on this versatile prototyping substrate. This tool is worth a look as it may simplify those point-to-point solder prototypes you’ve been agonizing over. You’ll have to do some poking around on his site to gather all of the knowledge necessary to complete the build. Most of the components are easy to source, but unless you have them on hand, you’ll need put in a parts order for the crystal, the ATmega168, the SRAM chip, and the flash memory chip.

For those not familiar, FIGnition is an 8-bit computer with composite TV-out for a display and rudimentary input from the eight momentary push buttons.

POV Bauble Uses DIY Accelerometer To Sync The Image

So we saw this tip come in and thought–oh, another POV device. We watched the video (embedded after the break), took a sip of coffee, then almost sprayed the beverage all over the computer when we realized that this uses a diy sensor to synchronize the POV image.

[Ch00f] came up with the idea for the sensor after seeing a similar implementation on a commercial POV toy. Instead of using a proper accelerometer to sense the motion, the toy uses a plastic bead in a channel. When you move the body of the toy the bead rolls to one end or the other, covering or exposing a reflective sensor.

A similar sensor is used here. A drinking straw servers as the channel, with a paper-covered nylon screw as the bead. [Ch00f] cut a window in the bottom of the straw for his reflective sensor, then sealed each end with a wad of paper.

This method works, but not as well as he had hoped. It seems the refresh rate and timing of the particular sensor he’s using is rather poor. If it were replaced with one that is simply and IR LED and phototransistor (like the sensors from [Jack’s] last video) he thinks it would work a lot better.

via Buildlounge.

Continue reading “POV Bauble Uses DIY Accelerometer To Sync The Image”

FT-2232 Bridges Python And I2C/SPI

You might already have the hardware on hand to easily interface I2C and SPI devices with Python scripts on your computer. The board seen above is an FT-2232 breakout board. These chips are often used to facilitate JTAG programming via USB, but they have other features that might be useful to you as well. The chip has a Multi-Protocol Synchronous Serial Engine (MPSSE) which can speak the I2C and SPI protocols, you just need to know how to active them in your code.

[Craig] makes this easy with his MPSSE Python wrapper. Simply install his module, and you’ll be able to import all the commands you need. He demonstrates reading the data out of a 1 MB SPI flash memory chip. This could be used for a lot more, including debugging peripherals à la the Bus Pirate, or reprogramming chips to add to your projects (we’re thinking font arrays and sprites for displays, or look-up tables).

If you’re not aware, these FTDI chips were the go-to for USB support for a long time. We’ve got a guide for bit-banging using this hardware. Lately more chips have become available with USB hardware built-in. They’re quite useful and cost-effective, especially with the availability of open-source stacks like the LUFA project.