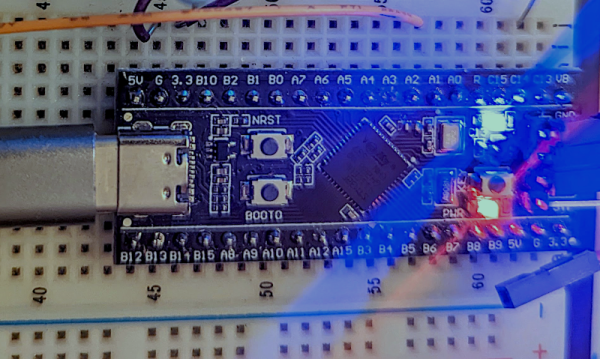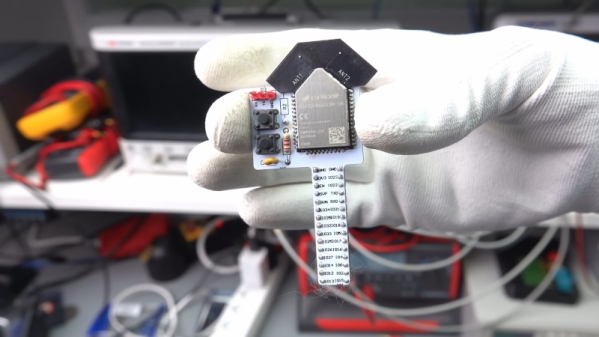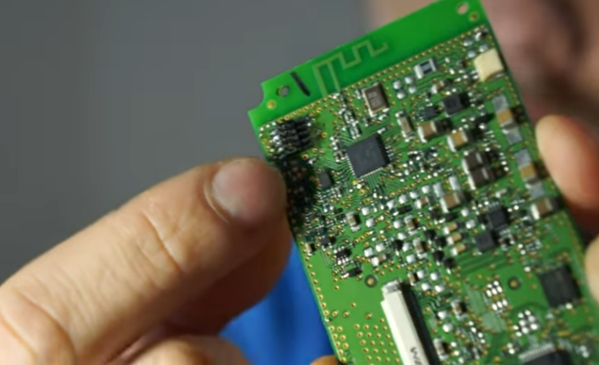
[Maker.Moekoe] wanted a single controller board that was usable with different reflow ovens or hotplates. The result is a versatile board based on the ESP32-S2. You can see a video of the board’s assembly in the video below.
The board sports several inputs and outputs including:
- 2x MAX6675 thermocouple sensor input
- 2x Fan output with flyback diodes
- 2x Solid state relay output
- 3x Buttons
- 1x LED
- 1x Buzzer
- 1x Servo motor output
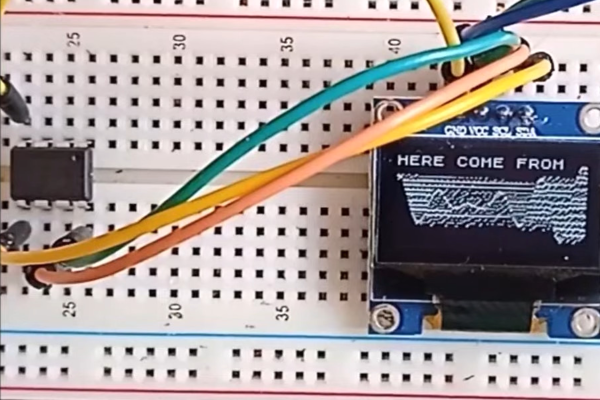
- 0.96 inch OLED display
You could probably find a use for the board for other similar applications, not just ovens.
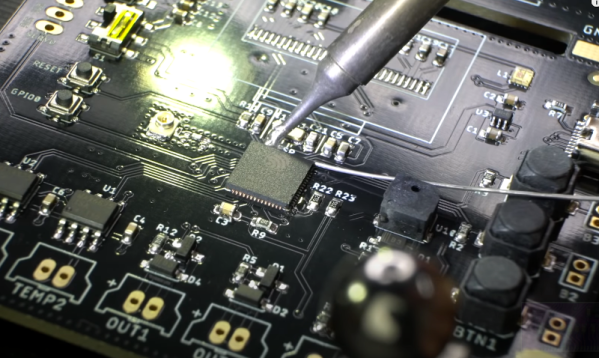
The video is oddly relaxing, watching parts reflow. It is like watching a 3D printer, no matter how many times we see it, we still find it soothing to watch. You can also see how he integrated the board with a toaster oven.
Overall, the board looks great and the workmanship is also very good. If you’ve never seen anyone set heat-set threaded inserts into a 3D printed piece, be sure to watch around the four minute mark.
We’ve seen plenty of oven projects. You can even use an Easy Bake oven.
Continue reading “Versatile Reflow Oven Controller Uses ESP32-S2”