When [John Saunders] wanted an automatic door for his shop, rather than settle for a commercial unit, he designed and built a proximity-sensing opener to ease his passing. Sounds simple, right?
Fortunately for us, there are no half-measures at Saunders Machine Works, thanks to the multiple Tormach workcells and the people who know how to use them. The video below treats us to quite a build as a result; the first part is heavy on machining the many parts for the opener, so skip ahead to 8:33 if you’re more interested in the control electronics and programming.
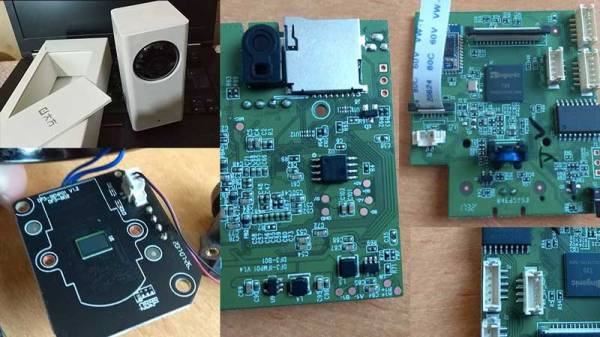
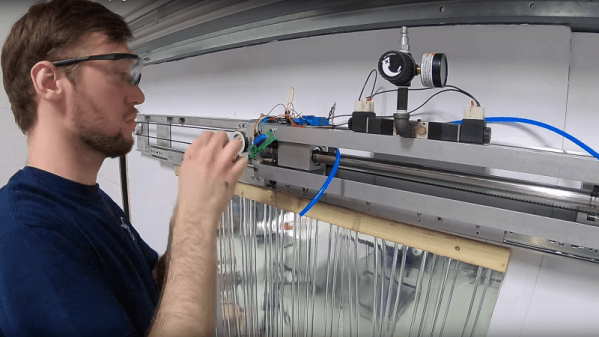
The opener uses time-of-flight distance sensors and an Arduino to detect someone approaching, with a pneumatic cylinder to part a plastic strip curtain. [John] admits to more than a little scope creep with this one, which is understandable when you’ve got easy access to the tools needed to create specialized parts at will.
In the end, though, it works well for everyone but [Judd], the shop dog, and it certainly looks like it was a fun build to boot. [John]’s enthusiasm for mixing machining and electronics is infectious; check out his automated bowl feeder for assembly line use.
Continue reading “Touchless Shop Doors Over-Engineered To A Blissful Level”