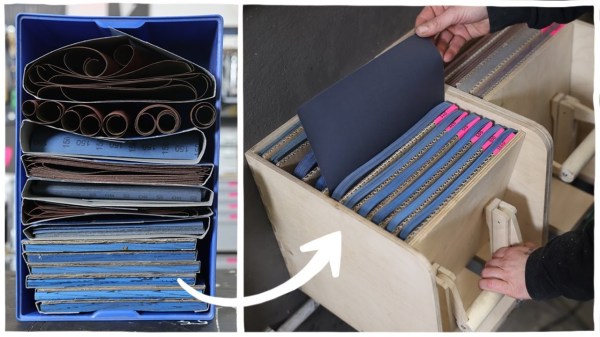
Maybe it’s the humidity, maybe it’s the cold weather. Something is making [Laura Kampf]’s nice fabric-backed sandpaper curl up into scrolls the second it comes out of the package. So you can understand why she urgently wanted to make a storage system that would be easy to flip through like a record bin, but also provide enough pressure to keep the papers flat.
Although [Laura] didn’t know what exactly the end result would be, she got started on it anyway — that’s a great way to get more projects off the drawing board and past the finish line. It worked out, because she got a great idea while building the box and using nice cam clamps to hold the finger joints together as the glue dried. Since she already had a bunch of these cam clamps in different lengths lying around, why not use a couple of them for this?
[Laura] has two major classifications of sandpaper — paper-backed and fabric-backed — and built them separate boxen using two clamps for each box. She joined the pins with a DIY handle in order to move the cams in unison, so all she has to do is pull out to flip through the papers, and push the handle back and down to re-pressurize the stack for storage. Be sure to check out the build and demo video after the break.
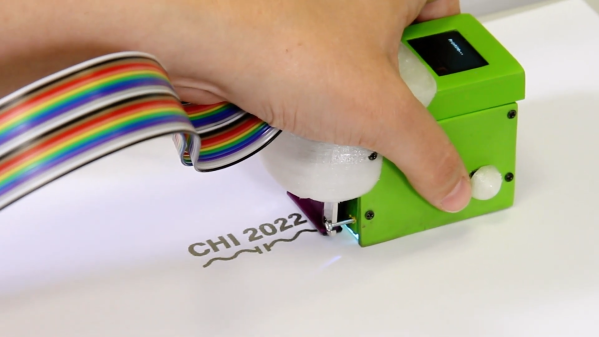
While DIY clamps are often wood and metal affairs, it’s good to have 3D printing in your corner.
Continue reading “Anti-Curl Sandpaper Storage Is Impressive”