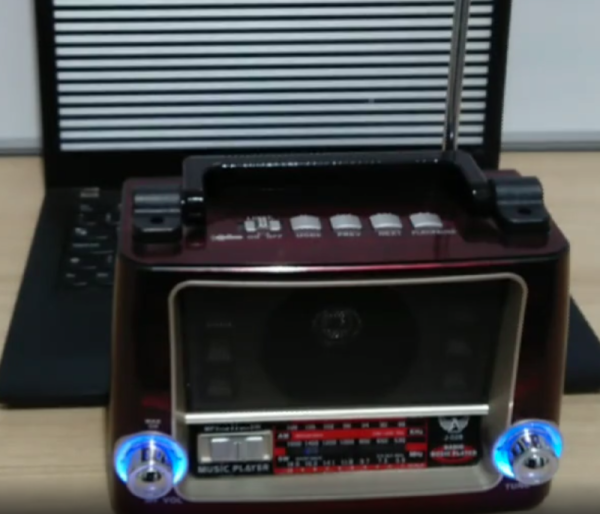
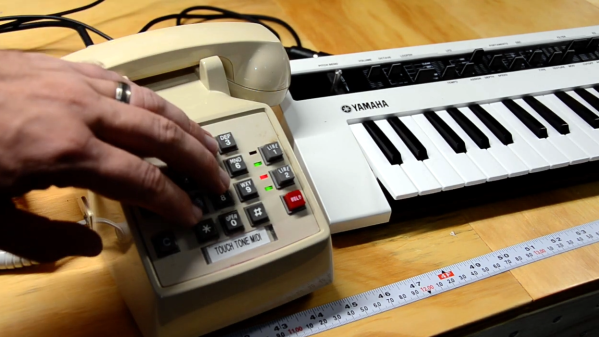
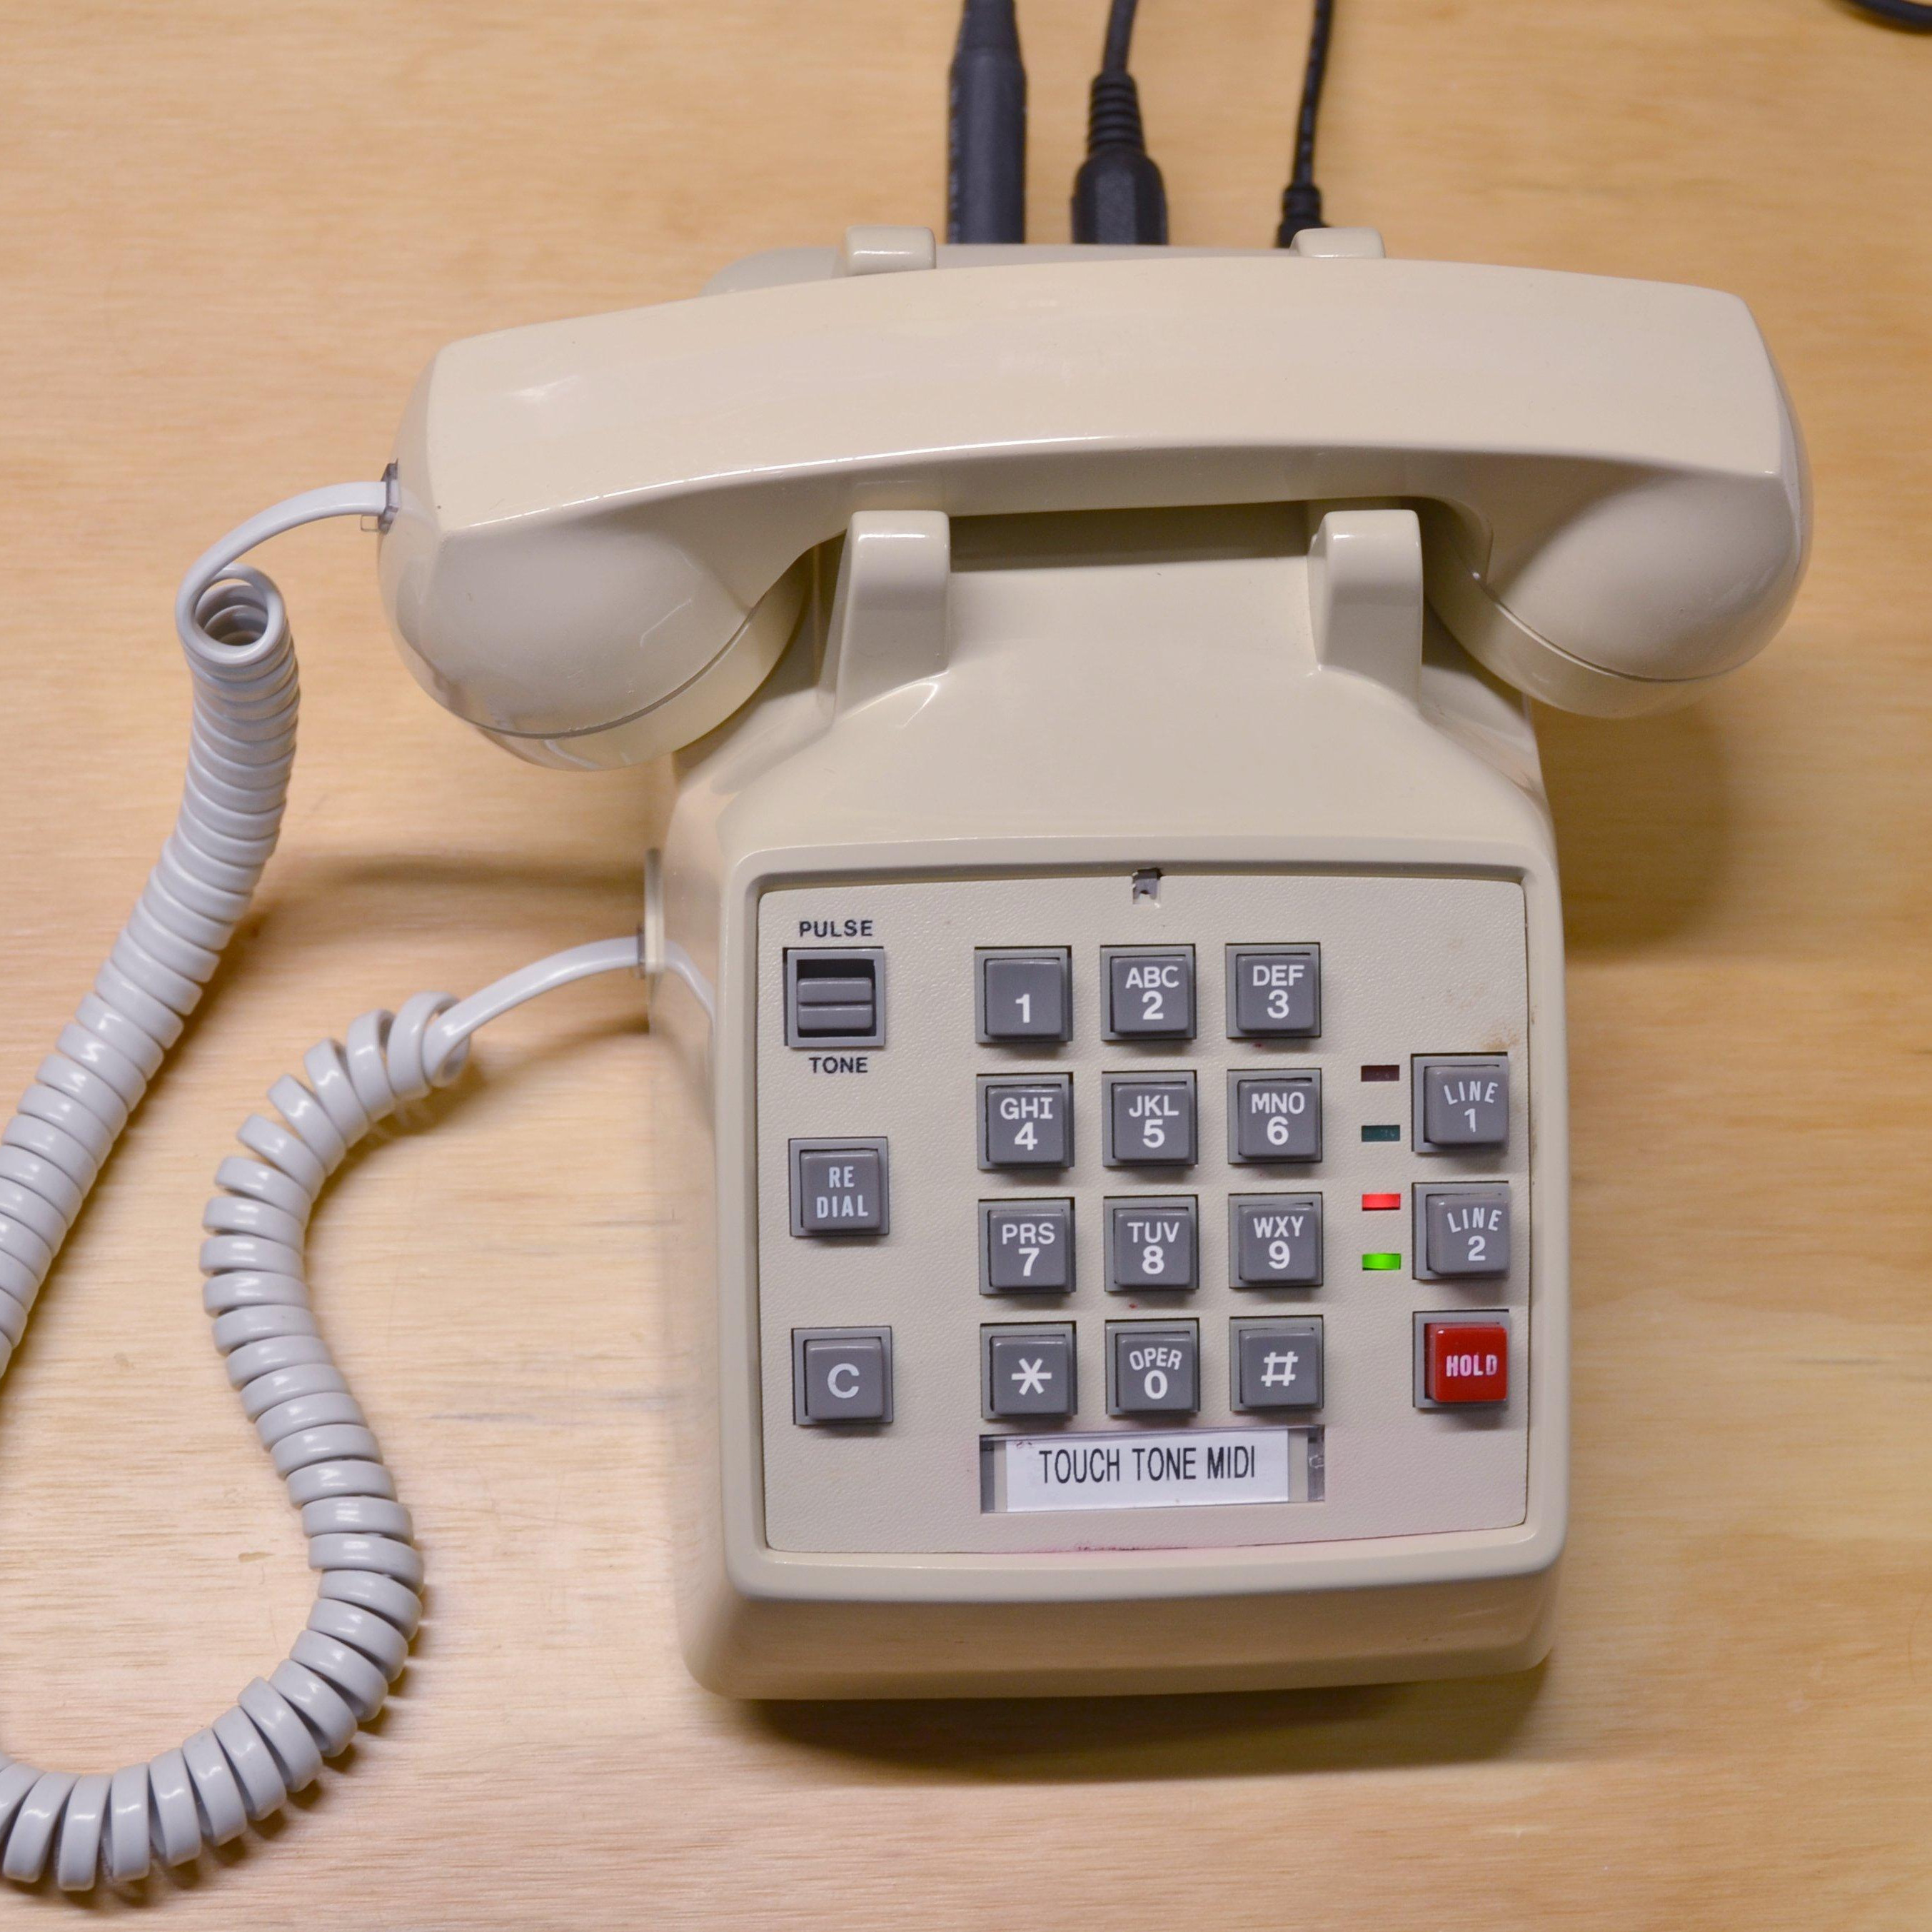
A Baby Grand Gets MIDI

Like a lot of people, [Jacques] doesn’t think a big hunk of plastic light enough to carry under your arm is a piano, even if it does have 88 keys. A piano is supposed to be a hefty piece of furniture that you have to buy people pizza to help you move. So he bought a used baby grand piano. It wasn’t in very good shape, though, so while restoring it, he also added MIDI to it. You can see the finished result in the video below.

At $100, the price was right, although it cost more to move it. Between water damage, moth attacks, and storage in a garage, the piano — an old Zimmerman — needed a lot of tender loving care. When it came to MIDI, [Jacques] found a used Disklavier — a very expensive piece of kit — but it didn’t fit the Zimmerman or another piano at hand. The solenoids and optical sensors are set up for a particular piano, so what can you do? Easy! Rebuild the bar that holds the solenoids and sensors.

Continue reading “A Baby Grand Gets MIDI”

3D Printing Transmission Line Speakers

Anyone who has played with speakers on the workbench knows the huge difference enclosure design makes to the frequency response of an audio system. Speakerheads spend hours tinkering with designs and calculations, aiming to get the best out of a given set of drivers. [HexiBase] decided to try some experiments of his own, running into some hurdles along the way.

[Hexibase] aimed to 3D print a compact transmission line design, to suit a pair of 1 1/8″ full-range drivers. Being aware of the benefits of high-resolution resin 3D printing, he set out to print a design taking full advantage of the build volume of his Longer 3D Orange 30 printer. Unfortunately, after much fiddling with slicer settings, the printer turned out to have a fundamental fault, leading to unusable prints.

Undeterred, [Hexibase] switched to using his Longer FDM model instead. Printing out the enclosures in PLA. he noted that the different material will have a slightly altered frequency response than originally intended. Regardless, the final result sounds great, and barring some higher-frequency anomalies, the output correlates well with the mathematical model of expected performance.

3D printers make great tools for budding speaker builders, as they make constructing advanced geometries a cinch. Of course, you can even try and 3D print the drivers themselves if you’re so inclined. Video after the break.

Continue reading “3D Printing Transmission Line Speakers”

Wurlitzer Note Visualizer Gets A 2020-Spec Replica

Way back in the 1970s, when smog laws were choking American V8s and the oil crisis was in full swing, Wurlitzer released their Key Note Visualizer. Intended as a teaching aid, the device lit up keys on a keyboard graphic, allowing an organ player to visually demonstrate their performance to a class. [Guy Dupont] set out to replicate this hardware, but with a modern twist.

The build consists of an ESP-32, which accepts MIDI data over Bluetooth Low Energy. This is then used to light up a series of RGB LEDs on a musical staff and a keyboard graphic, corresponding to the notes being played. The LEDs used are the old-school four-wire type, rather than more modern data-driven types. They’re placed in 3D-printed holders which serve to stop the light from each LED bleeding into adjacent areas. The faceplate is made of acrylic, stencilled with that classic orange paint and with vinyl decals applied for the markings. It’s all wrapped up in a walnut case, which [Guy] CNC machined himself.

It’s a tidy build that faithfully recreates the 1970s aesthetic of the original. We plaintively wish that manufacturers would release more electronics in walnut enclosures, though ask politely that they leave cheap veneer in the past where it belongs.

Of course, if you like your musical displays more abstract than instructional, try this giant oscilloscope visualisation on for size. Video after the break.

Continue reading “Wurlitzer Note Visualizer Gets A 2020-Spec Replica”

Less Rock, More Roll: A MIDI Barrel Piano

Strolling around a park, pedestrian zone, or tourist area in any bigger city is rarely complete without encountering the sound of a barrel organ — the perfect instrument if arm stamina and steady rotation speed are your kind of musical skills. Its less-encountered cousin, and predecessor of self-playing pianos, is the barrel piano, which follows the same playing principle: a hand-operated crank rotates a barrel, and either pins located on that barrel, or punched paper rolls encode the strings it should pluck in order to play its programmed song. [gabbapeople] thought optocouplers would be the perfect alternative here, and built a MIDI barrel piano with them.

Keeping the classic, hand-operated wheel-cranking, a 3D-printed gear mechanism rolls a paper sheet over a plexiglas fixture, but instead of having holes punched into it, [gabbapeople]’s piano has simple markings printed on them. Those markings are read by a set of Octoliner modules mounted next to each other, connected to an Arduino. The Octoliner itself has eight pairs of IR LEDs and phototransistors arranged in a row, and is normally used to build line-following robots, so reading note markings is certainly a clever alternative use for it.

Each LED/transistor pair represents a dedicated note, and to prevent false positives from neighboring lines, [gabbapeople] 3D printed little collars to isolate each of the pairs. Once the signals are read by the Arduino, they’re turned into MIDI messages to send via USB to a computer running any type of software synthesizer. And if your hands do get tired, you can also crank it with a power drill, as shown in the video after the break, along with a few playback demonstrations.

It’s always fun to see a modern twist added to old-school instruments, especially the ones that aren’t your typical MIDI controllers, like a harp, a full-scale church organ, or of course the magnificently named hurdy-gurdy. And for more of [gabbapeople]’s work, check out his split-flip weather display.

Continue reading “Less Rock, More Roll: A MIDI Barrel Piano”

Raspberry Pi Plays A MIDI Tune Wherever You May Roam

MIDI controller keyboards are great because they let you control any synthesizer you plug them into. The only downside: you need a synthesizer to turn MIDI notes into actual sounds, slightly complicating some summer night campfire serenading. Not for [Geordie] though, who decided to build the nanoPi, a portable, MIDI instrument housing a Raspberry Pi.

Using a Korg nanoKEY2 USB MIDI controller as base for the device, [Geordie] took it apart and added a Raspberry Pi Zero W, a power bank to, well, power it, and a USB hub to connect a likewise added USB audio interface, as well as the controller itself. As the nanoKEY2 has a naturally slim shape, none of this would ever fit in it, so he designed and 3D printed a frame to extend its height. Rather than wiring everything up internally, he decided to route the power and data cable to the outside and connect them back to the device itself, allowing him to use both the power bank and the controller itself separately if needed.

On the software side, the Pi is running your common open source software synthesizer, Fluidsynth. To control Fluidsynth itself — for example to change the instrument — [Geordie] actually uses the Termius SSH client on his phone, allowing him also to shut down the Pi that way. While Fluidsynth’s built-in MIDI router could alternatively remap the nanoKEY2’s additional buttons, it appears the functionality is limited to messages of the same type, so the buttons’ Control Change messages couldn’t be remapped to the required Program Change messages. Well, there’s always the option to fit some extra buttons if needed. Or maybe you could do something clever in software.

As you may have noticed, the nanoPi doesn’t include any speaker — and considering its size, that’s probably for the best. So while it’s not a fully standalone instrument, it’s a nice, compact device to use with your headphones anywhere you go. And thanks to its flexible wiring, you could also attach any other USB MIDI controller to it, such as this little woodwind one, or the one that plays every pop song ever.

Continue reading “Raspberry Pi Plays A MIDI Tune Wherever You May Roam”

Turning A MicroKORG Into A MicroKORG S With This Speaker Mod

When [Michael Wessel] bought his MicroKORG synthesizer/vocoder, he felt less than amused when two years later the MicroKORG S was released, with the ‘S’ standing for ‘sound’, apparently, for the 2+1 speaker system that was added to it. Undeterred, [Michael] figured out that both synthesizers are similar enough that one could likely add a similar speaker system to the original MicroKORG.

The similarities between the two products become apparent when one compares the original with its successor, with the latter seemingly mostly adding said speakers and more presets, along with a snazzy new exterior. (Although the 1970s styling of the original may have more fans.)  As the embedded video shows, this mod is fairly clean.

At the core of this mod is a PAM8403-based class D amplifier board. The PAM8403 is a 3 W audio amplifier, originally produced by Power Analog Microelectronics (now Diodes). While not an amazing amplifier, it lends itself well for battery-powered applications like the MicroKORG. Rounding out the build is a 7805 linear regulator to get 5 V for the PAM8403, a few filter capacitors, a switch to turn the speakers on/off, and of course the speakers.

Although there’s quite a bit of space in the enclosure, most speakers tend to be large enough that this can be a bit of a squeeze. [Michael] found some low-profile 20 W full-range speakers that seem to work well for this purpose. To finish wiring this up, all it takes is a hole saw and a way to get the audio output from the MicroKORG.

In this mod, [Michael] opted to get the audio from the output jack on the back, but for a cleaner result it probably could be wired straight into the on-board header.

Continue reading “Turning A MicroKORG Into A MicroKORG S With This Speaker Mod”

Arduino Drums Bring The Noise, No MIDI Required

When looking through existing Arduino drum kit projects, [joekutz] noticed that most of them just used the microcontroller as an input for an existing MIDI device. That’s fine if you’re just looking to build your own hardware interface, but he wondered if it would be possible to forgo the MIDI device completely and actually generate the audio internally.

To be sure, this is a lot to ask of an 8-bit microcontroller, which is probably why nobody does it this way. But [joekutz] wasn’t giving up without a fight. One of the trickiest aspects was storing the samples: the 8-bit, 11.025 KHz mono WAV files ultimately had to be converted into C data arrays with a custom Python script.

Unfortunately, since the samples are essentially part of the drum’s source code, he says distributing the firmware is something of a problem. Though it sounds as though there might be a solution to this soon for those who want to play along at home.

But don’t get the impression that this project is just software. Check out the custom impact sensors lovingly crafted from popsicle sticks and metal cut from soda cans, which have been mated with sections cut out of old DVD-Rs. Actually getting the beats out of the Arduino required the addition of a R2R DAC circuit and a TDA2822 amplifier. In the video after the break, you can hear the results for yourself.

[joekutz] is no stranger to homebrew electronic instruments. When we last heard from him, he was turning a very pink keyboard into his own personal circuit bending playground.

Continue reading “Arduino Drums Bring The Noise, No MIDI Required”