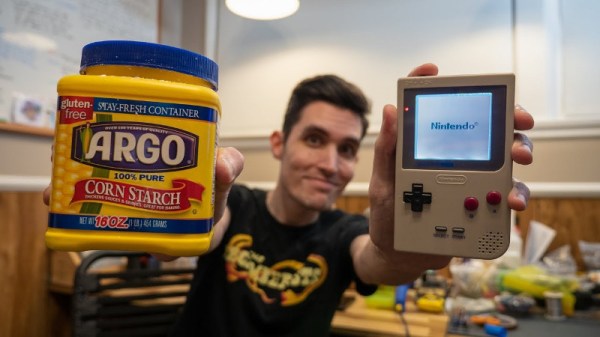
For one time small window between 1994 and 1998, you could play Game Boy games in color with a Super Game Boy. This was a cartridge that plugged into a Super Nintendo, and using proprietary Lock-On™ technology, you could play Game Boy games on the big screen. Inside the Super Game Boy was the guts of a real Game Boy. This was, and still is, the best way to experience everything from Kirby’s Dream Land or the Pokemon of Kanto.
Unfortunately, the Super Game Boy doesn’t exactly replicate the Game Boy experience. The crystal in the Super Game Boy means that games and sound run between 2 and 4% faster. The Super Game Boy is out for competitive speed running, and if you’re using Little Sound DJ, you’ll be out of tune with the rest of the band. The Super Game Boy doesn’t have link cable support, either.
Now, [qwertymodo] over on Tindie has the solution to the faster Super Game Boy. It’s a clock mod, but it’s not just swapping a crystal. This is a board that solders to existing pads, and still allows you to access the speed up and slow down functions available from the Commander controller from Hori. It’s a slightly impressive bit of PCB art, and certainly something that deserves notice.
This mod fixes the 2-4% speedup of the Super Game Boy, but then there’s still one feature missing: the link cable. Well, hold on to your butts, because there’s a mod for this one too. The Super Game Boy Link Port is a small little breakout board that requires fly wires to the main chip in the Super Game Boy. The installation isn’t quite as clean as the crystal hack, but if you’re fixing the clock, you might as well add the link cable port while you’re in there.
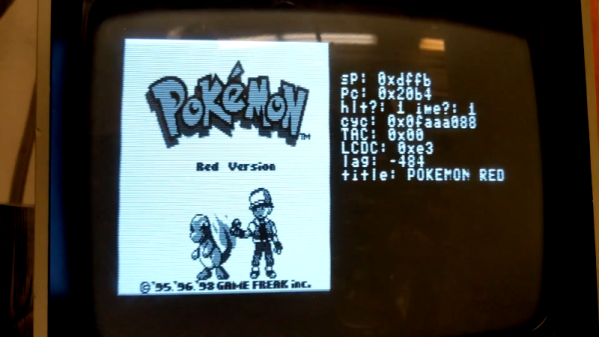
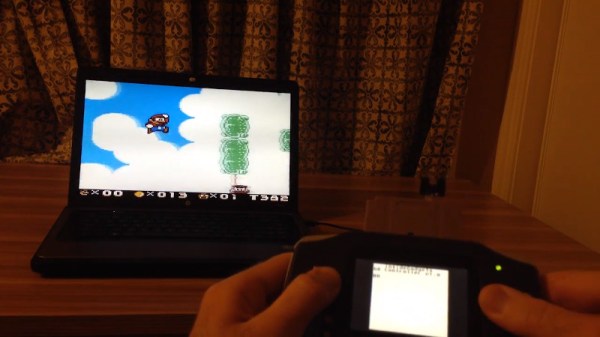
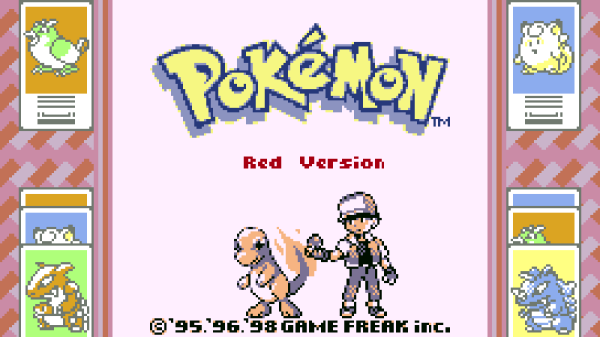
[qwertymodo] has a comparison test of the Super Game Boy running Pokemon Red, and this thing is dead on. It runs at exactly the same speed as an original Game Boy, only in color, on a TV. You can check that out below.
Continue reading “Clock Mod Brings Super Game Boy To Competitive Arena”