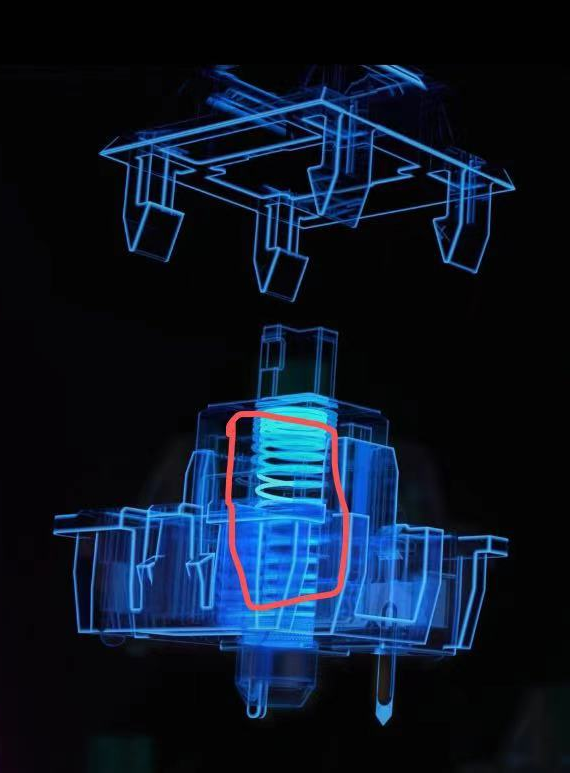
Adding USB To A Keyboard The Way It Used To Be Done

The world of custom keyboards has over the years developed its work into an art form, as mechanical key switches meet USB-HID capable microcontrollers for a plethora of designs as individual as their creators. This was however not always the case, and from the days of 8-bit home computers onwards making a custom keyboard often meant taking a surplus one from elsewhere and adapting its matrix to suit whatever controller interface was at hand. [Julian Calaby]’s USB conversion of an Apple Extended keyboard may be unusual in this day and age and was probably a late example even 15 years ago when he made it, but it remains a glorious piece of bodge-wire hardware hacking at its finest.

The task at hand with this type of conversion is to cut the matrix PCB tracks and replace them with soldered wires to create the new matrix required. This can then be wired to the controller, which in [Julian]’s case came from a cheap USB keyboard. He added a small USB hub to allow for a pair of USB sockets where Apple had put an ADB socket, making for quite a decent older keyboard with an unexpected USB interface.

Now older and wiser, he has plans to revisit his old keyboard with a modern microcontroller board, and needs to revisit the matrix again and give the peripheral new life. We still like the original though, as it captures a moment in time when keyboard matrix hacking made sense, and reminds us of our own youthful hardware follies.

Paging through Hackaday past it’s a testament to the old-school nature of this board that all we can find are microcontroller-based conversions. That’s not to say that cutting up old ‘boards is out of the question though.

Wireless Mouse Gets A Charging House

Mouse batteries always seem to die at the worst possible moment, like when you’re in the middle of pwning noobs or giving a presentation at work. [AyhamAS] was tired of having to look around for a replacement battery and decided to build a nice little charging dock for their mouse.

At the heart of this build is a TC4056A charging board inside the dock. Since this board is designed to charge 3.7 V batteries, [AyhamAS] removed the charge current-limiting resistor and replaced it with a pair of through-hole resistors. A switch on the back of the dock lets [AyhamAS] choose between the two values for fast or slow charging.

On the mouse side, [AyhamAS] cleverly used the receiver storage cubbyhole to house the contacts. Magnets in in the mouse and the dock and spring-loaded contacts add even more tactile feedback to the whole experience. The dock itself looks great, too — it’s made from acrylic that’s been sanded down to a matte finish. Check out the build video after the break.

If your mouse has a battery pack, you could always upgrade to a bigger one as long as there’s room.

Continue reading “Wireless Mouse Gets A Charging House”

Micro Macro Keyboard Is ‘Mega-Based

There’s a certain kind of joy that comes in throwing something together from spare parts, or from finding utility in a proof of concept for another project. [Clewsy] is cooking up something clacky and built this baby keeb to prove some stuff out, such as reading a key matrix. Now it’s become a music/media controller that looks great next to a giant matching volume knob.

Beneath the gently backlit Gateron blues is a custom ATMega32u4-based board, which is viewable through the clear acrylic bottom plate. That’s a nice touch. We’re not sure if the wood came from a picture frame, but if not, they seem like a great candidates for enclosure material.

This keeb looks fantastic, and we are partial to both the clear and the chrome keycaps. We can only hope [Clewsy] sends the details of the next build our way.

If you want to get started building keyboards, you can’t go wrong with a macro keyboard like this one. If you have way more than four macros in mind, build something bigger, like a custom game pad with a joystick.

Zoom Control Box Helps Keep Meetings On Track

For many people, the biggest change of 2020 has been adjusting to a glut of online teleconferences as a part of daily working life. [p_leriche] has had to adjust the way church services are conducted, and found managing a complicated streaming meeting setup to be complicated at best. To ease the workload on the presenter, he created a simple Zoom control box.

At its heart, the box is little more than a fancy keyboard. An Arduino Pro Micro is hooked up to a series of brightly colored pushbuttons, each labelled with regularly used Zoom functions. The Pro Micro is programmed to fire off the corresponding keyboard shortcuts when the buttons are pressed, activating the relevant function.

It might be a simple build, but it greatly reduces the hand gymnastics required mid-presentation, and we’re sure the users greatly appreciate the new hardware. While this is a quick-and-dirty build thrown together in a basic enclosure, macro keyboards can be both useful and attractive if you so desire. If you’ve built your own time-saving control console, be sure to let us know!

Bringing An IBM Model F Into 2020

We know that the Hackaday family includes many enthusiasts for quality keyboards, and thus mention of the fabled ‘boards of yore such as the IBM Model F is sure to set a few pulses racing. Few of us are as lucky as [Brennon], who received the familial IBM PC-XT complete with its sought-after keyboard.

This Model F has a manufacture date in March 1983, and as a testament to its sturdy design was still in one piece with working electronics. It was however in an extremely grimy condition that necessitated a teardown and deep clean. Thus we are lucky enough to get a peek inside, and see just how much heavy engineering went into the construction of an IBM keyboard before the days of the feather-light membrane devices that so many of us use today. There follows a tale of deep cleaning, with a Dremel and brush, and then a liberal application of Goo Gone. The keycaps had a long bath in soapy water to remove the grime, and we’re advised to more thoroughly dry them should we ever try this as some remaining water deep inside them caused corrosion on some of the springs.

The PC-XT interface is now so ancient as to have very little readily available in the way of adapters, so at first a PS/2 adapter was used along with a USB to PS/2 converter. Finally though a dedicated PC-XT to USB converter was procured, allowing easy typing on a modern computer.

This isn’t our first look at the Model F, but if you can’t afford a mechanical keyboard don’t worry. Simply download a piece of software that emulates the sound of one.

Meticulous Bionic Hand

[Will Cogley] is slowly but surely crafting a beautiful bionic hand. (Video, embedded below.) The sheer amount of engineering and thought that went into the design is incredible. Those who take their hands for granted often don’t consider the different ways that their digits can move. There is lateral movement, rotation, flexion, and extension. Generally, [Will] tries to design mechanisms with parts that can be 3D printed or sourced easily. This constrains the hand to things like servos, cable actuation, or direct drive.

However, the thumb has a particularly tricky range of motion. So for the thumb [Will] designed to use a worm geared approach to produce the flexing and extension motion of the thumb. These gears need to be machined in order to stand up to the load. A small side 3d printed gear that connects to the main worm gear is connected to a potentiometer to form the feedback loop. Since it isn’t bearing any load, it can be 3d printed. While there are hundreds of little tiny problems still left to fix, the big problems left are wire management, finalizing the IP (Interphalangeal) joints, and attaching the whole assembly to the forearm.

All the step files, significants amounts of research, and definitions are all on [Will’s] GitHub. If you’re looking into creating any sort of hand prosthetic, the research and attention [Will] has put into this is work incorporating into your project. We’ve seen bionic hands before as well asĀ aluminum finger replacements, but this is a whole hand with fantastic range and fidelity.

Continue reading “Meticulous Bionic Hand”

AlphaSmart Neo Teardown: This Is The Way To Write Without Distractions

History will always have its in-between technologies — that stuff that tides us over while the Next Big and Lasting Thing is getting the kinks worked out of it. These kinds of devices often do one thing and do it pretty well. Remember zip drives? Yeah you do. Still have mine.

The halcyon days of the AlphaSmart NEO sit in between the time where people were chained to heavy typewriters and word processors and the dawn of on-the-go computing. Early laptops couldn’t be trusted not to die suddenly, but the NEO will run for 700 hours on three AAs.

The NEO stands for the freedom to get your thoughts down wherever, whenever, without the need for a desk, paper, ink, ribbons, power cords, and the other trappings that chain people indoors to flat surfaces. And that’s exactly what was so tantalizing to me about it. Inspiration can truly strike anywhere at any time, so why not be prepared? This thing goes from off to blinking cursor in about a second and a half. There’s even a two-button ‘on’ option so you don’t run the battery down or accidentally erase files while it’s in your bag.

These might be the world’s greatest scissor switches.
L-R: DC power, IR, USB-B, and USB-A for connecting to a printer.

I bought this funny little word processor a few years ago when I wanted to attempt NaNoWriMo — that’s National Novel Writing Month, where you write 50,000 words towards a novel, non-fiction book, or short story collection in any genre you want. It averages out to 1,667 words a day for 30 days. Some days it was easy, some days it was not. But every non-Hackaday word I typed that month was on this, my Mean Green Words Machine.

Continue reading “AlphaSmart Neo Teardown: This Is The Way To Write Without Distractions”