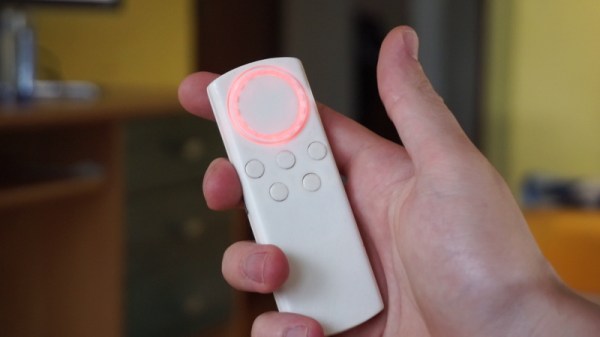
Back in 2018, [Gryo] built a remote control specifically for watching YouTube videos on his computer. It worked perfectly, but it didn’t quite fit the expectation one has for a modern media remote — it was a bit chunky, the buttons weren’t very responsive, and it didn’t feel as nice as the remotes that ship with consumer streaming devices. Looking to improve on things, he’s recently unveiled a far more svelte version of his scratch built media streaming remote includes a scrollwheel, color feedback, and a UI for customizing how it works.


It might not look the part, but technically [Gyro] categorizes his creation as a wireless keyboard since that’s what the operating system sees it as. This makes it easy to use with whatever media playback software or service might be running on the computer, as button presses on the remote are picked up as standard keyboard events. And the software easily sets which key each button on the remote will be associated with.
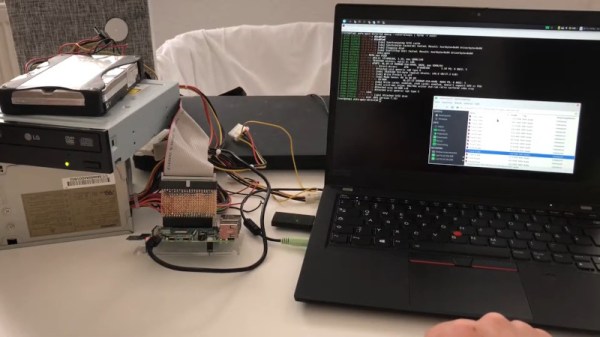
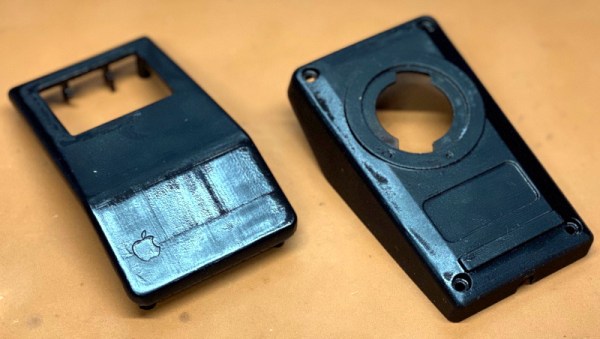
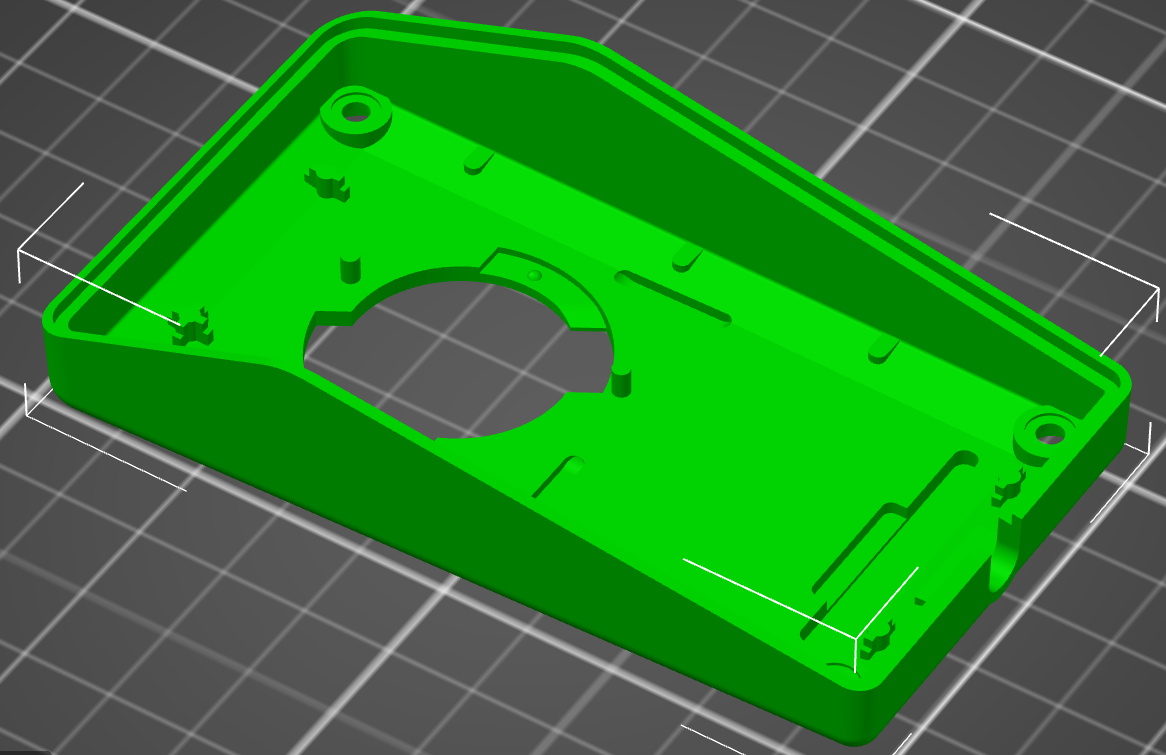
Inside the 3D printed case there’s a custom PCB that pulls together the ATmega328P, NRF24L01 radio, and TP4056 charger that tops off the 500 mAh Li-Po battery via USB-C. The receiver is also a custom creation, using a second NRF24L01 chip but swapping out the microcontroller for the ATmega32U4.
[Gyro] has done a fantastic job documenting this build in the write-up, and provides everything you need should you want to spin up your own copy. As much as we liked the unique approach used in the first version of the remote, we’ve got to admit this iteration is much more likely to end up sitting on our living room table.
Continue reading “Building A YouTube Remote Control Worthy Of 2020”