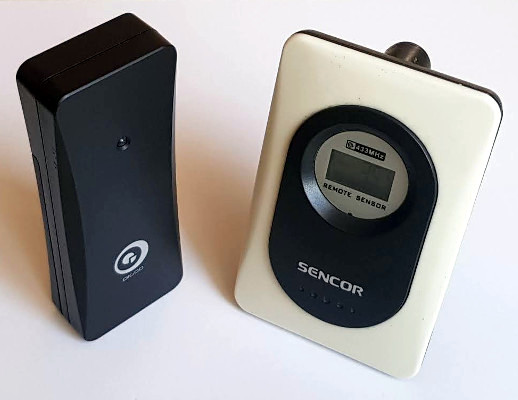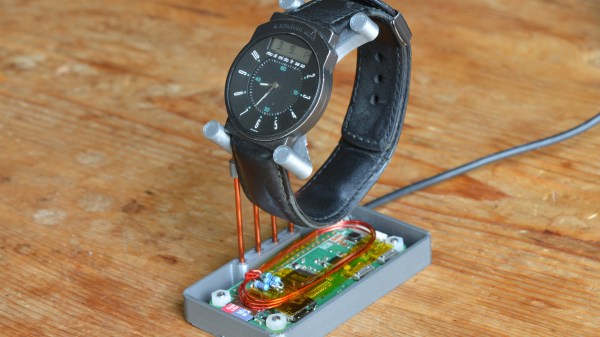
You can win any argument about the time when you have a radio controlled watch. Or, at least, you can if there’s any signal. [Henner Zeller] lives in a place where there is no reception of the DCF77 signal that his European wristwatch expects to receive. Consequently, he decided to make his own tiny transmitter, which emulates the DCF77 signal and allows the watch to synchronise.
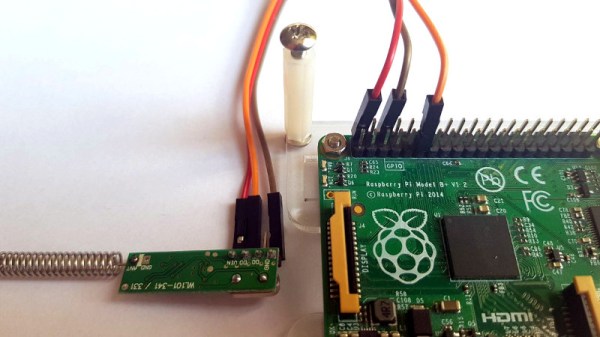
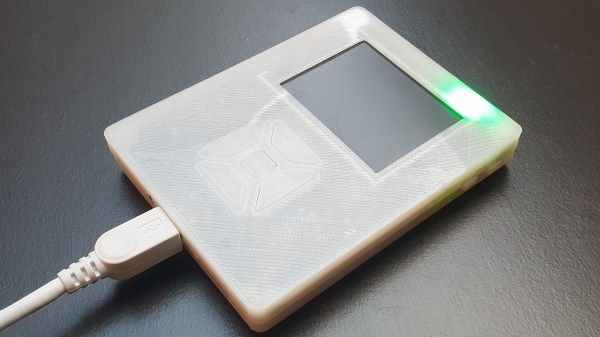
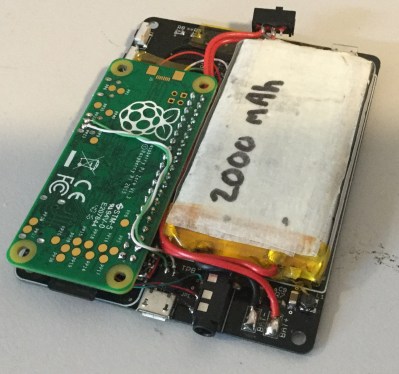
A Raspberry Pi Zero W is the heart of the transmitter, and [Henner] manages to coax it into generating 77500.003Hz on a GPIO pin – close enough to the 77.5kHz carrier that DCF77 uses. The signal is AM, and transmits one bit/s, repeating every minute. A second GPIO performs the required attenuation, and a few loops of wire are sufficient for an antenna which only needs to work over a few inches. The Raspberry Pi syncs with NTP Stratum 1 servers, which gives the system time an accuracy of about ±50ms. The whole thing sits in a slick 3D printed case, which provides a stand for the watch to rest on at night; this means that every morning it’s synchronised and ready to go.
[Henner] also kindly took the time to implement the protocols for WWVB (US), MSF (UK) and JJY (Japan). This might be just as well, given that we recently wrote about the possibility of WWVB being switched off. Be sure to check the rules in your area before giving this a try.
We’ve seen WWVB emulators before, like this ATtiny45 build, but we love that this solution is an easy command line tool which supports many geographical locations.