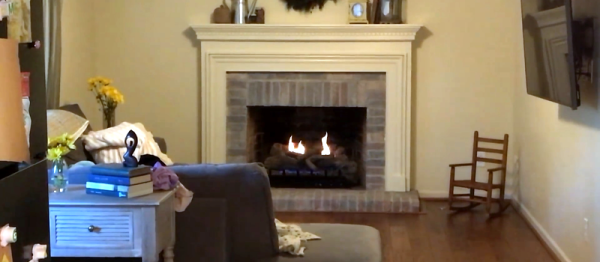
A fireplace can add a cozy, relaxed atmosphere — and a touch of style — to any home. Redditor [hovee] saw the opportunity to add some flair to his gas fireplace by making it voice activated. Check out the video of it in action below.
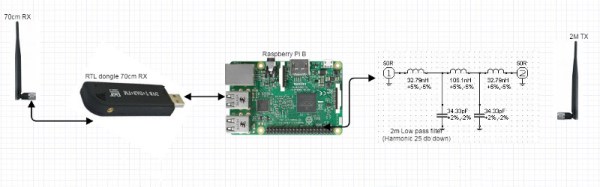
Google Home and Google Assistant provides the voice recognition component. A Raspberry Pi 3 with Home Assistant does the legwork. An iTach TCP/IP-to-Contact-Closure relay toggles the fireplace, and an IFTTT account connected to Google Assistant brings it all together.
[hovee] then ran some thick 16/2 wire from the relay network port to the fireplace’s remote receiver circuit to actually turn it on. Some custom code and configuration of the Home Assistant files was necessary, but [hovee] has shown his work, with some tips besides, if you want to throw together a similar setup. It’s a help if your fireplace has a ‘remote’ setting, and a double bonus if there is documentation for the fireplace to be found that will help with the build process.
Once done, all you need to do is kick back with your favorite beverage in the lap of home automated luxury. Just be sure you have a backup to turn off your fireplace just in case your setup goes the way of Skynet. While you’re at it, you can set up your fireplace to save energy as well.
[via /r/homeautomation]
Continue reading “Voice Activated Fireplace Is As Cool As It Gets”


![Like [Han] in carbonite, that's a Rapsberry Pi Zero being encased in cement](https://hackaday.com/wp-content/uploads/2016/12/raspberry-pi-thwomp.png?w=400)


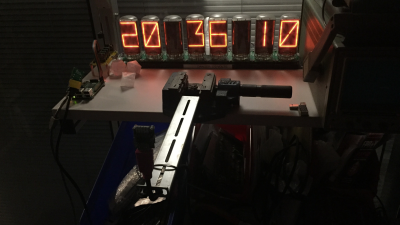 For the display, he’s using eight big vintage Burroughs B7971 Nixie Tubes. These aren’t easy to source, and current prices hover around $100 each if you can find them. The 170V DC needed to run each tube comes from a set of six