We’re well into the second week of the Hackaday and Adafruit ultimate team-up: The Raspberry Pi Zero Contest. The entries have been flying in! As of Thursday evening, we have 70 projects vying for one of 10 Raspberry Pi Zeros, and one of three $100 gift certificates to The Hackaday Store. This week on The Hacklet, we’re going to take a look at a few more contest entries.
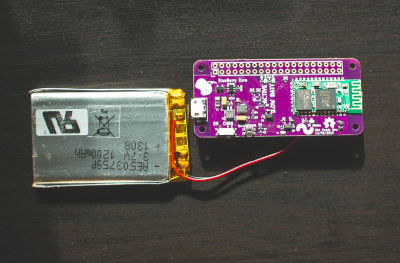 We start with [Sean Hodgins] and Blueberry Zero – Keep your Pi in your Pocket. [Sean] can’t leave home without his Raspberry Pi Zero. Carrying all the cables, adapters, and accessories required to power up a tiny Linux computer can be a chore though. He’s created a solution to simplify all that with Blueberry Zero. This custom PCB hat contains an HC-05 style Bluetooth module connected to the Pi’s console port. Serial alone doesn’t make for a standalone Pi, so [Sean] added a LiPo battery and charger chip. A switching power supply boosts the 4.2 V LiPo output up to the 5 V required for the Pi. Now when [Sean] just has to hack out some python code, all he needs to do is open a Bluetooth connection from a cell phone, tablet, or computer.
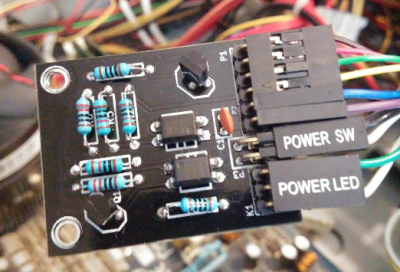 [Doihaveto] is using his Pi Zero to manage a desktop PC. PC Power allows him to not only turn his computer on or off, but to disconnect the mains power completely. [Doihaveto’s] PC does have Wake On Lan, but he’s run into problems when the system has failed. His Pi provides an extra layer of protection in case things don’t wake up as expected. The board contains two optoisolated connections to a host PC. One is the power switch output, the other is the power LED input. If all else fails, PC Power also can control a solid state relay to completely isolate the computer from mains power. PC Power uses a web interface created with Python using the flask web framework.
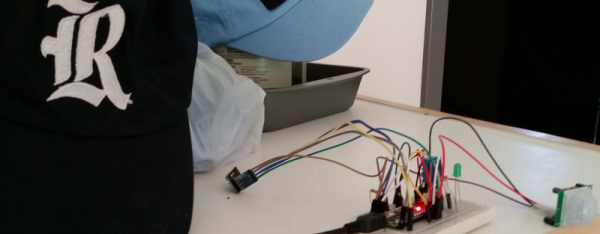
 Next up is [tomwsmf] with PiFold. Like [Sean] up above, [tomwsmf] can’t leave home without his Pi Zero. Rather than hacking code though, [tomwsmf] is serving up media. PiFold is a wallet containing a Pi Zero powered server. The Anyfesto software package runs on the Pi, serving up songs and files via WiFi. Audio is also transmitted on 88.1 MHz FM via PiFM. A 2500 mAh battery pack coupled with a boost converter keeps PiFold humming away. When the battery needs a charge, [tomwsmf] can use a small solar panel to top up the battery while staying green.
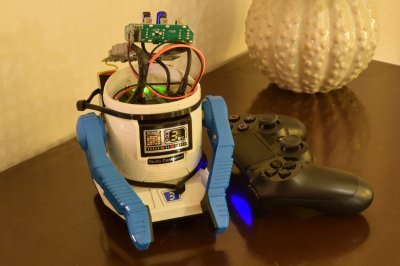 Finally, we have [Fredrik J] with Retrofit Robot. The 1980’s were a golden age of toy robots from Japan. Tomy, Nikko, and a few other companies created devices like Omnibot, which were ahead of their time. [Fredrick] still has his vintage Nikko RC-ROBOT, but it has long since ceased to function. The Pi Zero presents a perfect opportunity to give the little guy a new lease on life. [Fredrik’s] goal is to keep the RC-ROBOT’s original look while giving him new functions. The old DC motors are being replaced with closed loop servos. The servos will be controlled by an Adafruit 16 channel servo driver board. The next step for Retrofit Robot is a big 6000 mAh battery. We can’t wait to see how this one turns out!
If you want to see more entrants to Hackaday and Adafruit’s Pi Zero contest, check out the submissions list! If you don’t see your project on that list, you don’t have to contact me, just submit it to the Pi Zero Contest! That’s it for this week’s Hacklet. As always, see you next week. Same hack time, same hack channel, bringing you the best of Hackaday.io!


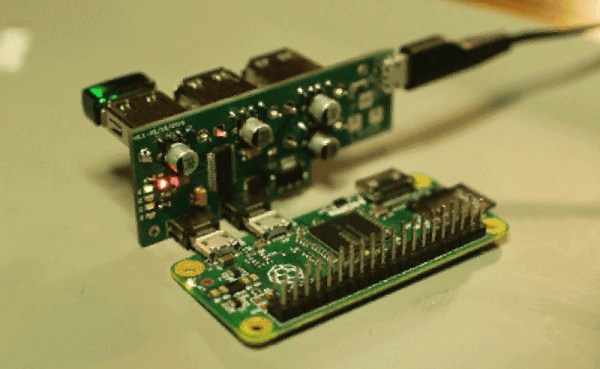
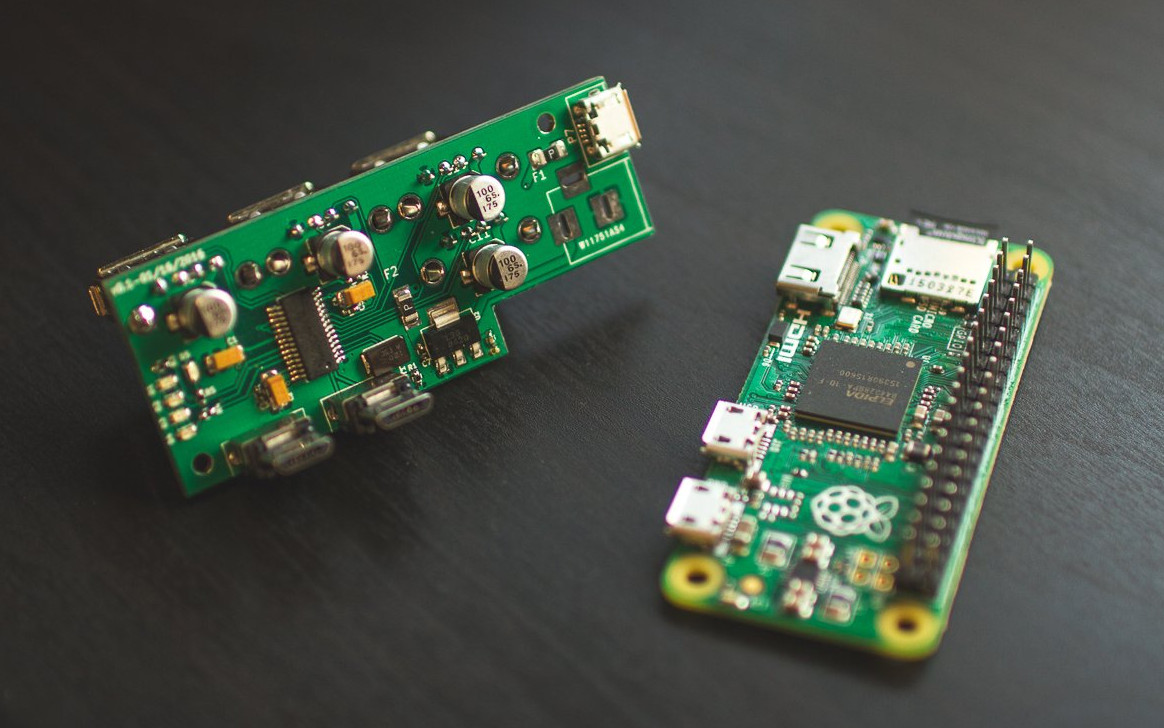 [Sean Hodgins’] acute approach is orthogonal to most of the other hubs we’ve seen. He’s mating the hub at right angles to the Zero. The hub plugs into both the on-the-go USB port and the USB power port. No extra cables or wiring needed. [Sean] plans to release the design on GitHub after his