On the surface, most plants really aren’t all that exciting, save for maybe the Venus flytrap. Sure, you can watch them grow in the long run, but for the most part, they’re just kind of there, quietly bringing peace and cleaner air. Day by day, they hardly move at all, although if you’re one of those people who likes to get the Sim into the pool and take the ladder away, you could always play the drought game just to watch it droop and come back to life a half hour later.
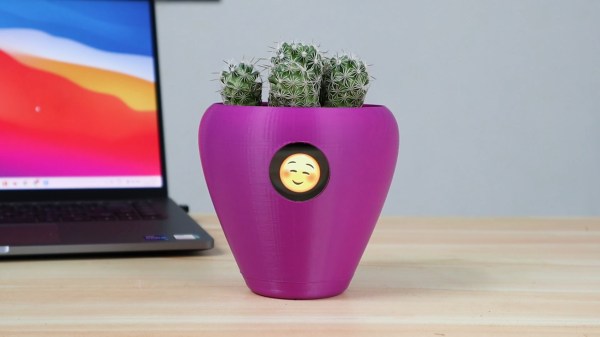
Fytó the smart planter is a much more cool and far less cruel way of spicing up your plant life. The idea is to turn a plant into a pet by giving it an expressive face. Sure, plants have needs, but they communicate them more subtly than the average Earthing. By assigning animated emoji to various conditions, the plant becomes more familiar and in turn, feels more like a pet. Plus, the whole thing is just so darn cute.
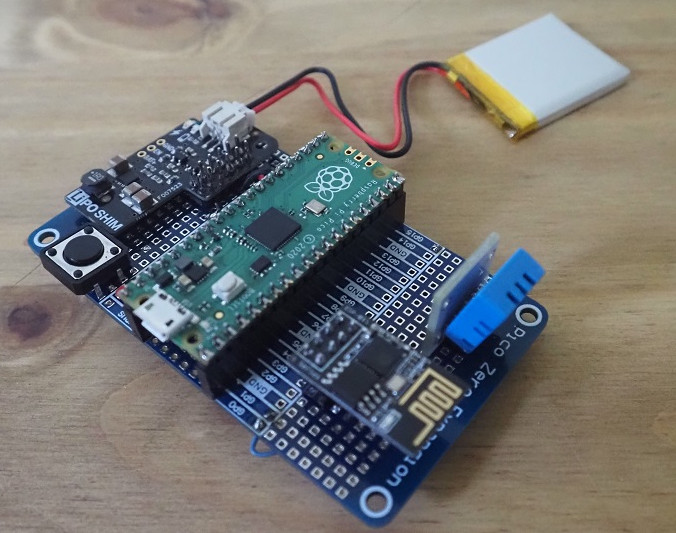
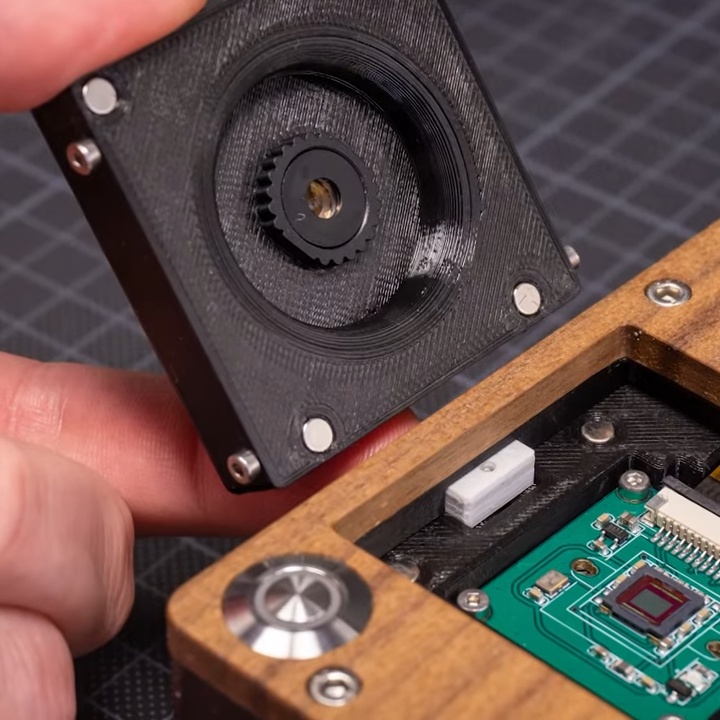
Fytó runs on a Raspberry Pi 2W and has six emotions that are based on a capacitive soil moisture sensor, an LM35 temperature sensor, and an LDR module to detect light levels. If everything is copacetic, Fytó puts on a happy face, and will lick its lips after getting a drink of water. If the light is insufficient, Fytó looks sleepy; if the plant needs water, Fytó appears sweaty, red-faced, and parched. Don’t conflate this with the temperature-taking emoji, which indicates that Fytó is too hot. Finally, if the spot is too drafty and cold, Fytó looks like it’s nearly frozen. Be sure to check out the video after the break and watch Fytó work through their range of emotions.
Would you rather hear your plant complain in English? There’s a build for that.