What’s on your bench? Mine’s mostly filled with electronic test equipment, soldering kit, and computers. I’m an electronic engineer by trade when I’m not writing for Hackaday, so that’s hardly surprising. Perhaps yours is like mine, or maybe you’ve added a 3D printer to the mix, a bunch of woodworking tools, or maybe power tools.
So that’s my bench. But is it my only bench? On the other side of the room from the electronics bench is a sturdy folding dining table that houses the tools and supplies of my other bench. I’m probably not alone in having more than one bench for different activities, indeed like many of you I also have a messy bench elsewhere for dismantling parts of 1960s cars, or making clay ovens.
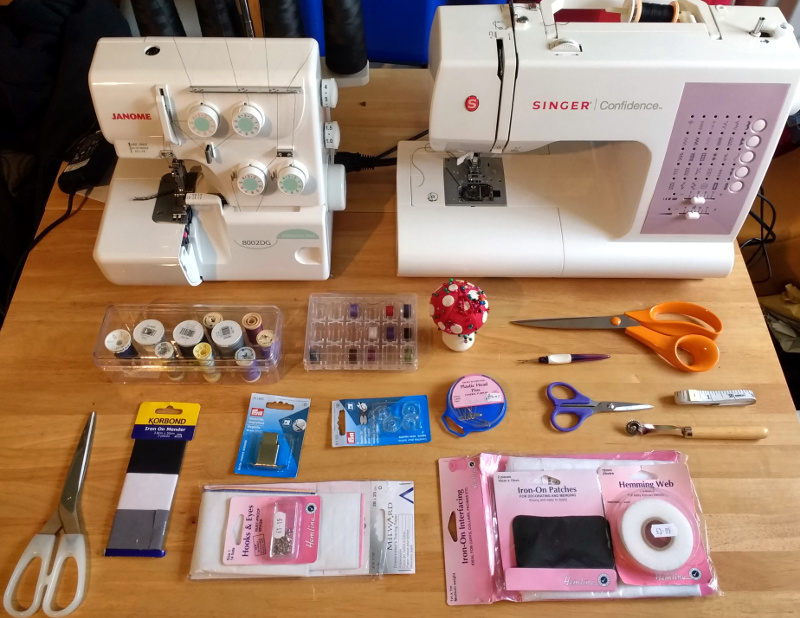
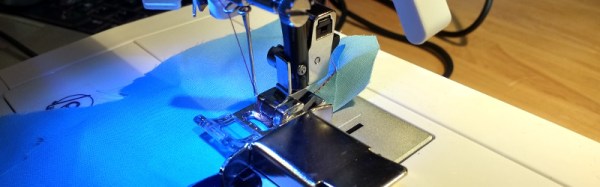
The other bench in question though is not for messy work, in fact the diametric opposite. This is my textile bench, and it houses the various sewing machines and other equipment that allow me to tackle all sorts of projects involving fabric. On it I’ve made, modified, and repaired all sorts of clothing, I’ve made not-very-successful kites, passable sandals, and adventurous tent designs among countless other projects.
Some of you might wonder why my textile bench is Hackaday fodder, after all it’s probably safe to assume that few readers have ever considered fabricating their own taffeta ball gown. But to concentrate only on one aspect of textile work misses the point, because the potential is there for so much cross-over between these different threads of the maker world. So I’m going to take you through my textile bench and introduce you to its main tools. With luck this will demystify some of them, and maybe encourage you to have a go.