If you buy a serious scope these days, it is a good bet it will have at least two channels. There is a lot of value to being able to see two signals in relation to one another at one time. Even though the dual-trace oscilloscope goes back to 1938, they were uncommon and expensive for many years. [Mr. Carlson] found a device from 1939 that would turn a single channel scope into a dual trace scope. In 1939, that was quite the engineering feat.
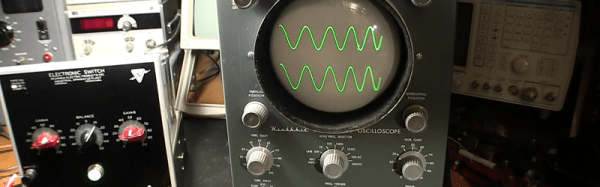
Today, a dual trace scope is very likely to be digital. But some analog scopes used CRTs with multiple beams to actually draw two traces on the same screen. Most, however, would draw either one trace followed by the other (alternate mode) or rapidly switch between channels (chopper mode). This Sylvania type 104 electronic switch looks like it takes the alternate approach, switching between signals on each sweep using vacuum tubes. You can see the device in action in the video, below.
The inputs and outputs of the device are just simple binding posts, but the unit looked to be in good shape except for the power cord. [Mr. Carlson] does a teardown and he even traced out a hand-drawn schematic. Fair warning. The video is pretty long. If you want to get right to the switch actually driving a scope, that’s at about one hour and seven minutes in.
We doubt we’ll see a tube-based Quake game anytime soon. If you want to get into restoring old tube-based gear yourself, you could do worse than read about radio restoration.