Ice Wrenchers, Wrencher Chocolates, And The Vaquform DT2

What do you do when you find some friends have bought a vacuum forming machine? Make novelty chocolates and ice cubes, of course! This was my response when I had the opportunity to play with a Vaquform DT2 all-in-one vacuum forming machine, so what follows is partly a short review of an exciting machine, and partly an account of my adventures in edible merchandise creation.

The vaquform machine, on a neutral white background
The Vaquform machine in all its glory.

Vacuum forming, the practice of drawing a sheet of heat-softened plastic film over a model to make a plastic shell copy of it, is nothing new in our community. It’s most often found in hackerspaces in the form of home made vacuum forming tables, and usually requires quite a bit of experimentation to get good results. The Vaquform machine I was lucky enough to be able to try is an all in one machine that puts the whole process into a compact desktop machine of similar size to a typical 3D printer. It’s a machine of two parts with a moveable carriage between them for the plastic sheet; a vacuum table on its base, and a heater unit suspended above it. The unique selling point is that it’s an all-in-one computer controlled unit that does as much as possible for you, it simply requires the user to place a sheet in the carriage and follow the instructions.

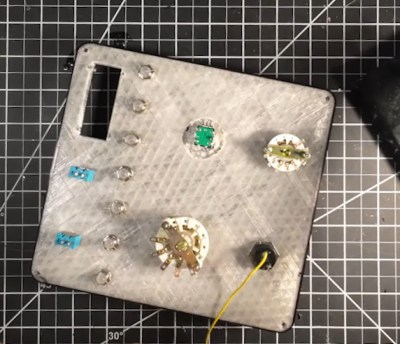
When I first saw the machine I didn’t really have anything to try it with, so of course I resorted to producing a Wrencher or two. Because what it makes are essentially moulds, it made sense to produce something Wrencher-shaped with them, and thus the chocolate and ice plan formed. The first mould was made with laser-cut Wrenchers in 2mm acrylic, stacked on two more layers of uncut acrylic to make a bar with an inset Wrencher on top, while the second one used a 3D-printed array of larger stand-alone Wrenchers with channels between them. Would my first attempt at vacuum forming make usable moulds or not? Only one way to find out. Continue reading “Ice Wrenchers, Wrencher Chocolates, And The Vaquform DT2”

Freq Out With LTSpice

We always enjoy [FesZ’s] videos, and his latest about FREQ function in LTSpice is no exception. In fact, LTSpice doesn’t document it, but it is part of the underlying Spice system. So, of course, you can figure it out or just watch the video below. The FREQ keyword allows you to change component attributes in a frequency-depended way.

Of course, capacitors and inductors are frequency dependent by design. But the FREQ technique allows you to adjust things like voltage sources or resistance in arbitrary ways. By default, you must specify the frequency response data in decibels, which isn’t always convenient. However, [FesZ] shows you how to use other methods to express them using modifiers to the command.

Continue reading “Freq Out With LTSpice”

Watch This Beautiful Japanese Factory Manufacturing Hand Planes

If you’re a woodworker, you know the value of a good hand plane. A stout model will last a lifetime if properly cared for. [Process X] has now taken us behind the scenes of a Japanese factory that turns out quality hand planes to show us how it’s done. 

The video starts at the forge, where steel is attached to soft iron to form a blank that will become the hand plane blade. This is proper blacksmithing, with autohammers and flames akimbo. It’s also a woodworking story, though, with the hand plane bodies themselves carefully prepared for the years of faithful service ahead. We get to see the raw wood roughed into shape and put through the thicknesser, along with the more interesting machining steps that carve out the angled pockets and the blade slot.

The final assembly is great, too, particularly when the pins are nailed in to hold everything in place. The test is the icing on the cake, in which the hand plane peels a perfect contiguous strip from a long piece of lumber.

It’s still very much a manual process, with the workshop largely relying on classical machine tools. There’s not a hint of CNC control to speak of. For the Komori Small Plane Factory and the Koyoshiya Watanabe Woodworking Shop, though, the old methods are doing just fine.

Continue reading “Watch This Beautiful Japanese Factory Manufacturing Hand Planes”

Dentist Tool Hardware Inspires Non-Slip Probe Tips

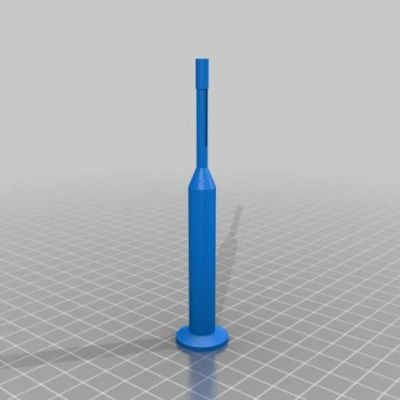
Cross-pollination between different industries can yield interesting innovations, and a few years ago [John Wiltrout] developed some non-slip meter probe adapters. He recently used our tips line to share some details that you won’t see elsewhere, letting us know how the idea came to be.

It started with [John] being frustrated by issues that will sound familiar: probes did not always want to stay in place, and had a tendency to skid around at the slightest provocation. This behavior gets only more frustrating as boards and components get smaller. John was also frustrated by the general inability to reliably probe through barriers like solder masking, oxidation, and conformal treatments on circuit boards. Continue reading “Dentist Tool Hardware Inspires Non-Slip Probe Tips”

Never Drill In The Wrong Place, With This Camera!

It’s fair to say that one of the biggest advances for the electronic constructor over the last decade or so has been the advent of inexpensive small-order PCB manufacture. That said, there are still plenty who etch their own boards, and for them perhaps the most fiddly part of the process comes in drilling holes accurately. It’s to aid in this task that [John McNelly] has created a camera with a periscope, to give the drill bit perfect alignment with the hole.

The idea is simple enough, an off-the-shelf all-in-one microscope camera points sideways at a mirror allowing it to look upwards. The viewport is placed under the drill and the crosshairs on the microscope are lined up with the end of the drill. Then the board can be placed on top and the pad lined up with the crosshairs, and a perfectly placed hole can be drilled. It’s a beautiful piece of lateral thinking which we like, as it ends that lottery of slightly off-centre holes. You can see it in glorious portrait-mode action in the video below the break.

Oddly this isn’t the first PCB drilling microscope we’ve shown you. but it may well be the more elegant of the two.

Continue reading “Never Drill In The Wrong Place, With This Camera!”

An Open Source Firmware For Cheap Geiger Counters

It is a time-honored tradition: buy some cheap piece of gear and rewrite the firmware to make it work better. [Gissio] managed to do just that for a cheap FS2011 Geiger counter. Apparently, the firmware will also work with some similar Chinese models, too.

The new firmware boasts an improved UI and multiple measurement units, including Sievert, Rem, and counts per minute or second. You can hold the measurement or compute a dose or average rate. The new firmware also has a host of customizations and can accommodate different tubes.

There are, however, two really key features. First, the new firmware offers about 40% more battery life than the stock version. Second, there is now an onboard nuclear chess game! That way, you can enjoy yourself while you are getting irradiated. There are also a few suggested hardware mods that are optional to improve measurements and increase the buzzer volume, among other things.

If you get a Geiger counter, you might be surprised at what things are slightly radioactive. If you don’t need the microcontroller, you can make a workable counter on the cheap.

Continue reading “An Open Source Firmware For Cheap Geiger Counters”

Inside Digital Calipers

If you do any kind of machining, 3D printing, or PCB layout, you probably have at least considered buying a pair of calipers. Old-fashioned ones had a dial and were mechanical devices, but lately, digital ones have become quite affordable. We keep meaning to tear a set of ours apart to see what’s inside, but thanks to [learnelectronics], we don’t have to — the video below provides a fascinating look at what’s inside a cheap pair of Harbor Freight calipers.

Honestly, it doesn’t seem like it would be that hard to figure out how far down a bar you are. The trick is the caliper has to be super accurate. Oddly enough, the cheap calipers examined use capacitors as a sensing element.

There is a long flexible PCB stuck to the sliding part with conductive pads. The display unit is also a printed circuit and manages the battery, the display, and the other half of the capacitive sensor. If you want a more detailed explanation of how the sensor actually works, check out capsense.com. If you note, the pattern on the sliding part has traces that look like a square wave, and half have a different phase than the other half. These are the sine plates and the cosine plates. A 100 kHz signal flows through the capacitor, and it is possible to read the direction of travel and the amount of travel easily.

The calipers are very accurate, but it’s possible to improve them. A more practical project is to make them communicate with the outside world.

Continue reading “Inside Digital Calipers”