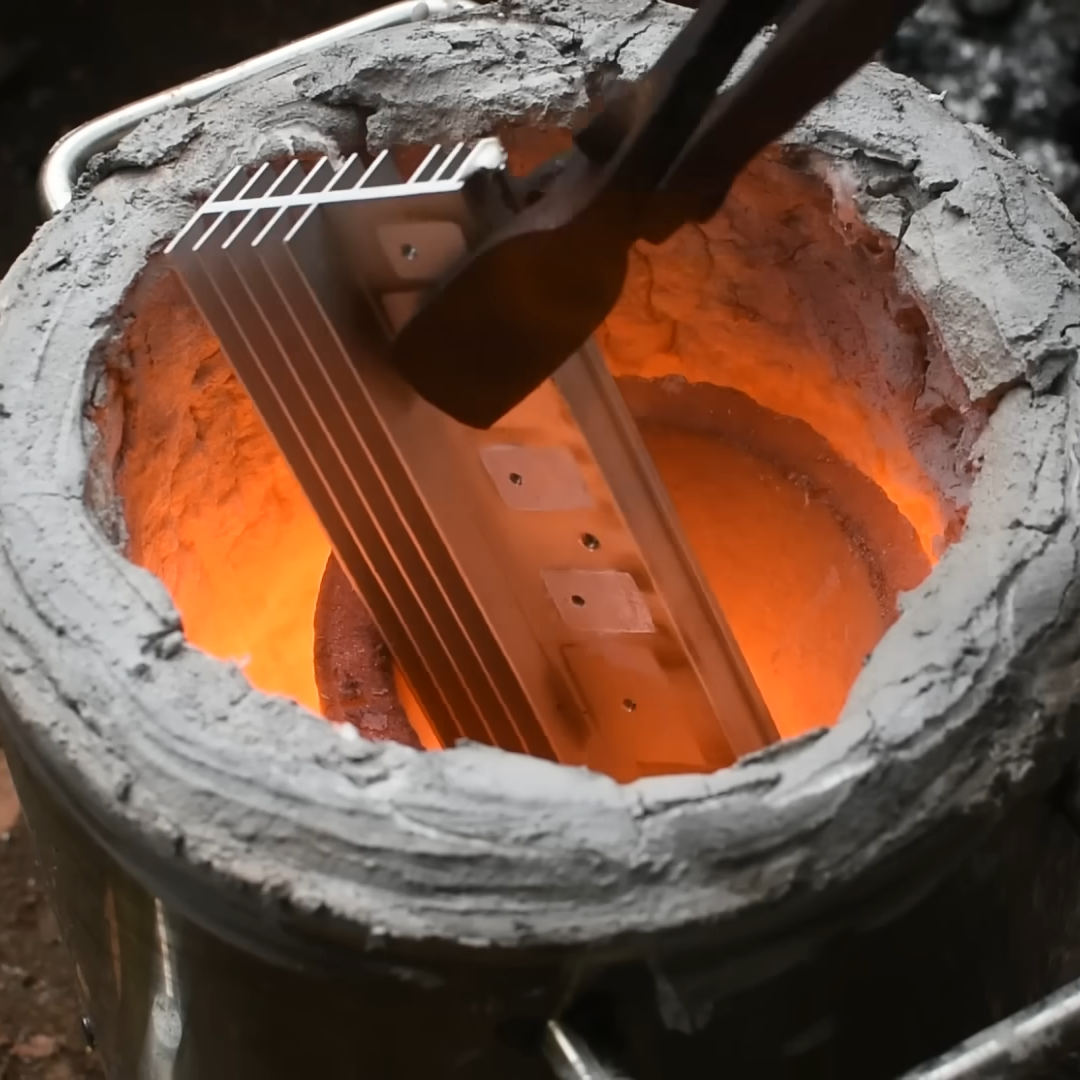
Printing metal as easily as it is to print with thermoplastics has been a dream for a very long time, with options for hobbyists being very scarce. This is something which [Rotoforge] seeks to change, using little more than an old Ender 3 FDM printer and some ingenuity. Best of all is that the approach on which they have been working for the past year does not require high temperature, molten metals and no fussing about with powdered metal.
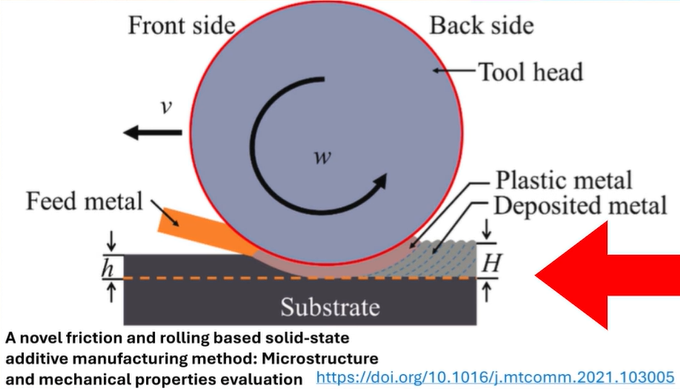
Rather than an extruder that melts a thermoplastic filament, their setup uses metal wire that is fed into a friction welding tool head, the details of which are covered in the video as well as on the GitHub project page. Unlike their previous setup which we reported on last year, this new setup is both safer and much riskier. While there’s no more molten metal, instead a very loud and very fast spinning disk is used to provide the friction required for friction welding, specifically friction and rolling-based additive manufacturing (FRAM) as in the cited 2021 paper by [Ruishan Xie] et al. in Materials Today Communications. By the same lead author there’s also a 2025 paper that explores more complex implementations of FRAM.
Continue reading “Printing With Metal On The Ender 3 Using Only A Friction Wheel”