For frantic hacking sessions where seconds count, this forearm mounted oscilloscope with fingertip probes built by [aniketdhole] might be just what you need. Well, maybe. It’s not immediately clear why you might want to wear an oscilloscope on your arm, and sticking your fingers inside of powered up electronic devices sounds specifically like something your mother probably told you not to do, but here it is anyway.
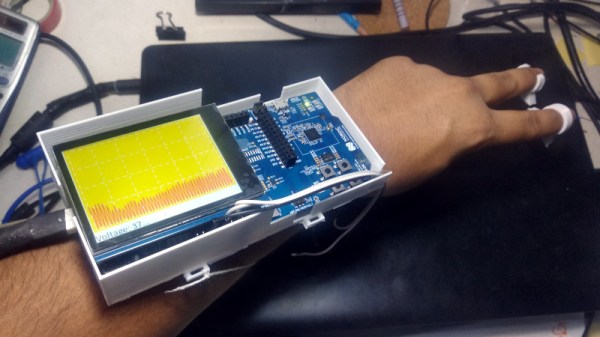
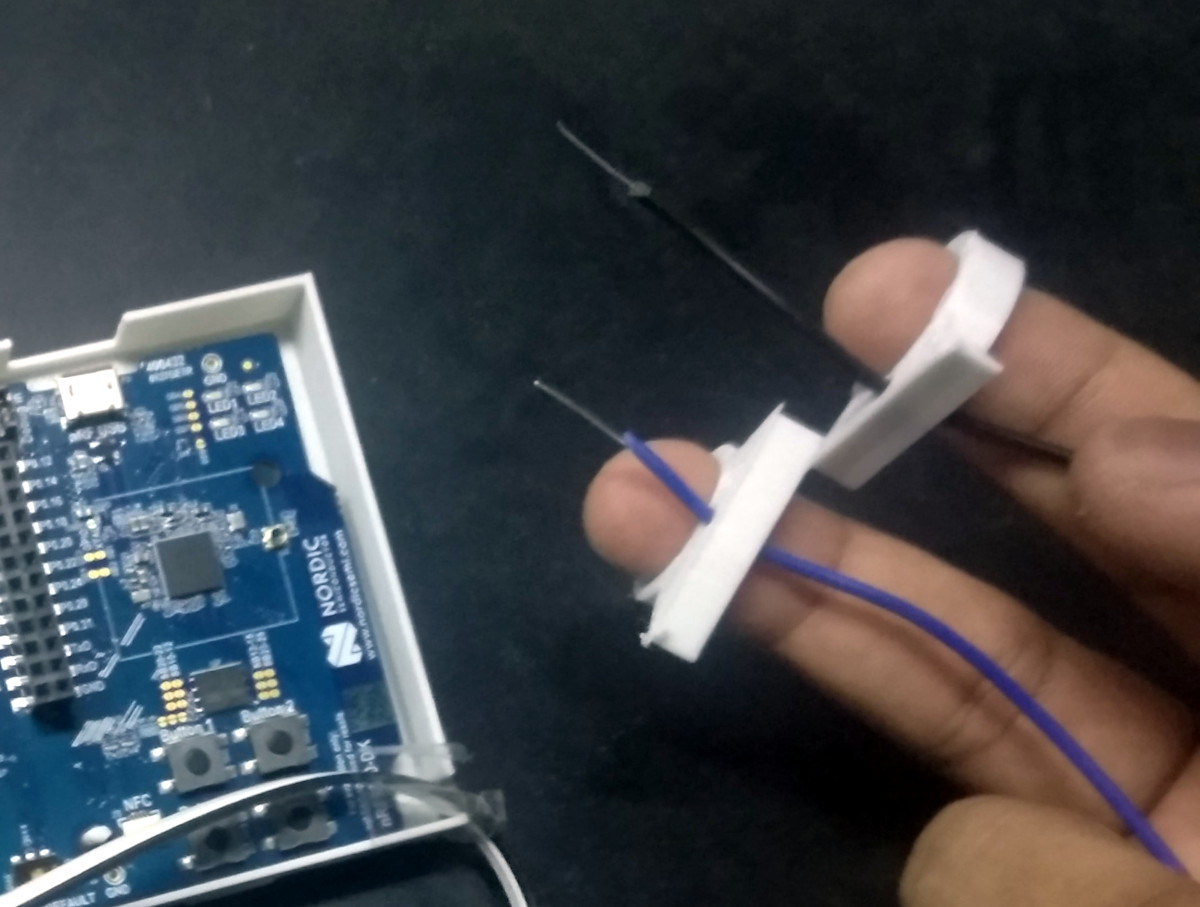 The scope consists of an nRF5340 evaluation board in a 3D printed mount, with an SPI-connected Adafruit 2.8″ TFT display on top. With a pair of wires run from the board’s ADC and ground pins, [aniketdhole] just needed a bit of code to glue it all together and show some basic signal visualizations on the display. It’s been tested against PWM signals generated by an Arduino and some potentiometer controlled voltages, but anything much wilder than that is probably a bit too much to ask for from this rig in its current configuration.
In the future, [aniketdhole] wants to add some step-down circuity so you can probe higher voltages than the nRF5340 can handle normally, as well as a shunt to allow current measurement. Once the hardware is in place, the next order of business will be an improved touch-capable user interface that lets the user adjust settings and switch between functions.
Even if you’re not sold on the idea of an arm-mounted oscilloscope, this is still an interesting platform for general wearable experimentation. Throw enough sensors into it, and we’re sure there’s more than a few hackers who wouldn’t mind strapping one of these on.