The white cane (and its many variants) is an everyday carry for many visually impaired people. This low-tech tool allows those afflicted by visual impairment to safely navigate the world around them, and has been ubiquitous in many parts of the world for decades. [Madaeon] has been hard at work going one step further in prototyping an open-source assistive wearable that could help in situations where a cane is not practical, or useful.
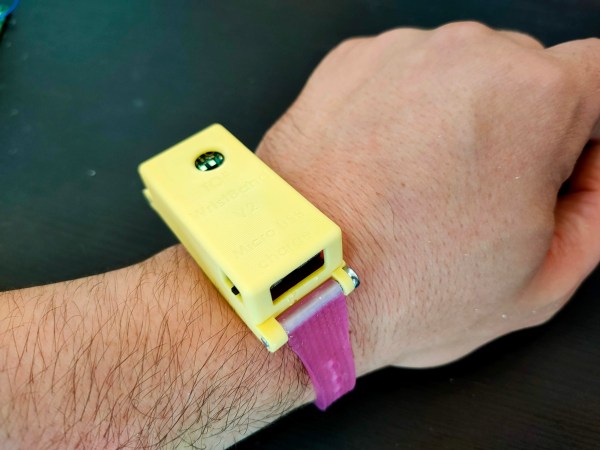
The T.O.F Wristband V2 alerts its wearer to nearby obstacles through vibrations, and is able to detect objects up to four meters away. As the wearer veers closer and closer to an obstacle, the vibration increases in frequency. A time-of-flight distance sensor is controlled by a Feather, and the whole system is powered by a small lithium-polymer battery. The prototype consists of just four components plus a 3D printed case and bracelet, which inevitably keeps down costs and complexity.
Version two of this project picks up where version one left off. In that project, [Madaeon] mentioned the possibility of squeezing this project down to the size of a ring. Perhaps with better battery technology, a ring-sized sensor might just be possible one day.
This isn’t the first wearable that has set out to assist the visually impaired. Back in 2019 we covered a laser-augmented glove that attempts something very similar.
By some estimates, nearly one billion people worldwide have some degree of visual impairment. Assistive devices like the T.O.F Wristband V2, and others like it, offer these people the potential for greater independence and an improved standard of living.
Continue reading “A Digital White Cane For The Visually Impaired”