This year, at DEF CON 28 DEF CON Safe Mode, security researchers [Jiska Classen] and [Francesco Gringoli] gave a talk about inter-chip privilege escalation using wireless coexistence mechanisms. The title is catchy, sure, but what exactly is this about?
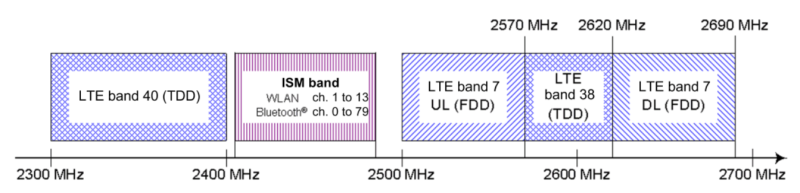
To understand this security flaw, or group of security flaws, we first need to know what wireless coexistence mechanisms are. Modern devices can support cellular and non-cellular wireless communications standards at the same time (LTE, WiFi, Bluetooth). Given the desired miniaturization of our devices, the different subsystems that support these communication technologies must reside in very close physical proximity within the device (in-device coexistence). The resulting high level of reciprocal leakage can at times cause considerable interference.
There are several scenarios where interference can occur, the main ones are:
- Two radio systems occupy neighboring frequencies and carrier leakage occurs
- The harmonics of one transmitter fall on frequencies used by another system
- Two radio systems share the same frequencies
To tackle these kind of problems, manufacturers had to implement strategies so that the devices wireless chips can coexist (sometimes even sharing the same antenna) and reduce interference to a minimum. They are called coexistence mechanisms and enable high-performance communication on intersecting frequency bands and thus, they are essential to any modern mobile device. Despite open solutions exist, such as the Mobile Wireless Standards, the manufacturers usually implement proprietary solutions.
Spectra
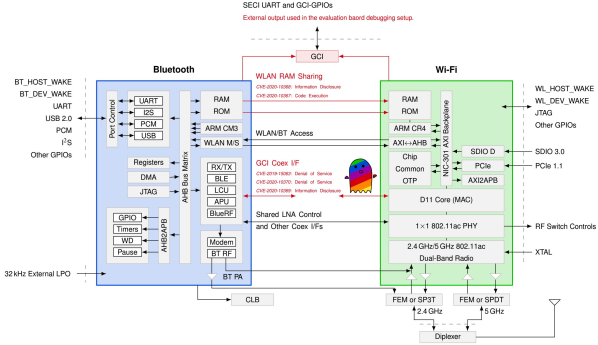
Spectra is a new attack class demonstrated in this DEF CON talk, which is focused on Broadcom and Cypress WiFi/Bluetooth combo chips. On a combo chip, WiFi and Bluetooth run on separate processing cores and coexistence information is directly exchanged between cores using the Serial Enhanced Coexistence Interface (SECI) and does not go through the underlying operating system.
Spectra class attacks exploit flaws in the interfaces between wireless cores in which one core can achieve denial of service (DoS), information disclosure and even code execution on another core. The reasoning here is, from an attacker perspective, to leverage a Bluetooth subsystem remote code execution (RCE) to perform WiFi RCE and maybe even LTE RCE. Keep in mind that this remote code execution is happening in these CPU core subsystems, and so can be completely invisible to the main device CPU and OS.
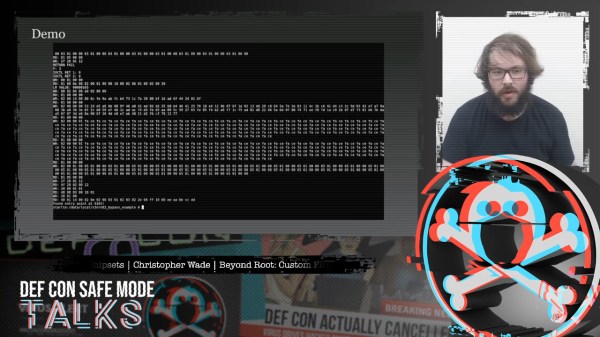
Join me below where the talk is embedded and where I will also dig into the denial of service, information disclosure, and code execution topics of the Spectra attack.
Continue reading “Separation Between WiFi And Bluetooth Broken By The Spectra Co-Existence Attack” →