Historically when hams built low power (QRP) transmitters, they’d use a crystal to set the frequency. Years ago, it was common to find crystals in all sorts of radios, including scanners and handheld transceivers. Crystals are very stable and precise and it is relatively easy to make a high quality oscillator with a crystal and a few parts.
The big problem is you can’t change the frequency much without changing crystals. Making a high quality variable frequency oscillator (VFO) out of traditional components is quite a challenge. However, today you have many alternatives ranging from digital synthesis to all-in-one IC solutions that can generate stable signals in a wide range of frequencies.
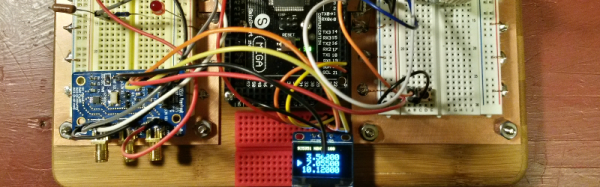
[N2HTT] likes to build radio projects and he decided to take an Si5351 clock generator and turn it into a three frequency VFO for his projects. The Si5351 uses a crystal, so it is very stable. However, you can digitally convert that crystal frequency into multiple frequencies over a range of about 8kHz to 160MHz.
It’s always nice to get down to the root directory of a device, especially if the device in question is one that you own. It’s no huge surprise that a Google product allows access to the root directory but the OnHub requires locating the hidden “developer mode” switch which [Maximus64] has done. The Google engineers have been sneaky with this button, locating it at the bottom of a threaded screw hole. Has anyone seen this implemented on other hardware before?
There isn’t a blog post regarding this, however [Maximus64] shared a video on YouTube walking us through the steps to root and un-root Google’s OnHub, which is embedded after the break. He also states “wiki coming soon” in the description of the video, so we’ll keep eye on it for an update.
We covered the product announcement back in August and have heard a few reviews/opinions about the device but not enough to make an opinionated assumption. Rooting the device doesn’t seem to increase the OnHub’s number of LAN ports but we think it’s still worth the effort.
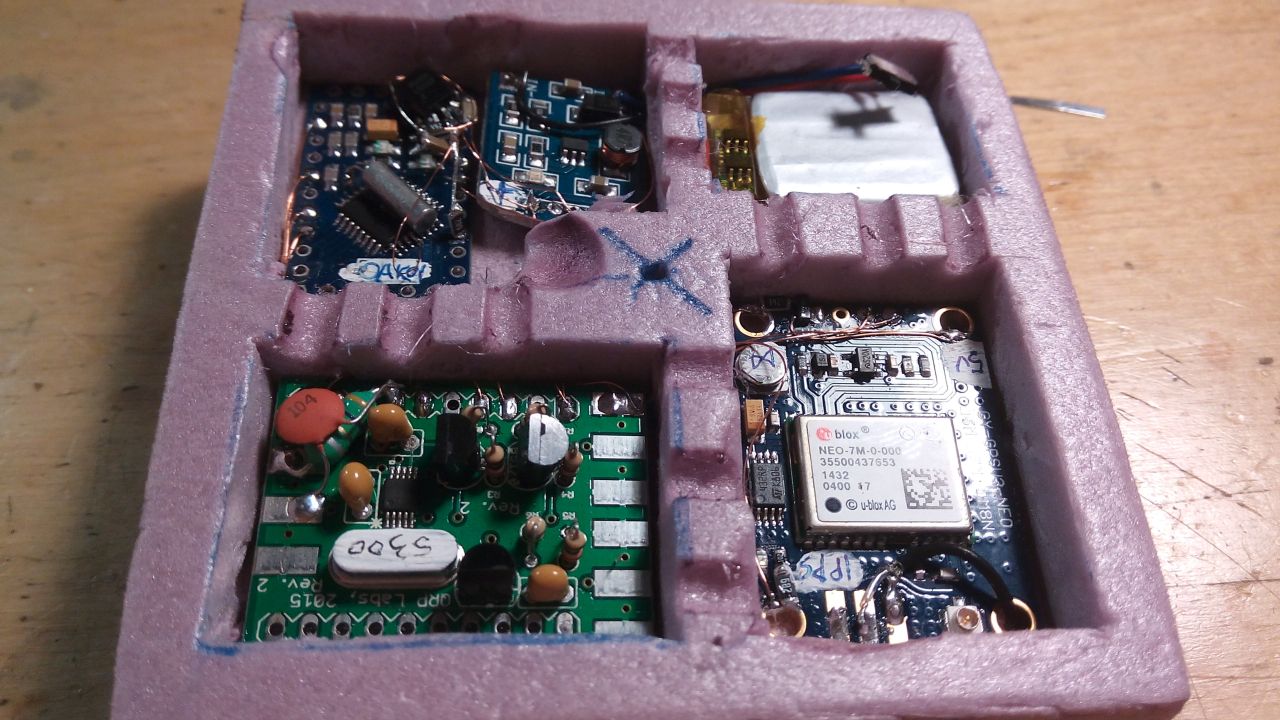
Although the distance these balloons have travelled is quite remarkable, the interesting part is how [David] is tracking the balloons. Cell phones obviously won’t work over the Atlantic, and satellite transmitters are expensive, so he used a low-cost transmitter that was programmed to broadcast using a variety of Ham radio signals. The most effective seems to be WSPRnet (the Weak Signal Propagation Network), a system used by Hams to see how far low strength signals will go. This system relies on Hams leaving their receivers on and running software that uploads the received signals to a central server.
By cleverly encoding information such as height and position into this signal, he was able to turn this worldwide network into a tracking network that would report the balloon’s position pretty much anywhere on the globe. [David] is continuing to launch balloons: his latest went up on the 24th of September and travelled over 4300km (2600 miles) before the signal was lost over the Atlantic.
The number of things that can carry Internet traffic is always increasing. Now, you can add LED light bulbs to this list, as engineers in Disney Research have just demonstrated a system that transmits Internet traffic using an LED light bulb. This method of communication isn’t new: Visible Light Communication (VLC) has been demonstrated before by Disney and others, but this project puts it into a standard LED light bulb. This bulb has been modified to include an Atheros AR9331 SoC running OpenWRT and an Atmel ATmega328p that controls the LED elements and sensors that send and receive the data. So, the device is acting as a gateway between a WiFi network and a VLC one.
Disney’s new test system (PDF link) isn’t especially fast: it can only carry about 380 to 400 bits per second, so it won’t be streaming video anytime soon. That is definitely fast enough, though to send control data to a toy, or to send a continual stream of updated data to a device in the room, such as an ebook reader with a continually updated encyclopaedia. This being Disney, the authors coin a new phrase to end their paper: The Internet of Toys.
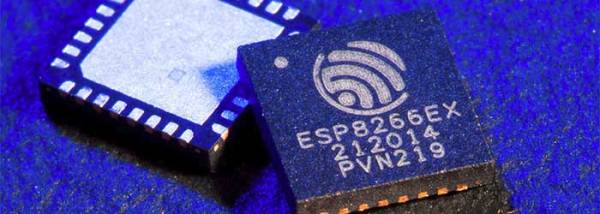
In August of 2014, something new started showing up in the markets of Shenzhen, the hi-tech area of China where the majority of the world’s electronics components are made. This is the ESP8266, a WiFi SoC (System on a Chip) that can connect to 802.11b/g/n networks on the 2.4GHz band. It can be addressed with SPI or a serial connection, and has an AT command set that makes it behave rather like an old-style modem. Basically, it has everything you would need to connect a device to a WiFi network, with the ESP8266 chip itself handling the complicated business of finding, joining and transmitting/receiving over a WiFi network.
That’s nothing particularly new in itself: WiFi connection devices like the TI CC3000 have been around for longer, and do much the same thing. The difference was the price. While the TI solution costs about $10 if you buy several thousand of them, the ESP8266 costs less than $7 for an individual board that can plug straight into an Arduino or similar. Buy the chip in bulk, and you can get it for less than $2.
The ESP8266 is more than just a WiFi dongle, though: it is a fully fledged computer in itself, with a megabyte of flash memory and a 32-bit processor that uses a RISC architecture. This can run applications, turning the ESP8266 into a standalone module that can collect and send data over the Internet. And it can do this while drawing a reasonably low amount of power: while receiving data, it typically uses just 60mA, and sending data over an 802.11n connection uses just 145mA. That means you can drive it from a small battery or other small power source, and it will keep running for a long time.
It wasn’t an easy ship to write applications for in the early days, though: it was poorly documented and required a dedicated toolchain to work with. This made it more of a challenge than many hackers were comfortable with. That changed earlier this year, though, when the Arduino IDE (Integrated Development Environment) was ported to the chip. This meant that you could use the much easier to write Arduino functions and libraries to write code for the chip, bringing it within reach of even the most casual hacker.
GPS-based location services will be around with us forever. If you’re in the outback, in the middle of the ocean, or even just in a neighborhood that doesn’t have good cell coverage, there’s no better way to figure out where you are than GPS. Using satellites orbiting thousands of miles above the Earth as a location service is an idea that breaks down at some very inopportune times. If you’re in a parking garage, you’re not using GPS to find your car. If you’re in a shopping mall, the best way to find your way to a store is still a map. Anyone every tried to use GPS and Google Maps in the hotel/casino labyrinth that is the Las Vegas strip?
[Blecky]’s entry for the Best Product competition of the Hackaday Prize aims to solve this problem. It’s an indoor location service using only cheap WiFi modules called SubPos. With just a few ESP8266 modules, [Blecky] can set up a WiFi positioning system, accurate to half a meter, that can be used wherever GPS isn’t.
The idea for a GPS-less positioning system came to [Blecky] after a caving expedition and finding navigation though subterranean structures was difficult without the aid of cell coverage and GPS. This got [Blecky] thinking what would be required to build a positioning service in a subterranian environment.
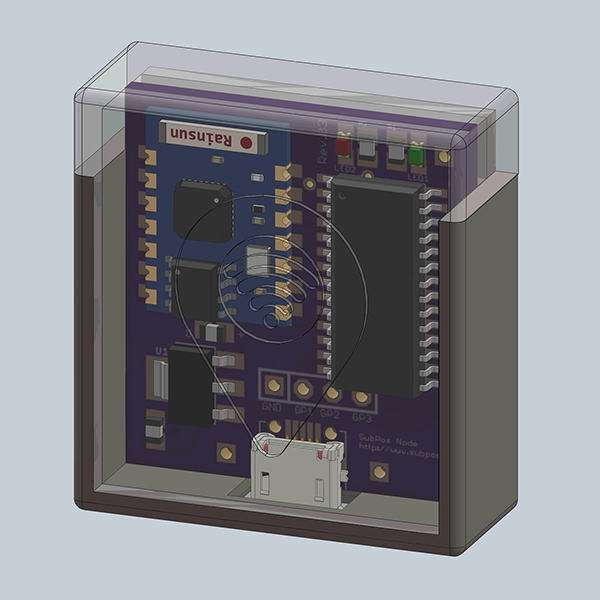
A SubPos node, equipped with an ESP8266 WiFi module
The answer to this question came in the form of a cheap WiFi module. Each of the SubPos nodes are encoded with the GPS coordinates of where they’re placed. By transmitting this location through the WiFi Beacon Frame, along with the transmitted power, any cell phone can use three or more nodes to determine its true location, down to a few centimeters. All of this is done without connecting to a specific WiFi network; it’s a complete hack of the WiFi standard to allow positioning data.
The most shallow comparison to an existing geolocation system would be a WiFi positioning system (WPS), but there are several key differences. In WPS, the WiFi APs don’t transmit their own location; the AP is simply cross-referenced with GPS coordinates in a database. Secondly, APs do not transmit their own transmit power – important if you’re using RSSI to determine how far you are from an Access Point.
The best comparison to an indoor location service comes from a new Decawave module that sets up ‘base stations’ and figures out a sensor’s location based on time of flight. This, however, requires additional radios for each device receiving location data. SubPos only requires WiFi, and you don’t even need to connect to an AP to get this location data; everything is broadcast as a beacon frame, and every device with WiFi detects a SubPos node automatically.
As an entry to the Hackaday Prize Best Product competition, there is an inevitable consideration as to how this product will be marketed. The applications for businesses are obvious; shopping malls could easily build a smartphone app showing a user exactly where in the mall they are, and provide directions to The Gap or one of the dozens of GameStops in the building. Because the SubPos nodes also work in 3D space, parking garage owners could set up a dozen or so SubPos nodes to direct you to your exact parking spot. Disney, I’m sure, would pay through the nose to get this technology in their parks.
Already [Blecky] is in talks with one company that would like to license his technology, but he’s not focused only on the high-dollar business accounts. He already has a product that needs manufacturing, and if he wins the Best Product competition, he will be working on something for the hacker/homebrew market. The price point [Blecky] sees is around $15 a node. The economics of this work with the ESP WiFi module, but [Blecky] is also looking at alternative chip sets that would allow for more than just RSSI position finding; an improved version of the SubPos node not based on the ESP-8266 could bring time of flight into the mix, providing better position accuracy while still being cheaper to manufacture than the current ESP-based solution.
[Blecky] has a great project on his hands here, and something we will, undoubtedly, see more of in the future. The idea of using WiFi beacon frames to transmit location data, and received signal strength to suss out a position is groundbreaking and applicable to everything from spelunking to finding your car in a parking garage. Since the SubPos system isn’t tied to any specific hardware, this could even be implemented in commercial routers, giving any device with WiFi true location data, inside or out. It’s also one of the top ten finalists for the Hackaday Prize Best Product competition, and like the others, it’s the cream of the crop.
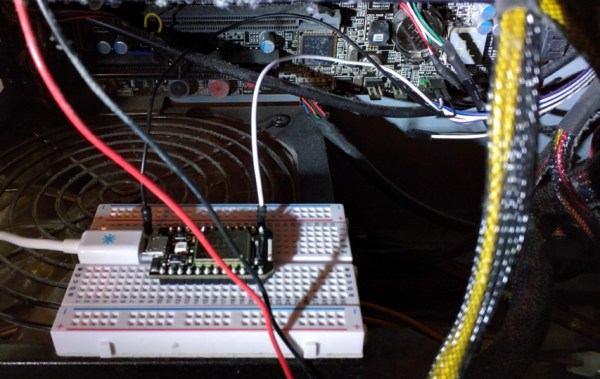
[Carter Yagemann] found himself in a bit of a pickle. He uses his computer mostly for gaming, but would like to access it remotely from time to time to do a littler server work on the side. The problem is gaming computers eat up a lot of electrons and he didn’t want to waste them by leaving it on all the time. The obvious solution was to use the Wake on Lan function. Unfortunately, his motherboard did not support this technology.
Like any good hacker would do, [Carter] used an IoT board to connect the power button of his PC to the internet. He achieved this goal with a Particle Core board. His motherboard was an ATX variety, so wiring up two of the IoT board’s I/O pins to the power on pins on the motherboard was a simple task accomplished with the help of an inline resistor.
This hack is so easy that it’s a great alternative to the blinky LED first program we all know so well. Want to get started in the hacking community? This is a great way to get going.