With laptops having become a commodity item and single-board computers having conquered the lower end for our community, building a PC for yourself is no longer the rite of passage that it once was; except perhaps if you are a gamer. But there is still plenty of fun to be had in selecting and assembling PC hardware, especially if as [makerunit] did, you design and 3D-print your own case.
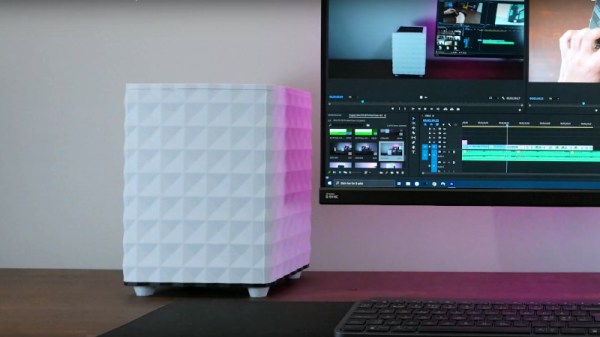
This is no motherboard in an old pizza box, but instead a highly compact and well-designed receptacle for a reasonable-performance gaming machine with an ITX motherboard. The chassis holding all the parts sits inside a slide-on textured sleeve, and particular attention has been paid to air flow and cooling. The GPU card is a little limited by the size of the case and there’s no room at all for a conventional hard drive, so a PCIe SSD board takes that role.
We’d hazard the opinion that were this case cranked out by the likes of Apple it would be hailed as some kind of design masterpiece, such is its quality. It certainly shows that there’s so much more to building your own PC than the normal rectangular tower case.
Over the decades we’ve brought you so many PC cases, a recent-ish one that’s worth a look is this Lego Minecraft one for an Intel NUC motherboard.