It’s safe to say that most projects that feature a VFD emphasize the “D” aspect more than anything. Vacuum fluorescent displays are solid performers, after all, with their cool blue-green glow that’s just the right look for lots of retro and not-so-retro builds. But that doesn’t mean there aren’t applications that leverage the “V” aspect, such as this nifty audio preamp using VFDs as active components.
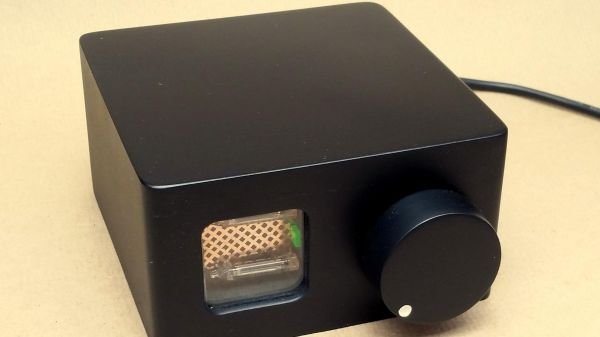
The inspiration behind [JGJMatt]’s build came from the Korg Nutube line of VFD-based low-voltage dual-triode vacuum tubes. Finding these particular components a little on the expensive side, [JGJMatt] turned to the old standby DM160 VFD indicator tube, which is basically just a triode, to see how it would fare as an amp. The circuit takes advantage of the low current and voltage requirements of the VFDs — the whole thing runs from a USB boost converter — by wedging them between a 2N3904 input stage and a 2N2007 MOSFET output. There’s a mix of SMD and through-hole components on the custom-etched PCB, with a separate riser card to show off the VFDs a little bit through the front panel of the 3D printed case.
All in all, we find this little amp pretty cool, and we love the way it puts a twist on the venerable VFD. We’ve seen similar VFD amps before, but this one’s fit and finish really pays off.