Astrophotography On The Game Boy Camera

The Game Boy Camera was the first digital camera that many of us ever interacted with. At the time it was fairly groundbreaking to take pictures without film, even though the resolution was extremely low by modern standards, and it could only shoot two-bit color. It’s been long enough since its release that it’s starting to become a popular classic with all kinds of hacks and modifications, like this one which adds modern SLR camera lenses which lets it take pictures of the Moon.

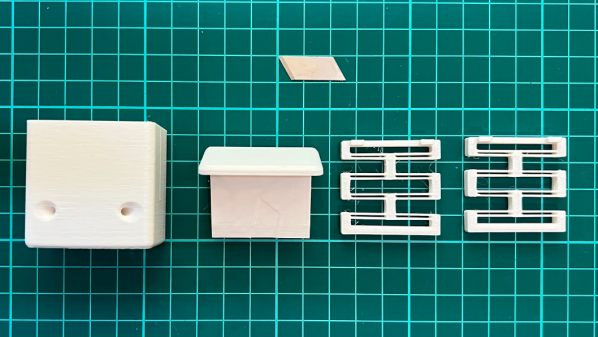
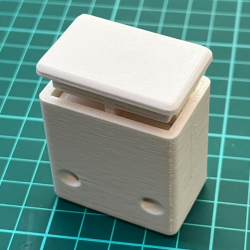
The limitations of the camera make for a fairly challenging build. Settings like exposure are automatic on the Game Boy Camera and can’t be changed, and the system only allows the user to change contrast and brightness. But the small sensor size means that astrophotography can be done with a lens that is also much smaller than a photographer would need with a modern DSLR. Once a mount was 3D printed to allow the lenses to be changed and a tripod mount was built, it was time to take some pictures of the moon.

Thanks to the interchangeability of the lenses with this build, the camera can also capture macro images as well. The build went into great detail on how to set all of this up, even going as far as giving tips for how to better 3D print interlocking threads, so it’s well worth a view. And, for other Game Boy Camera builds, take a look at this one which allows the platform to send its pictures over WiFi.

Continue reading “Astrophotography On The Game Boy Camera”

Custom Macro Keyboard With Sweet Backlighting

From the smallest 60% keyboards for those with no desk space to keyboards with number pads for those doing data entry all day, there’s a keyboard size and shape for just about everyone. The only problem, even with the largest keyboards, is that they’re still fairly limited in what they can do. If you find yourself wishing for even more functionality, you might want to build something like this custom macro keyboard with built-in LED backlighting.

Rather than go with a standard mechanical keyboard switch like a Cherry MX, this build is based around TS26-2 pushbuttons with built-in LED lighting. [atkaper] only really needed one button for managing the mute button on MS Teams, but still built a total of eight switches into this keyboard which can all be individually programmed with different functions. The controller is an Arduino Leonardo and the enclosure was 3D printed.

Paired with the classic IBM Model M keyboard, this new macro keyboard adds plenty of functionality while also having control over LED backlighting. Macro keyboards are incredibly useful, especially with their ability to easily change function with control over the software that runs on them. The key to most builds is the 32U4 chip found in some Atmel microcontrollers which allows it to easily pass keyboard (and mouse) functionality to any computer its plugged in to.

the water gravity air powered engine running

Gravity-Water-Air Powered Engine

Air engines are a common occurrence here on Hackaday. They’re relatively novel and reasonably easy to 3D print without requiring any fluids or supporting machinery. For example, [Tom Stanton] took a previous air engine design, did away with the air compressor, and instead used gravity and water to create just a few PSI to run the engine.

The basic setup is to have a large jug of water up somewhere high. Flexible tubing runs down to [Tom’s] custom acrylic pressure chamber. A little CNC-ing and some epoxy made a solid chamber, and we’re happy to report that [Tom] did some initial simulation before construction to make sure he wasn’t accidentally building a bomb. Some back of the napkin math showed that he could expect around 0.6 bar (around eight psi) with his setup. His first test showed almost precisely that. Unfortunately, [Tom] ran into some issues despite the early success. His engine would stop as it drew air and the pressure dropped, and the replenishing rate of the pressure was limited by the relatively small inlet hole he had drilled.

To fix this, he printed a larger diaphragm for the engine, so the lower air pressure had more to push against. This allowed the engine to run for a good while before the tank filled up. Additionally, he smoothed and polished everything, so it was as low friction as possible. We know we often state it here, but it is incredible what can be achieved with 3D printed parts these days.

We love seeing the iteration evident in this video. The various engine versions splayed across the table offer a powerful story about [Tom’s] persistence. Powering an engine is a small step to powering your whole home.

Continue reading “Gravity-Water-Air Powered Engine”

A 3D-printed Portal Turret

3D Printed Portal Turret Moves And Talks Like The Real Thing

Thanks to its innovative gameplay and quirky humor, Portal became an instant hit when it was released in 2007. Characters became cultural icons, quotes became memes and the game became a classic along with its 2011 sequel. Even today, more than a decade later, we regularly see hackers applying their skills in recreating some of the game’s elements. One beautiful example is [Joran de Raaff]’s physical rendition of a Portal Turret.

A 3D CAD drawing of a Portal Turret
Inside the Turret it’s full of moving parts.

[Joran] decided to use his 3D printer to create a Turret that can move and speak exactly as it does in the game. The result, as you can see in the video embedded below, was a triumph. We’re making a note here, “huge success”. The outer shell is a beautiful shiny white, an effect achieved through patient sanding, priming, and spraying with high-gloss paint. The internals are even more impressive with servos, microswitches, and a whole array of 3D-printed gears, cams, and levers.

A motion sensor activates the Turret whenever a human moves nearby. It will then open its wings and fire its guns while playing the corresponding sounds from the game. Its brains are formed by a Wemos D1 which drives the various LEDs and servos, while an MP3 player board holds a library of sound bites and plays them through a speaker hidden inside the Turret’s shell.

After posting his creation on YouTube [Joran] got many requests for the 3D files, so he made them available and wrote a comprehensive build guide. This should enable anyone with a 3D printer to build this neat gun, without getting too much science done. If this model is too small for you, then perhaps this life-sized model is more to your liking. If you prefer your Turret small and cute, check out this plushie version.

Continue reading “3D Printed Portal Turret Moves And Talks Like The Real Thing”

DIY SLS 3D Printer Getting Ready To Print

Ten years ago the concept of having on our desks an affordable 3D printer knocking out high quality reproducible prints, with sub-mm accuracy, in a wide range of colours and material properties would be the would be just a dream. But now, it is reality. The machines that are now so ubiquitous for us hackers, are largely operating with the FDM principle of shooting molten plastic out of a moving nozzle, but they’re not the only game in town. A technique that has also being around for donkeys’ years is SLS or Selective Laser Sintering, but machines of this type are big, heavy and expensive. However, getting one of those in your own ‘shop now is looking a little less like a dream and more of a reality, with the SLS4All project by [Tomas Starek] over on hackaday.io.

[Tomas] has been busy over the past year, working on the design of his machine and is now almost done with the building and testing of the hardware side. SLS printing works by using a roller to transfer a layer of powdered material over the print surface, and then steering a medium-power laser beam over the surface in order to heat and bond the powder grains into a solid mass. Then, the bed is lowered a little, and the process repeats. Heating of the bed, powder and surrounding air is critical, as is moisture control, plus keeping that laser beam shape consistent over the full bed area is a bit tricky as well. These are all hurdles [Tomas] has to overcome, but the test machine is completed and is in a good place to start this process control optimisation fun. Continue reading “DIY SLS 3D Printer Getting Ready To Print”

Tracked RC Vehicle Is (Mostly) 3D Printed

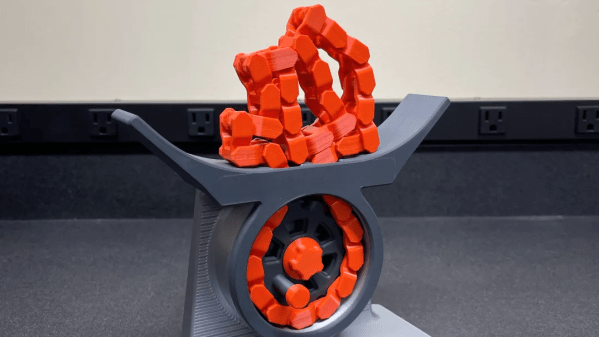
While wheels might seem like a foundational technology, they do have one major flaw: they typically need maintained roads in order to work. Anyone who has experience driving a Jeep or truck off-road likely knows this first-hand. For those with extreme off-road needs the track is often employed. [Let’s Print] is working on perfecting his RC tracked vehicle to take advantage of these perks using little more than 3D printed parts and aluminum stock.

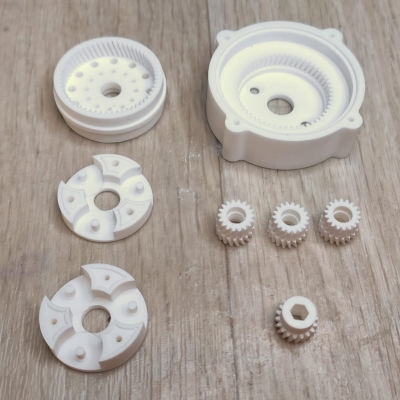
This vehicle doesn’t just include the 3D printed tracks, but an entire 3D printed gearbox and drivetrain to drive them. Each track is driven by its own DC motor coupled to a planetary gearbox to give each plenty of torque to operate in snow or mud. The gearbox is mated to a differential which currently shares a shaft, which means that steering is currently not possible. The original plan was to have each motor drive the tracks independently but a small mistake in the build meant that the shaft needed to be tied together. [Let’s Print] has several options to eventually include steering, including an articulating body or redesigning the drivetrain to be able to separate the shaft.

While this vehicle currently has no wheels in order to improve traction, [Let’s Print] does point out that a pair of wheels could complement this vehicle when he finished the back half of it since wheels have a major advantage over tracks when it comes to steering. A vehicle with both could have the advantages of both, so we’re interested to see where this build eventually goes.

Thanks to [Joonas] for the tip!

Continue reading “Tracked RC Vehicle Is (Mostly) 3D Printed”

Cool Mechanism Day: Two-Way To One-Way

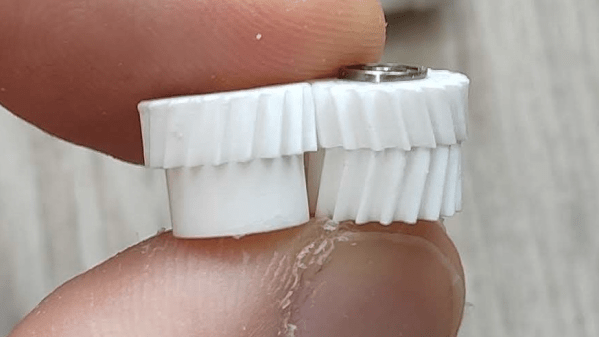
The internal mechanisms that are used in timepieces have always been fascinating to watch, and are often works of art in their own right. You don’t have to live in the Watch Valley in Switzerland to appreciate this art form. The mechanism highlighted here (from Mechanistic on YouTube) is a two-way to one-way geared coupler (video, embedded below) which can be found at the drive spring winding end of a typical mechanical wristwatch.  It is often attached to a heavily eccentrically mounted mass which drives the input gear in either direction, depending upon the motion of the wearer. Just a little regular movement is all that is needed to keep the spring nicely wound, so no forgetting to wind it in the morning hustle!

The idea is beautifully simple; A small sized input gear is driven by the mass, or winder, which drives a larger gear, the centre of which has a one-way clutch, which transmits the torque onwards to the output gear. The input side of the clutch also drives an identical unit, which picks up rotations in the opposite direct, and also drives the same larger output gear. So simple, and watching this super-sized device in operation really gives you an appreciation of how elegant such mechanisms are. Could it be useful in other applications? How about converting wind power to mechanically pump water in remote locations? Let us know your thoughts in the comments down below!

If you want to play with this yourselves, the source is downloadable from cults3d. Do check out some of the author’s other work!

We do like these super-sized mechanism demonstrators around here, like this 3D printed tourbillon, and here’s a little thing about the escapement mechanism that enables all this timekeeping with any accuracy.

Continue reading “Cool Mechanism Day: Two-Way To One-Way”