Electric vehicles are everywhere these days, and with them comes along a whole slew of charging infrastructure. The fastest of these are high-power machines that can deliver enough energy to charge a car in well under an hour, but there are plenty of slower chargers available that take much longer. These don’t tend to require any specialized equipment which makes them easier to install in homes and other places where there isn’t as much power available. In fact, these chargers generally amount to fancy extension cords, and [Matt Gray] realized he could use these to do other things like charge his electric bicycle.
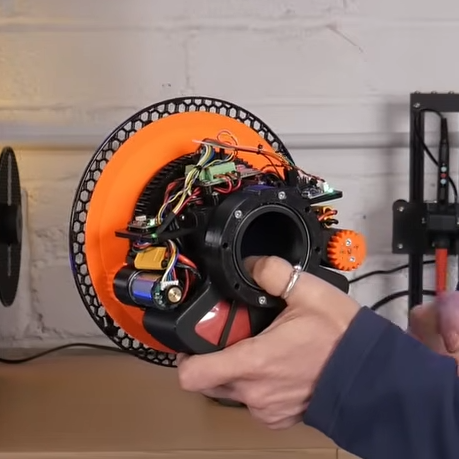
To begin the build, [Matt] started with an electric car charging socket and designed a housing for it with CAD software. The housing also holds the actual battery charger for his VanMoof bicycle, connected internally directly to the car charging socket. These lower powered chargers don’t require any communication from the vehicle either, which simplifies the process considerably. They do still need to be turned on via a smartphone app so the energy can be metered and billed, but with all that out of the way [Matt] was able to take his test rig out to a lamppost charger and boil a kettle of water.
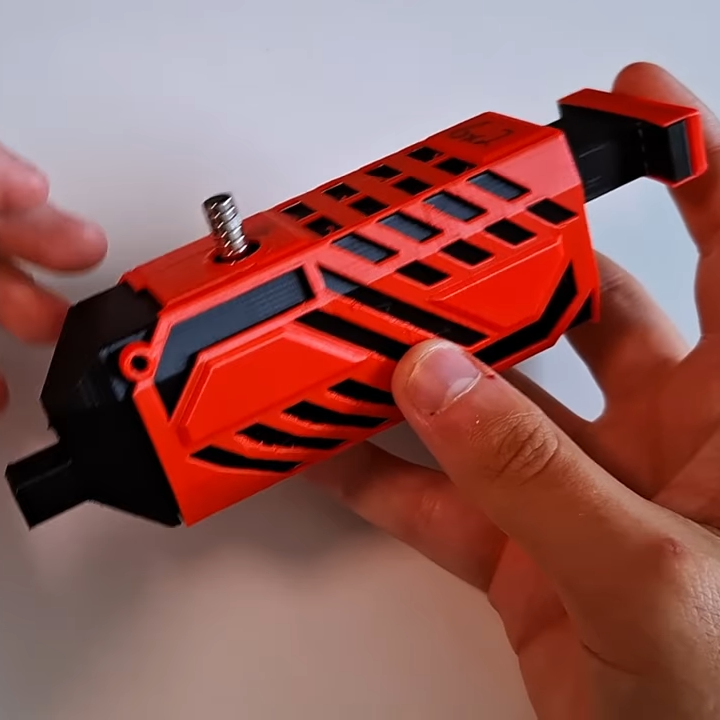
After the kettle experiment, he worked on miniaturizing his project so it fits more conveniently inside the 3D-printed enclosure on the rear rack of his bicycle. The only real inconvenience of this project, though, is that since these chargers are meant for passenger vehicles they’re a bit bulky for smaller vehicles like e-bikes. But this will greatly expand [Matt]’s ability to use his ebike for longer trips, and car charging infrastructure like this has started being used in all kinds of other novel ways as well.