While WiFi controlled lights are readily available, replacing your lighting fixtures or switches isn’t always an option. [Thomas] ran into this issue with his office lights. For the developers in the office, these lights always seemed to run a little too bright. The solution? A 3D printed, WiFi controlled finger to poke the dimmer switch.
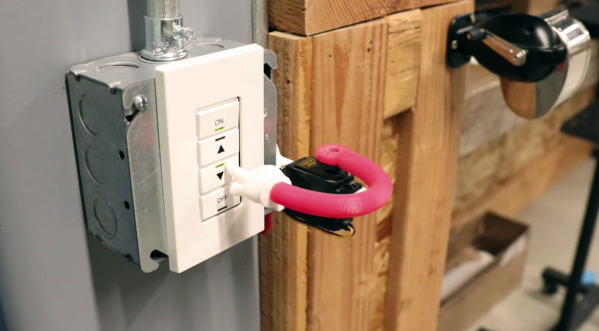
This little hack consists of a servo, a 3D printed arm and finger assembly, and a Wemos D1 Mini development board. The Wemos is a low cost, Arduino compatible development board based on the ESP8266. We’ve seen it used for a wide variety of hacks here on Hackaday.
For this device, the Wemos is used to listen for UDP packets on the company’s WiFi network. When it receives a packet, it tells the servo to push the dimming button for a specified amount of time. [Thomas] wrote a Slack bot to automatically send these packets. Now, when the lights are too bright, a simple message to the bot allows anyone to dim the lights without ever leaving the comfort of their desk. Sure, it’s not the most secure or reliable method of controlling lights, but if something goes wrong, the user can always get up and flip the switch the old fashioned way.