[Udi] lives in an apartment with a pleasant balcony. He also has three kids who are home most of the time now, so he finds himself spending a little more time out on the balcony than he used to. To upgrade his experience, he installed a completely custom shade controller to automatically open and close his sunshade as the day progresses.
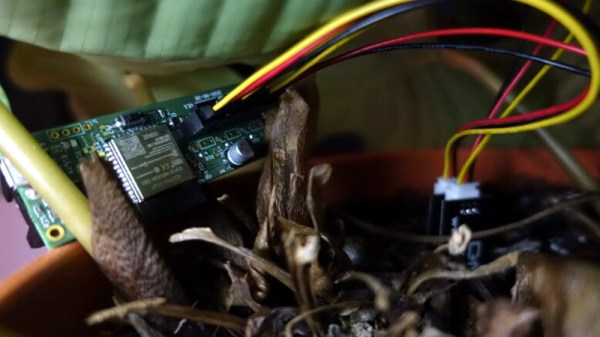
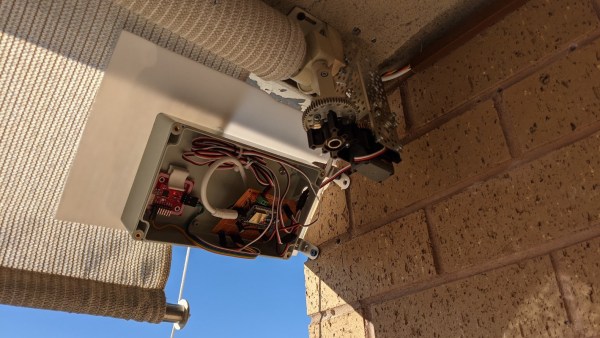
Automatic motors for blinds and other shades are available for purchase, but [Udi]’s shade is too big for any of these small motors to work. Finding a large servo with a 2:1 gear ration was the first step, as well as creating a custom mount for it to attach to the sunshade. Once the mechanical situation was solved, he programmed an ESP32 to control the servo. The ESP32 originally had control buttons wired to it, but [Udi] eventually transitioned to NFC for limit switch capabilities and also implemented voice control for the build as well.
While not the first shade controller we’ve ever seen, this build does make excellent use of appropriate hardware and its built-in features and although we suppose it’s possible this could have been done with a 555 timer, the project came together very well, especially for [Ubi]’s first Arduino-compatible build. If you decide to replicate this build, though, make sure that your shade controller is rental-friendly if it needs to be.