Ah laundry day. The washing machine, the dryer, the ironing, and the folding. No one is a fan of doing laundry, but we (I hope) are all fans of having clean clothing. Hackers, makers, and engineers are always looking for ways to make a tedious task a bit easier, and laundry definitely is one of those tedious tasks. This week we’re checking out some of the best laundry projects on Hackaday.io!
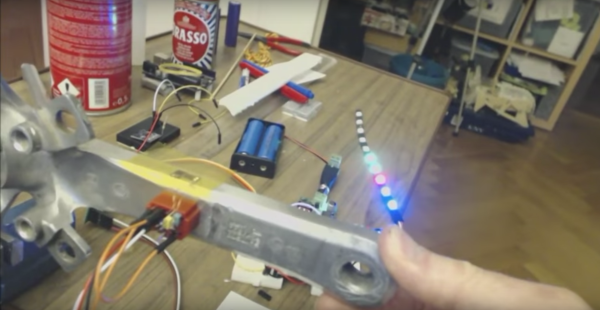
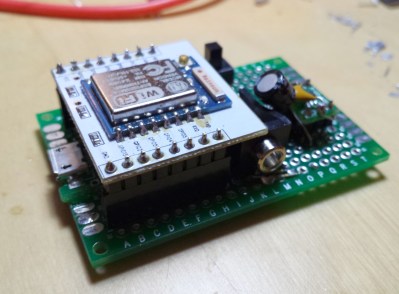 We start with [Professor Fartsparkles] and Laundrify. Anyone who’s shared a washer and dryer with house or apartment mates will tell you how frustrating it can be. You bring your dirty laundry downstairs only to find the machines are in use. Wait too long, and someone has jumped in front of you. Laundrify fixes all that. Using a current sensor, Laundrify can tell if a machine is running. An ESP8266 monitors the current sensor and sends data up to the cloud – or in this case a Raspberry Pi. Users access this laundry as a service system by opening up a webpage on the Pi. The page includes icons showing the current status of each machine. If everything is in use, the users can join a queue to be notified when a machine is free.
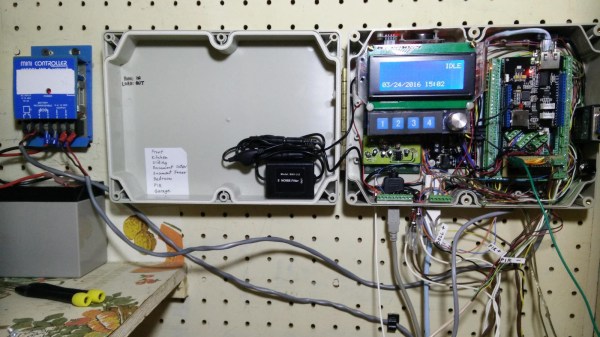
 Next up is [Jose Ignacio Romero] with Borg Washing Machine. [Jose] came upon a washer that mechanically was perfect. Electrically was a different story. The biggest issue was the failing mechanical timer, which kept leaving him with soapy wet clothing. Washing machine timers boil down to mechanically timed multipole switches. They’re also expensive to replace. [Jose] did something better – he built an electronic controller to revitalize his washer. The processor is a PIC16F887. Most of the mains level switching is handled by relays. [Jose] programmed the new system using LDmicro, which is a ladder logic implementation for microcontrollers. For the uninitiated, ladder logic is a programming language often used on industrial Programmable Logic Controller (PLC) systems. The newly dubbed borg machine is now up and running better than ever.
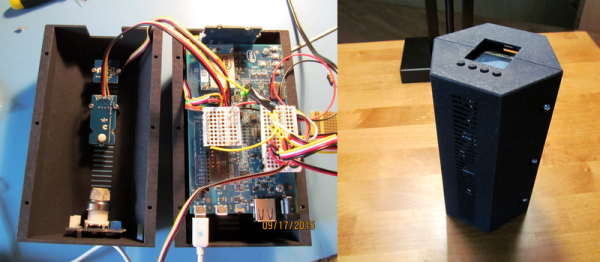
Next we have [Michiel Spithoven] with Hot fill washing machine. In North America, most washing machines connect to hot and cold water supplies. Hot water comes from the home’s water heater. This isn’t the case in The Netherlands, where machines are designed to use electricity to heat cold water. [Michiel] knew his home’s water heater was more efficient than the electric heater built into his machine. [Michiel] hacked his machine green by building an automated mixing manifold using two solenoid valves and a bit of copper pipe. The valves are controlled by a PIC microprocessor which monitors the temperature of the water entering the machine. The PIC modulates the valves to keep the water at just the right temperature for [Michiel’s] selected cycle. [Michiel] has been tracking the efficiency of the new system, and already has saved him €97!
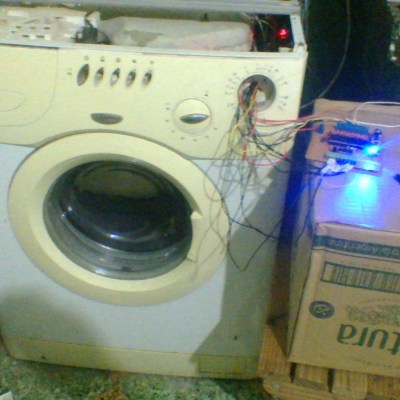
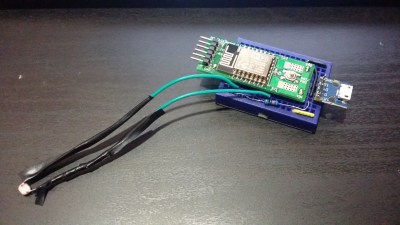 Finally we have [Mark Kuhlmann] with LaundrEsp. [Mark’s] washing machine has a nasty habit of going off-balance and shutting down. This leaves him with soggy clothing and lost time re-running the load. [Mark] wanted to fix the problem without directly modifying his machine, so he came up with LaundrEsp. When the machine is running normally, a “door locked” light is illuminated on the control panel. As soon as the washer shuts down – due to a normal cycle ending or a fault, the door unlocks and the light goes out. [Mark] taped a CdS light detecting resistor over the light and connected it to an ESP8266. A bit of programming with Thinger.io, and [Mark’s] machine now let’s him know when it needs attention.
If you want to see more laundry projects check out our brand new laundry project list! If I missed your project, don’t take me to the cleaners! Drop me a message on Hackaday.io, and I’ll have your project washed, folded, and added to the list in a jiffy. That’s it for this week’s Hacklet. As always, see you next week. Same hack time, same hack channel, bringing you the best of Hackaday.io!

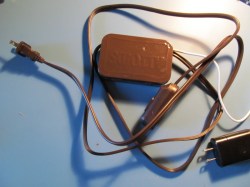 Lastly, ED-E, can turn things in the house on and off. This is accomplished in 100% Hackaday-approved (if not UL-approved) style with a device that appears to be a lamp cable fed into a spray painted Altoids tin.